

A lux threshold for smart lighting is the brightness cutoff your automation uses to decide whether turning on a light is worth it. Set it right, and your hallway lamp fires the moment the room actually gets dark. Get it wrong, and your lights blink on in broad daylight — or never show up when the room is dim.
Most smart homes start with time-based rules: lights on at sunset, off at sunrise. But a north-facing hallway in winter can be pitch black at 3 PM, while a west-facing living room at sunset is still bright enough to read by. Lux thresholds fix that by measuring real light levels with a sensor and reacting to the room itself, not the clock.
In this guide, I will explain what lux is, what sensible threshold values look like, and how to set them up in Home Assistant, Philips Hue, SmartThings, and Hubitat. You will also get a ready-to-paste Home Assistant automation and the hysteresis trick that stops your lights flickering at the boundary.
What Are Lux Thresholds in Smart Lighting?
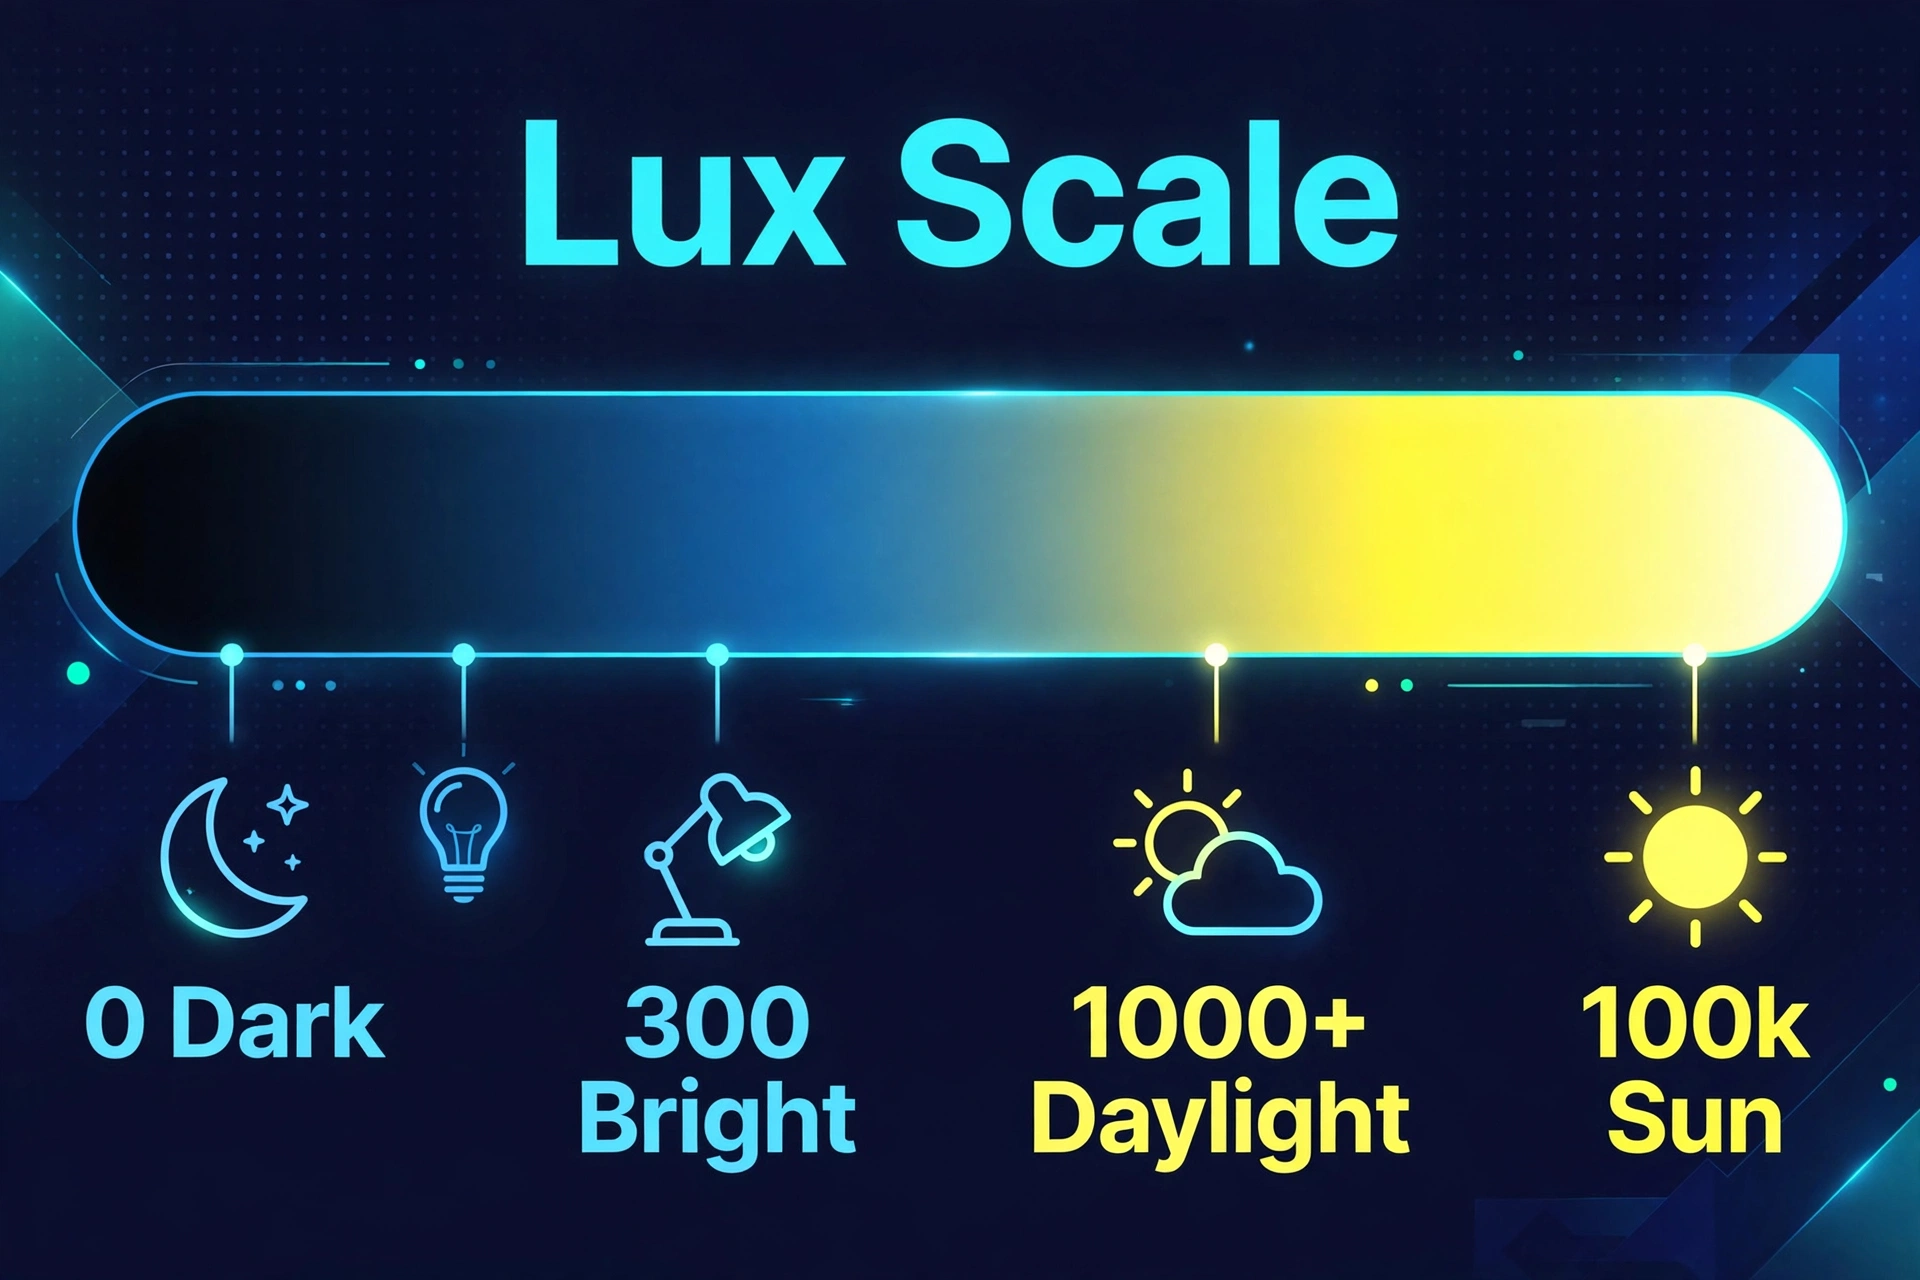
Lux (abbreviated “lx”) is the unit of illuminance — how much light actually lands on a surface. Outdoor sunlight can exceed 100,000 lux, a well-lit office sits around 300–500 lux, and a dark bedroom at night measures under 5 lux. Every smart home sensor that reports a light level reports it in lux.
A lux threshold is the line you draw through those numbers: “if the room measures below X lux, treat it as dark and allow the lights to switch on.” Motion is detected? Check the lux. Below 40? Turn the light on. Still at 300 because the afternoon sun is pouring through the window? Do nothing.
That one check changes how motion lighting feels. Without it, lights fire every time you walk past a sensor — in July, at noon, with the curtains wide open. With it, your lights only appear when they add something.
Why Lux Beats Time Schedules Every Time
Time-based rules guess instead of measure. Sunset times drift all year, and the light in your rooms never matches the sky anyway. On a stormy afternoon, your “lights at 7 PM” rule leaves you stumbling around a dark hallway for three hours. A lux sensor sees the actual darkness and acts on it — and each room gets its own measurement, which matters when your office gets sun until 6 PM but your interior hallway never sees daylight at all.
Thresholds save energy without you thinking about it, too. A light that only fires when the room is genuinely dark runs fewer hours per day. If you are building a presence-based lighting setup, lux gating is what turns it from a fun toy into a finished system.
Common Lux Values and Where to Set Your Thresholds
You do not need a physics degree to pick a threshold. Here are the numbers you will see from a typical indoor illuminance sensor, with suggested behavior for each:
| Scenario | Typical lux range | Suggested threshold behavior |
|---|---|---|
| Pitch-dark room at night | 0–1 lx | Lights on at motion, any brightness |
| Dim hallway in the evening | 5–30 lx | Lights on, dim night-light level |
| Living room at dusk | 30–80 lx | Lights on at full or comfortable level |
| Room on an overcast afternoon | 80–200 lx | Lights on at reduced brightness if below ~100 lx |
| Well-lit room with daylight | 200–500 lx | Lights stay off — enough natural light |
| Near a window on a bright day | 1,000–5,000 lx | Lights stay off |
| Direct sunlight | 10,000–100,000 lx | Lights stay off |
Start with one value and adjust after a week. Nobody gets the perfect threshold on day one, and seasonal changes move it around anyway.
What You Need Before You Start
Lux thresholds need one thing above all: a sensor that measures light levels. Most motion sensors include one — the Philips Hue motion sensor has an integrated daylight sensor — but a dedicated illuminance sensor gives you more accurate readings and better placement options.
- An illuminance sensor. The Aqara Light Sensor T1 (model GZCGQ11LM) is a popular Zigbee option with a 0–83,000 lux range and roughly two years of battery life from a single CR2450 cell. It typically sells for around $20–25 and pairs with Home Assistant through Zigbee2MQTT or ZHA.
- Or a motion sensor with a built-in light sensor. The Philips Hue motion sensor reports ambient light alongside motion (list price $44.99, often discounted). Convenient, but the reading sits wherever the motion sensor sits, which is not always the best place to measure room brightness.
- A hub or platform. Home Assistant on a Raspberry Pi (see my Raspberry Pi 5 setup guide if you have not installed it yet), a Philips Hue Bridge, a SmartThings hub, or a Hubitat Elevation.
- Smart lights or switches to control. Anything your platform can switch on and off.
One important note: check the sensor’s lux readings on your dashboard for a day or two before finalizing thresholds. Every sensor has its own calibration quirks, and a reading of “50 lux” from one brand might read as “70 lux” from another.
Setting Lux Thresholds in Home Assistant
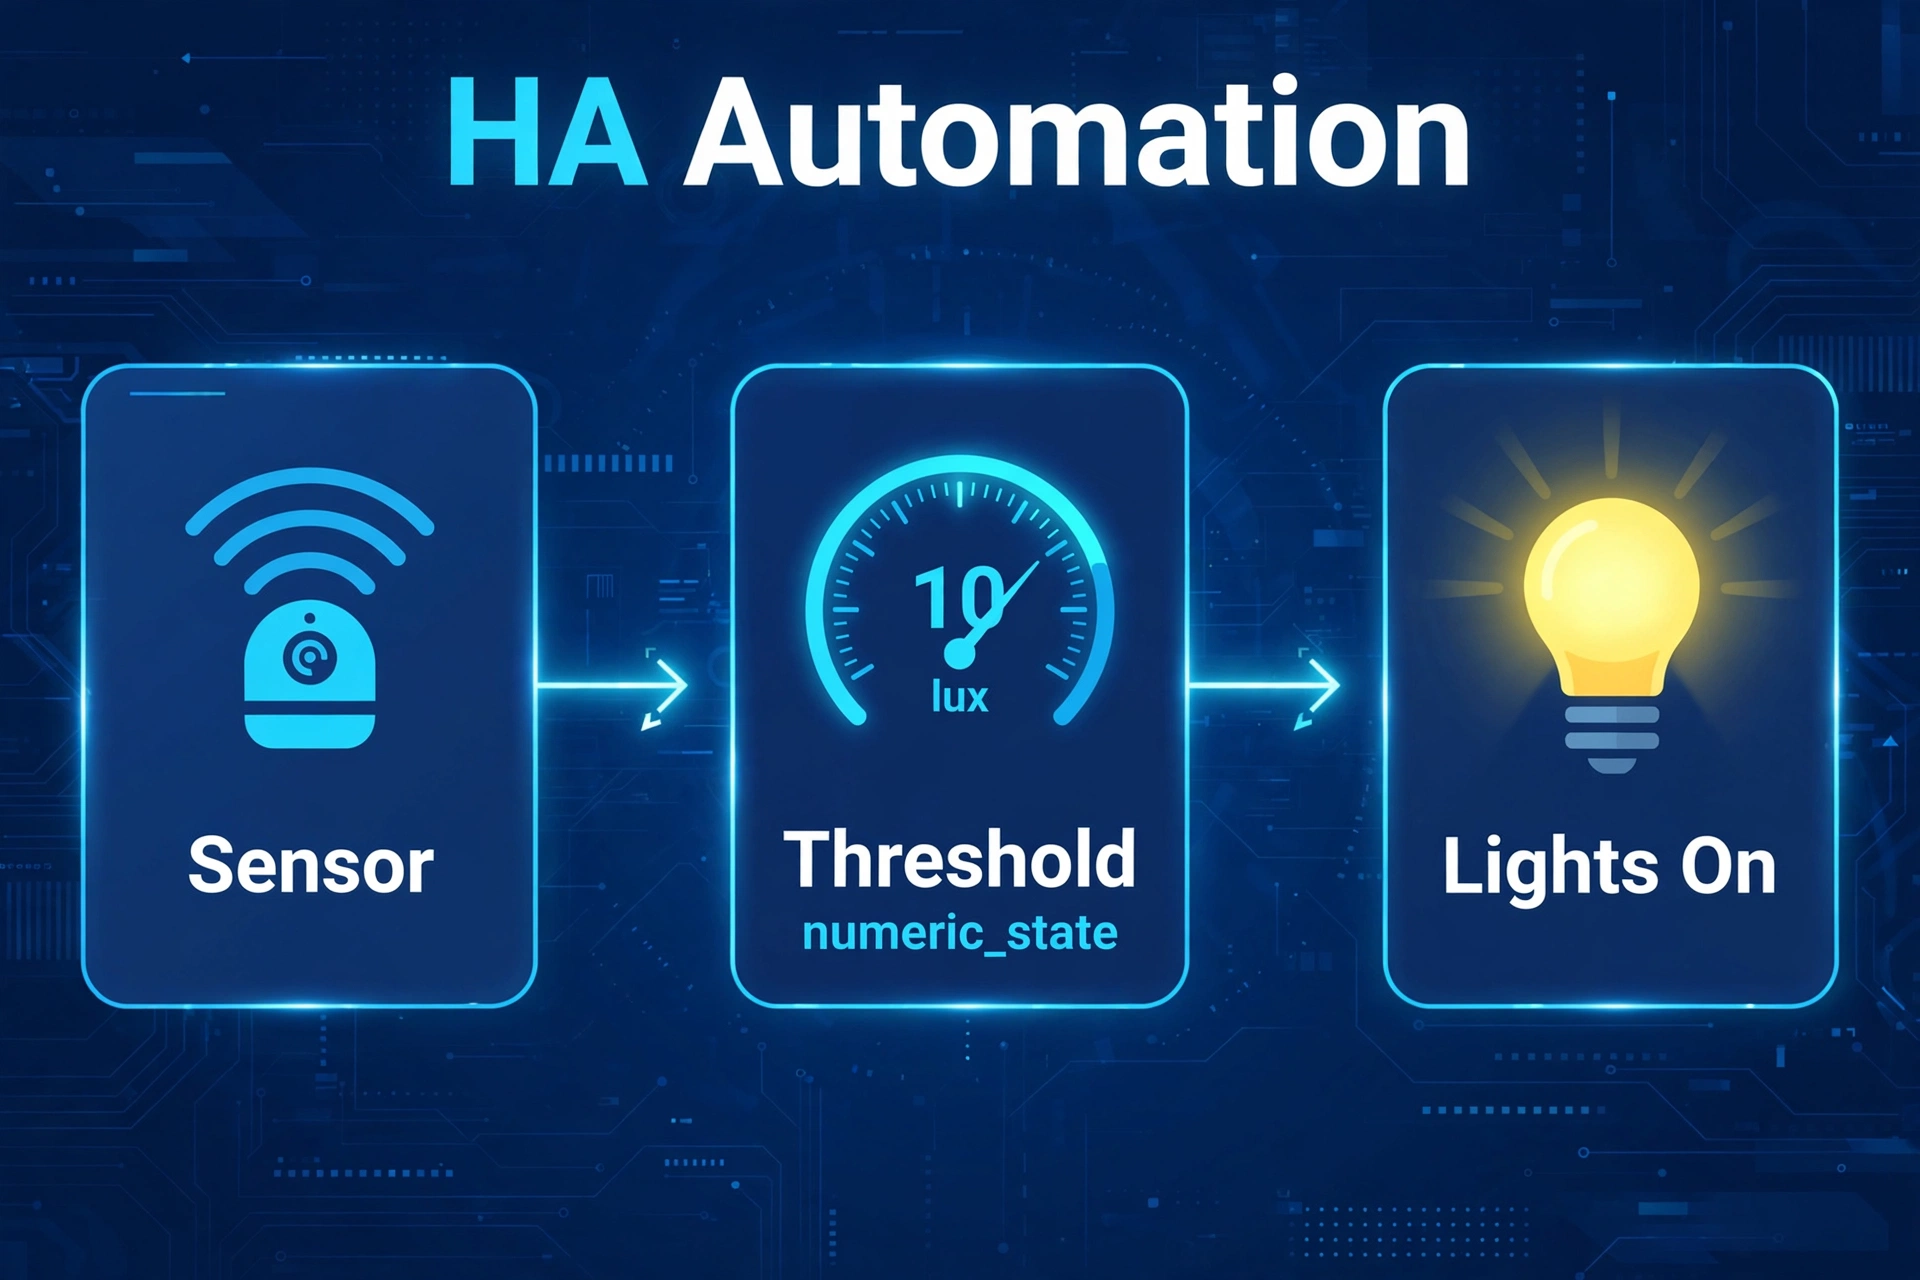
Home Assistant is the most flexible platform for lux-based lighting, because it exposes the sensor’s numeric value directly. Compare the reading against your threshold with a numeric_state condition — just the number, no unit. (For numeric comparison, use numeric_state with below:, as confirmed in the Home Assistant community’s illuminance troubleshooting thread.)
Step 1: Place the sensor where the room’s light actually is
This is where most people go wrong. The sensor must measure ambient light — not the light it is controlling. Mount it on the opposite wall from your lamp, or near a window to track daylight. If the sensor sits inside the lamp’s own cone of light, the moment the light switches on, the lux reading jumps above the threshold and the automation shuts everything down again.
Step 2: Build the automation in the UI
The most reliable pattern is motion-triggered with a lux condition:
- Open Settings → Automations & scenes and click Create automation.
- Add a trigger: State, pick your motion binary sensor (for example
binary_sensor.hallway_motion), and set the state change to On. - Add a condition: Numeric state, pick your illuminance sensor (for example
sensor.hallway_illuminance), choose below, and enter your threshold value — start with 50. - Add an action: Light → Turn on, target your hallway light. Set a comfortable brightness for evening use.
- Save the automation and give it a clear name like “Hallway: lights on when dark.”
That is the whole thing. Motion fires, Home Assistant checks the lux number, and the light only comes on when the room is actually dark enough.
Step 3: The ready-to-use YAML example
If you prefer editing YAML directly, here is a complete automation you can paste into your automations file. It turns the hallway light on with motion when lux is below 50, and switches it off 60 seconds after motion clears:
alias: "Hallway lights: on when dark"
description: Motion triggers hallway light only when lux is below 50.
triggers:
  - trigger: state
    entity_id: binary_sensor.hallway_motion
    to: "on"
conditions:
  - condition: numeric_state
    entity_id: sensor.hallway_illuminance
    below: 50
actions:
  - action: light.turn_on
    target:
      entity_id: light.hallway
    data:
      brightness_pct: 70
  - delay:
      minutes: 1
  - action: light.turn_off
    target:
      entity_id: light.hallway
mode: restart
Two things to notice. First, a numeric_state trigger only fires at the moment the value crosses the threshold — which is why this example uses motion as the trigger and lux as the condition, re-checked fresh on every motion event. Second, mode: restart resets the one-minute timer on each new motion event, so the light stays on while you move around.
Step 4: Add hysteresis so the lights never flicker
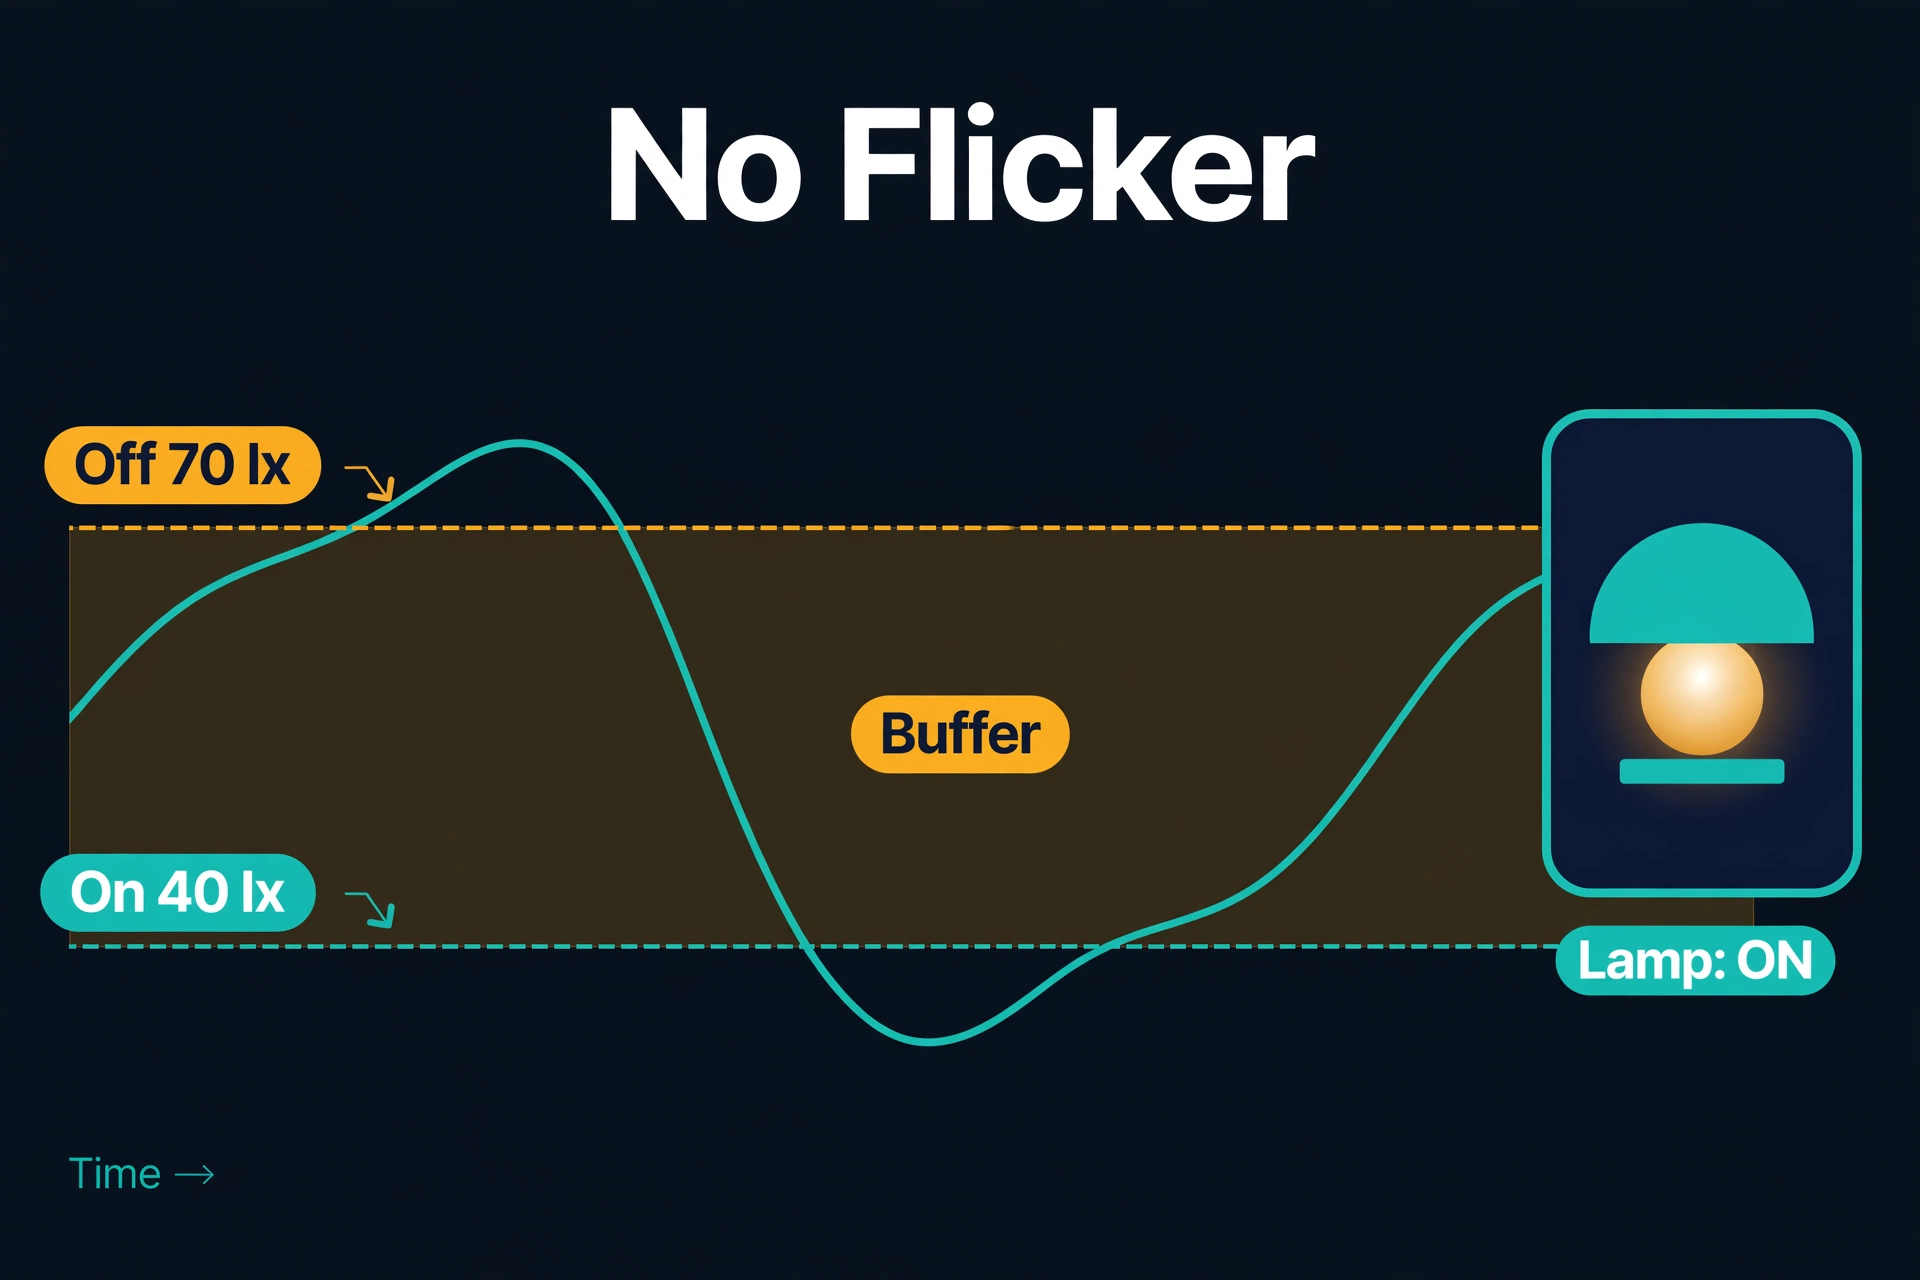
Hysteresis is a fancy word for a simple idea: use two different thresholds instead of one. Turn the light on when lux drops below 40 — but only treat the room as “bright again” when lux climbs above 70. The gap is a buffer zone where nothing changes, and small reading jitter dies inside it instead of flipping your lights.
In Home Assistant, the easiest way to do this is a toggle helper. Create one called input_boolean.hallway_dark, then build two tiny automations:
- Mark it dark: when
sensor.hallway_illuminancegoes below 40, turn the helper on. - Mark it bright: when it goes above 70, turn the helper off.
Then your lighting automations check whether the helper is on, instead of comparing raw lux numbers. A 20–30 lux gap is plenty for most rooms.
Setting Lux Thresholds in Philips Hue
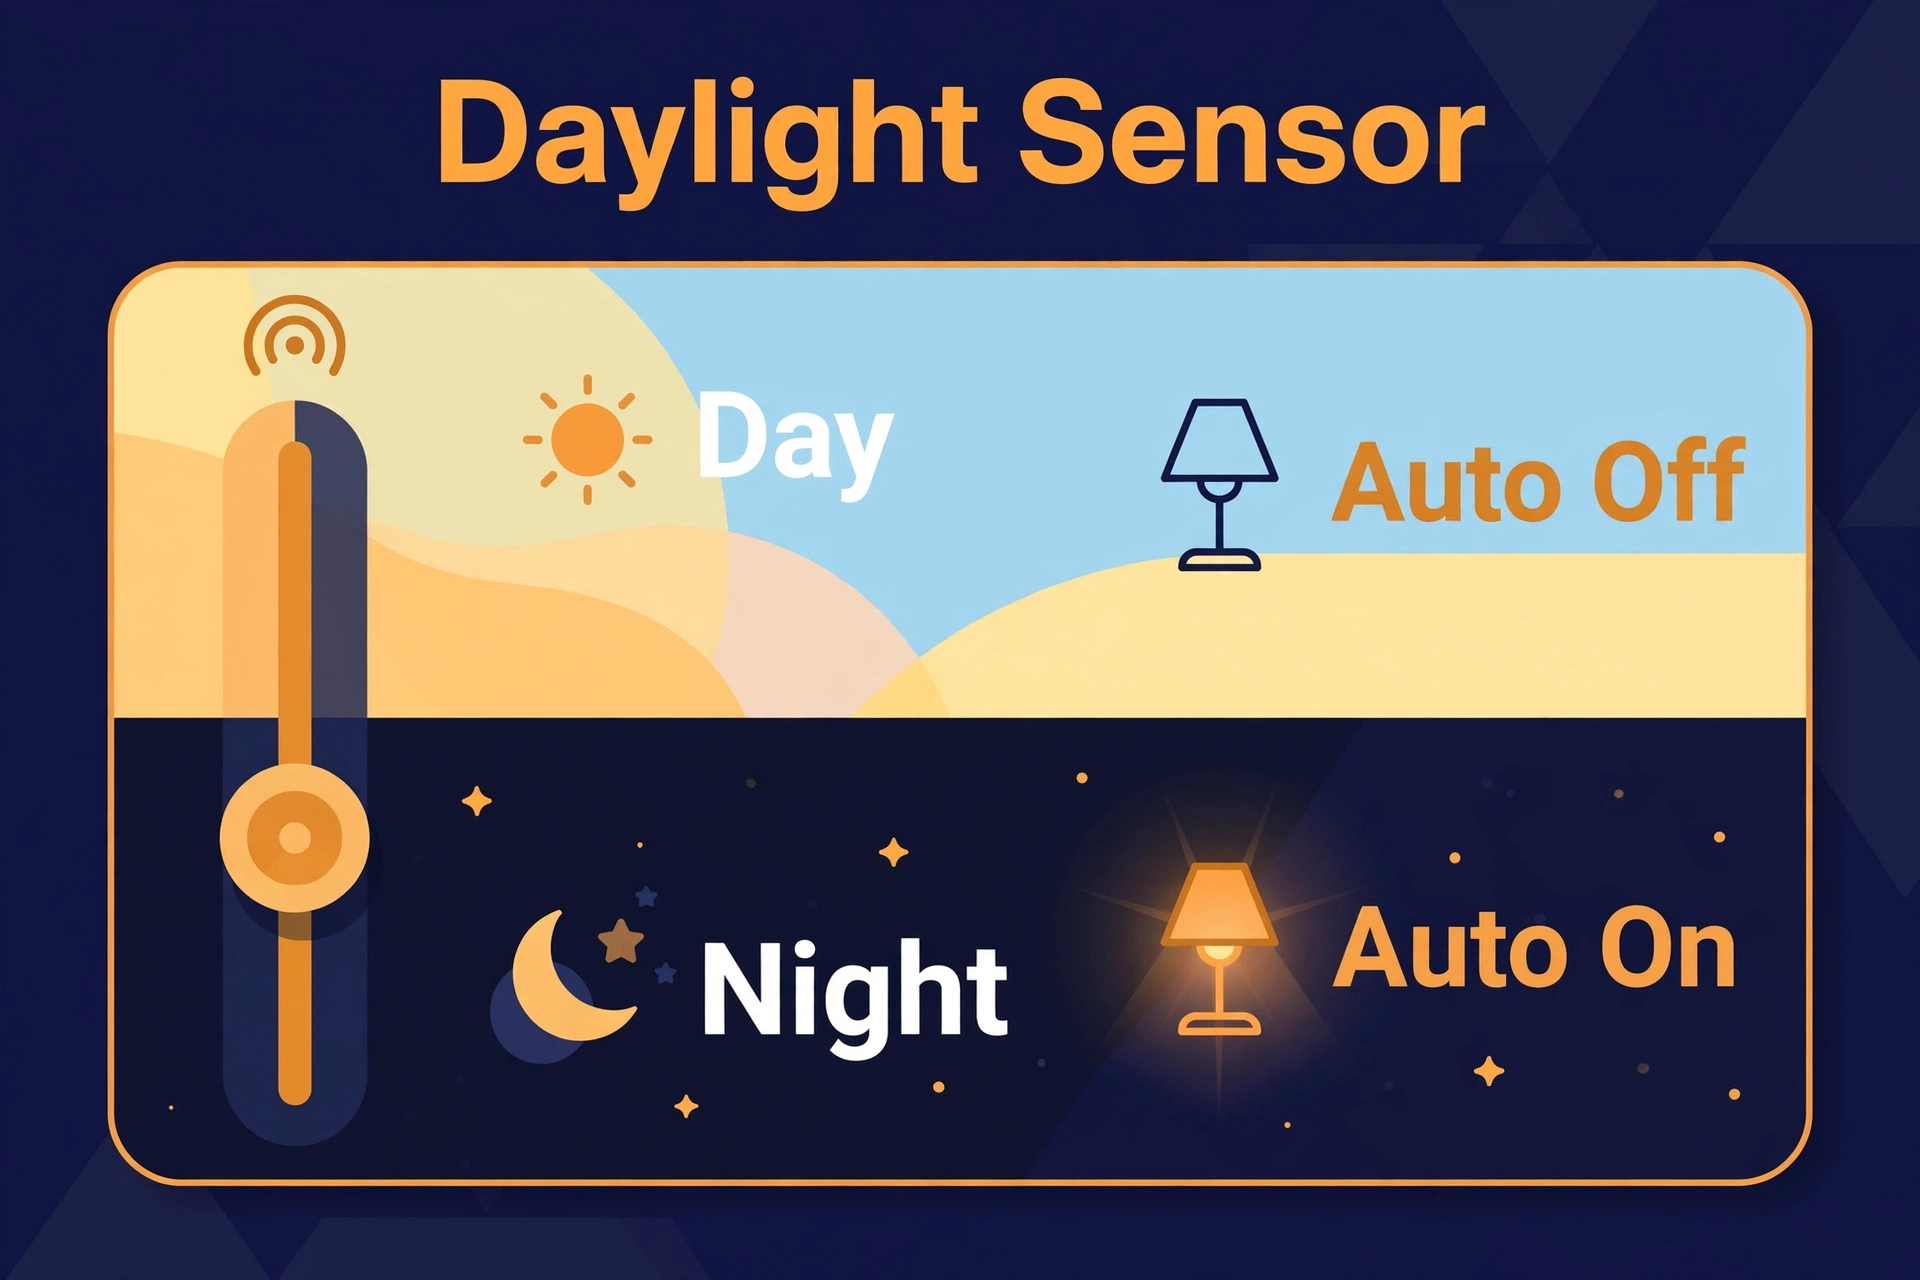
If your whole setup lives in the Hue ecosystem, you do not need Home Assistant for this. The Hue motion sensor has a built-in daylight sensor, and the Hue app exposes a daylight sensitivity setting that stops motion from triggering your lights when there is already enough daylight. (Philips documents this in their motion sensor guide.)
Here is how to find and tune it:
- Open the Hue app and tap the sensor in Settings or the room view.
- Tap Daylight settings, then Sensor, then Daylight sensitivity.
- Drag the slider to set the point where the sensor considers the room “bright enough” to ignore motion. More sensitive means lights trigger in brighter rooms; less means they only fire when it is properly dark.
- While you are there, check the day and night timeslots for that sensor — you can set different scenes (or “do nothing”) for daytime and nighttime hours.
Two tips from real-world use. First, the Hue motion sensor’s lux reading is not visible in the Hue app itself — it only appears if you pair the sensor with Apple Home or Home Assistant. So tune by feel: too eager during the day means lower the sensitivity, too slow at dusk means raise it. Second, the sensor can use a different Hue sensor’s daylight reading instead of its own — handy when your motion sensor faces a dark corner but the window is across the room.
The Hue system is less precise than Home Assistant’s numeric thresholds, but for most rooms it is more than enough — and the setup takes about two minutes. If you are comparing ecosystems before buying in, my Philips Hue vs WiZ comparison breaks down where the Hue premium goes.
Lux Thresholds in SmartThings and Hubitat
You do not need to run Home Assistant to use lux-based lighting. The two other major local platforms both support it — just with fewer knobs than HA.
SmartThings
SmartThings Routines can use illuminance as both a trigger and a condition: create a Routine, set the “If” side to your illuminance sensor with “less than 50 lux,” add motion as a second condition, and set the “Then” side to turn on your light. You get a single threshold — no built-in hysteresis — so if you notice flickering, pick a lower threshold rather than chasing the edge.
Hubitat Elevation
Hubitat’s Rule Machine supports illuminance in its conditions, giving you more control than SmartThings. A typical rule: trigger on motion active, add a condition of “illuminance of sensor is < 50,” then turn the light on. You can also build hysteresis with two rules and a virtual switch — the same on-below/off-above pattern described for Home Assistant. It takes a few more clicks, but it works well and runs entirely locally.
Common Mistakes That Make Lux Automations Flicker
Almost every broken lux automation comes down to one of five problems. Check them in order if your lights misbehave.
The sensor sees its own light. The lamp switches on, the lux reading shoots up, the automation decides the room is bright and switches the lamp off — forever. Move the sensor away from the light’s cone, or add a “light already on” condition so lux only gates the initial turn-on.
One threshold, no buffer. A single threshold with jittery readings means flicker. Use hysteresis — separate on and off points with 20–30 lux between them.
The threshold sits too close to daytime levels. If your room idles at 120 lux on a normal afternoon and you set the threshold at 110, every passing cloud will trip your lights. Keep a comfortable margin below the room’s normal daylight reading.
Wrong sensor for the job. A PIR motion sensor alone cannot gate on brightness — it only sees movement. If your motion sensor has no light sensor built in, you need a separate illuminance sensor. See my mmWave vs PIR comparison for choosing the motion side.
Sensor reporting is too slow. Some Zigbee sensors only report lux every few minutes. If your light takes a minute to react to a darkening room, check the sensor’s reporting settings in Zigbee2MQTT or ZHA — more frequent reports fix most “slow” lux automations at the cost of some battery life.
Lux Threshold Smart Lighting FAQs
What lux level should I set my smart lights to turn on at?
Start with 30–50 lux for hallways and staircases, and 80–100 lux for living rooms and kitchens. Watch your sensor’s readings for a few days and adjust until the lights come on exactly when the room feels dark to you.
Can I set lux thresholds without Home Assistant?
Yes. The Philips Hue app has a daylight sensitivity slider for its motion sensors, SmartThings Routines support illuminance conditions, and Hubitat’s Rule Machine can gate on lux values. Home Assistant just gives you the finest control, including hysteresis helpers.
Why do my lights flicker when using a lux threshold?
Usually one of two things: the sensor is picking up the light it controls, or the reading is jittering around a single threshold value. Move the sensor away from the lamp’s beam and use two thresholds (hysteresis) instead of one.
Do I need a separate light sensor, or is the one in my motion sensor enough?
The built-in sensor is enough for simple “don’t turn on in daylight” rules. A dedicated sensor like the Aqara Light Sensor T1 is better when you want precise thresholds, faster reporting, or placement that differs from where the motion sensor sits — for example, near a window to track real daylight.
How is a lux threshold different from sunset-based automation?
Sunset automations guess darkness from the clock. Lux thresholds measure actual brightness in the room. The difference shows up on cloudy days, in windowless rooms, and in winter — all the situations where the sky says one thing and your hallway says another.
Will lux-based lighting actually save energy?
It reduces unnecessary lighting, especially in rooms with big windows where motion sensors would otherwise fire in full daylight. Fewer wasted light-hours add up over a year — and the real win is that the house simply feels smarter.
