

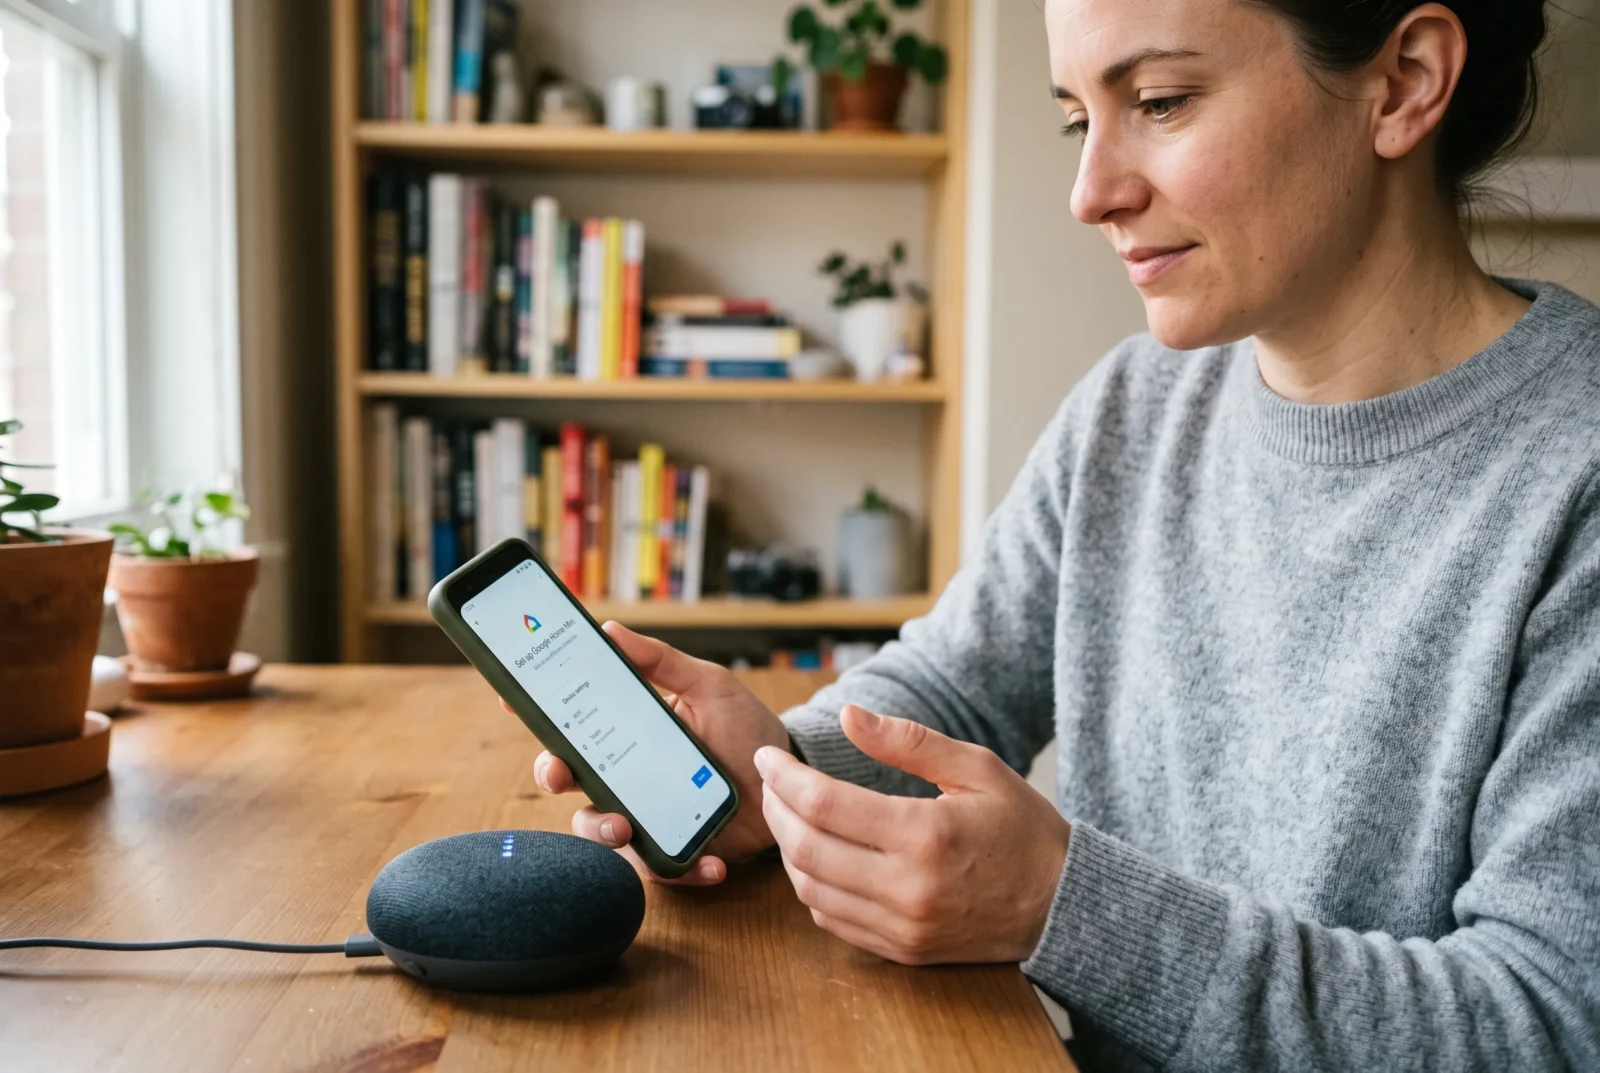
Changing your router or Wi-Fi password can leave your Google Home Mini offline, even while your phone connects normally. If you are wondering how to change Wi-Fi on Google Home Mini, the right starting point depends on whether the speaker can still reach its previous network.
To change networks, open the Mini’s settings in Google Home, select Device information → Wi-Fi → Forget this network, then set up the speaker on your new Wi-Fi. If it is already offline, try adding it again; use a factory reset if reconnection fails.
This guide focuses on the original Google Home Mini. The similar-looking Google Nest Mini uses a different reset method, covered below so you can follow the correct instructions.
Before you change the connection
Have your new network name and password ready. The network name, also called the SSID, identifies the Wi-Fi connection you select on your phone. The Wi-Fi password is separate from your Google Account password and the password used to manage your router.
Keep the Mini plugged into power and use an updated Google Home app. Google currently lists Android 9.0 or later and iOS 17.0 or later among its supported mobile operating systems. The Home Mini supports both 2.4 GHz and 5 GHz Wi-Fi, so you do not automatically need a separate 2.4 GHz network. Google Home and Nest Help
Before changing anything, identify your situation:
- The old Wi-Fi still works: use the speaker’s existing settings to forget it.
- You have moved or replaced the router: try the offline reconnection instructions.
- The network is unchanged, but the speaker stopped working: investigate the connection before erasing settings.
That last distinction saves unnecessary work. A temporary internet outage does not mean the Mini needs a different network, and changing its settings cannot restore an unavailable internet service.
If several speakers need updating, start with one. Once you have confirmed the new network works, repeat the process for the others. This gives you a clear way to spot a network-wide problem before changing every device.
Change Wi-Fi while the old network is available
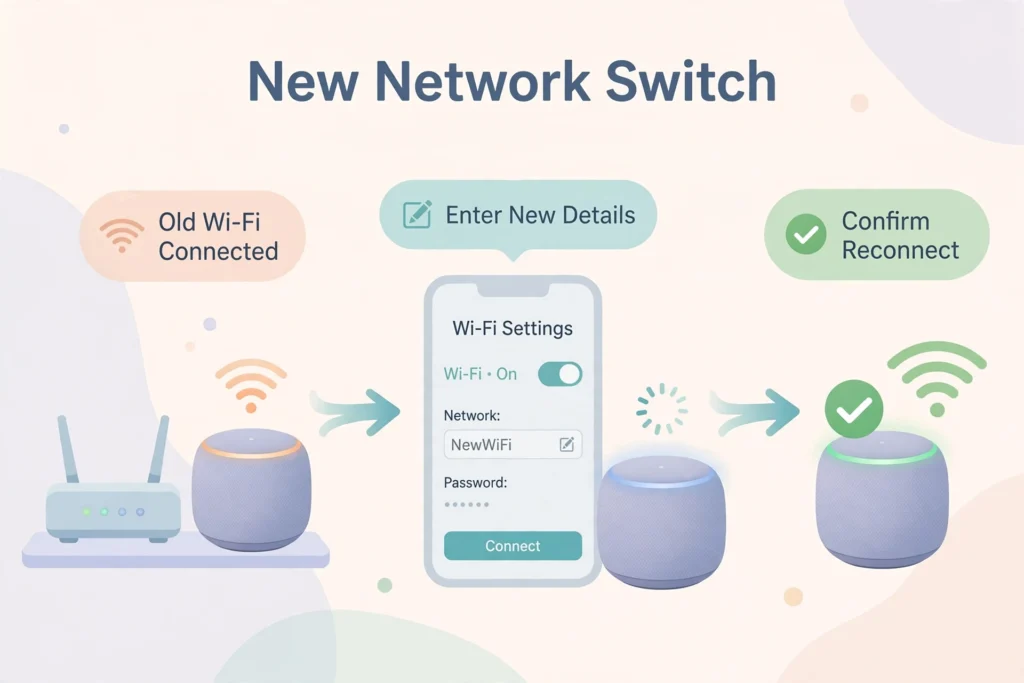
Keep your phone on the Mini’s existing network while you access its settings, and use the Google Account associated with the speaker.
- Open Google Home.
- Select Home → All devices.
- Touch and hold your Mini’s device tile.
- Open Settings → Device information.
- Choose Wi-Fi → Forget this network and confirm if prompted.
- Connect your phone to the new Wi-Fi network.
- Return to Google Home and choose Home → Add → Device → Search for device.
- Follow the prompts, selecting your new network and entering its password.
These paths follow Google’s current network-change instructions; labels can vary by app version.
Expect a gap between forgetting the previous connection and finishing the new setup. Seeing the Mini temporarily offline during that gap is not, by itself, evidence of a fault.
For example, if you are replacing a working router this evening, complete the forgetting step before disconnecting the old equipment. Then bring the new network online and continue setup. If the old router is already gone, there is no need to search endlessly for an inaccessible settings page; use the next method.
Reconnect when the old Wi-Fi is gone
An offline Mini may still be available for setup. Google’s guidance for a disconnected speaker is to open Google Home, choose Home → Add → Device → Search for device, and complete the setup process. Try that before assuming a factory reset is unavoidable.
Connect your phone to the new network, stay near the speaker, and start the search. If the app discovers the Mini, follow its prompts to reconnect it.
If the app cannot communicate with the speaker, cannot change its network settings, or repeatedly fails to add it to the replacement network, Google recommends resetting the device and setting it up again.
Before doing that, distinguish an unavailable speaker from an unavailable network. Can your phone load a fresh webpage over the new Wi-Fi? If it cannot, resolve that problem first. Otherwise, you could erase the Mini’s configuration and still have exactly the same connection problem afterward.
Also note where the process stops. “The app cannot find my speaker” and “the speaker rejects my Wi-Fi password” describe different stages. Keeping that distinction in mind makes the troubleshooting section much easier to use.
Factory reset the correct Mini model
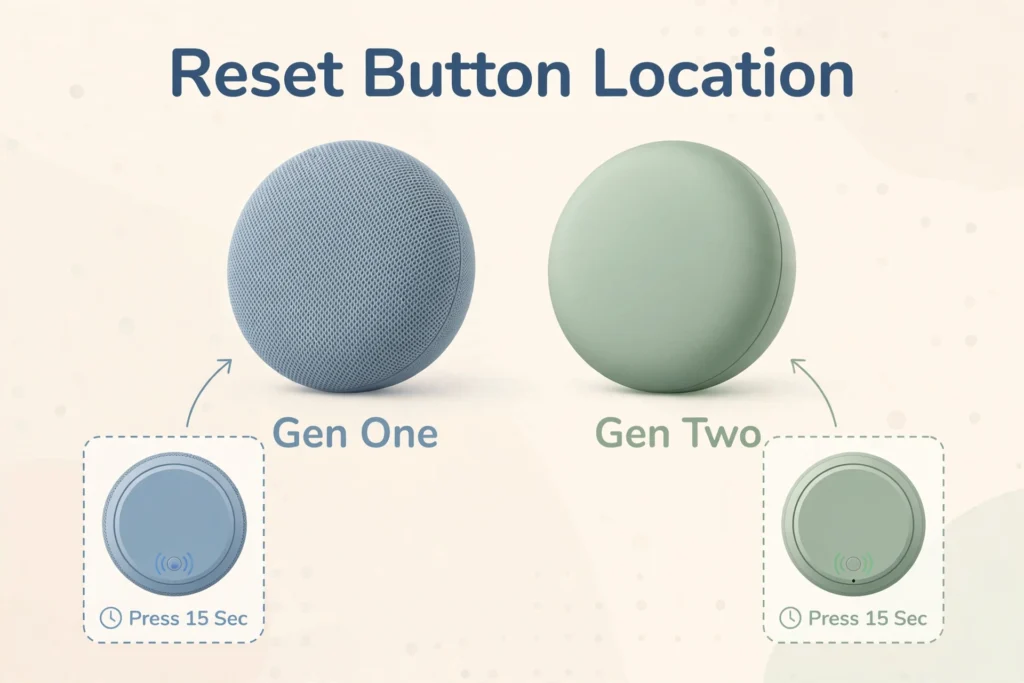
A factory reset clears data from the speaker and returns it to its original settings. It cannot be undone, and you cannot perform this hardware reset through a voice command or the Google Home app. Use it when simpler reconnection steps have failed.
Google Home Mini: first generation
- Leave the speaker connected to power.
- Find the small circular reset button underneath, below the power cable.
- Press and hold it. The reset process begins after about five seconds.
- Keep holding for roughly ten more seconds, until the confirmation sound.
- Let the reset finish before starting setup again.
Google Nest Mini: second generation
- Switch off the microphone using the side switch; the lights turn orange.
- Hold the centre of the fabric top where the lights appear.
- After five seconds, continue holding for about ten more seconds until the reset sound.
Google’s illustrated reset guide shows both models and their controls.
The device name in your app may be something you chose, such as “Kitchen speaker.” That name alone is not a reliable way to identify the hardware. Compare the physical controls with the guide before pressing anything.
Complete setup on the new network
After a reset, open Google Home and use the add-device flow. If a setup card appears for your speaker, select it and continue. Check that you are configuring the intended device, particularly if you have several speakers nearby.
Some versions of the setup flow open a QR code scanner. Google also provides an Add a different way option for selecting a device through search. Use that alternative if the scanner does not fit your Mini’s setup process. Google Home and Nest Help
Follow the prompts for the network, password, and any offered device preferences. Read optional personalization choices rather than automatically accepting everything. Google distinguishes the network connection from later features such as Voice Match, personal results, and media-service settings; available options depend on the device.
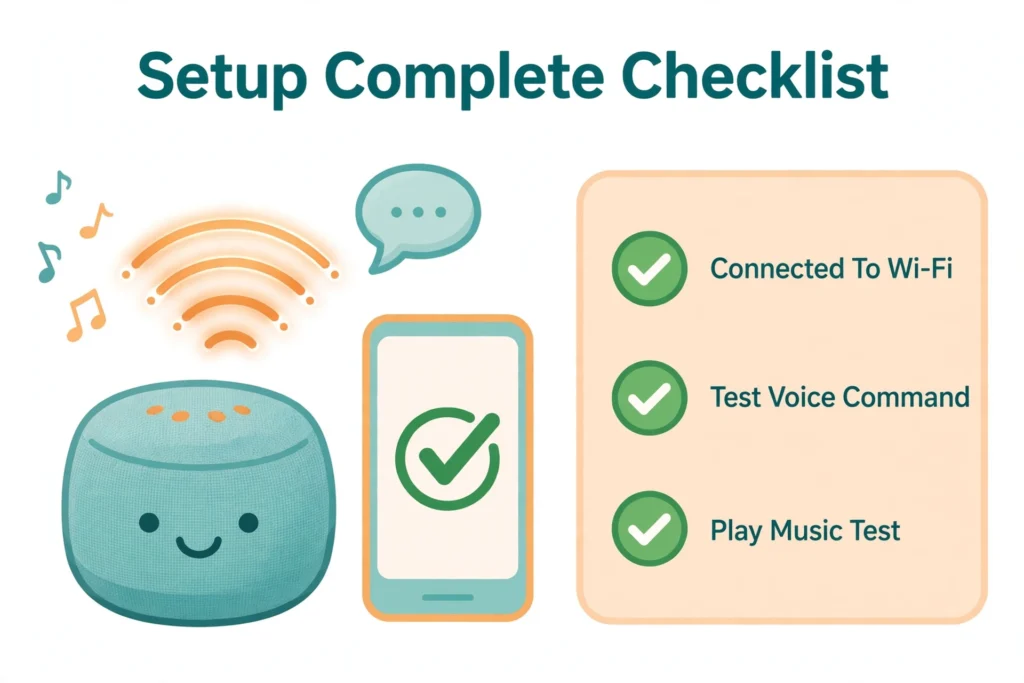
Once setup finishes, run a practical check:
- Ask the speaker a simple question that requires an online answer.
- Play something through the service you normally use.
- Check that you can identify and open the intended speaker in Google Home.
These checks test different parts of the experience. If spoken answers work but one music service does not, investigate that service or its account settings before repeating the entire Wi-Fi setup.
If you moved the speaker near the router for setup, test it again after returning it to its usual position. A successful connection beside the router does not establish that reception will be equally reliable across the house.
Troubleshoot the point where setup fails
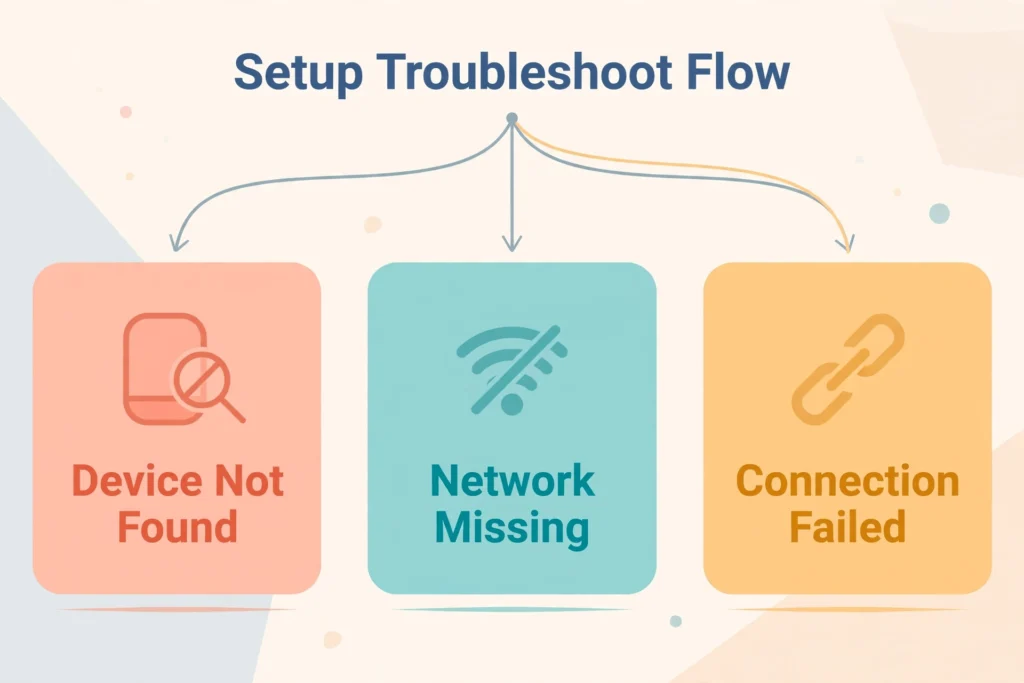
The app cannot find the Mini
Check power, stay in the same room, and turn on Bluetooth. Google identifies blinking white lights on the Home Mini as an indication that it is powered on and in setup mode. Close and reopen Google Home, then search again.
On an iPhone or iPad, also check Google Home’s permissions. Google’s setup requirements include Bluetooth, Location Access, and Local Network access. A permission denied during an earlier attempt can leave you repeating the same unsuccessful search. Review those controls in your device’s settings before continuing.
If discovery still fails, Google suggests checking the phone’s available Wi-Fi networks for the speaker’s temporary network, such as “GoogleHome.” A previously configured device may show its assigned name instead. Connect to that speaker network if available, then return to Google Home to retry setup. This temporary connection is part of discovery, not your final household Wi-Fi connection.
Your new Wi-Fi name is missing
First check whether another nearby device can see the network. If no device can find it, investigate the router’s wireless settings rather than repeatedly restarting the Mini’s setup.
For an intentionally hidden network, Google provides an Other option in the Wi-Fi selection flow. Enter the exact network name, matching security information, and password. If you do not know those details, check with whoever manages the router.
Be careful with similar names. A main network and a guest network may differ by only one word, and a neighbouring household may use the same router’s default naming pattern. Confirm the full name before entering credentials.
The network appears, but connection fails
Re-enter the Wi-Fi password carefully, checking capital letters and accidental spaces. If an automatically retrieved password fails, enter it manually. Move the speaker closer to the router; Google recommends roughly 15–20 feet, or 4–6 metres, during troubleshooting. On a dual-band router, try the other band if it is separately available.
The Home Mini supports both common bands. A switch to 2.4 GHz is therefore a troubleshooting option, not a universal requirement. Avoid changing several router settings at once: test one adjustment so you know whether it helped.
Setup freezes or keeps returning to the beginning
Restart the speaker and retry with your phone close by. If the process still stalls, try another supported phone or tablet. Google includes both close-range setup and an alternative setup device among its troubleshooting steps.
To reboot the Mini, disconnect its power, wait one minute, and reconnect it. A reboot is different from a factory reset, so do not hold the reset button when you only intend to restart the device.
Change one thing between attempts and note the result. For example, completing setup with a second phone would point you toward the first phone’s app or settings, rather than proving that the speaker needs replacement.
When to get help instead of resetting again
If other devices also cannot access the internet, start with the router or internet provider. If only the Mini fails after basic checks, a correct reset, and another setup-device attempt, use Google’s speaker support options.
Prepare a short description: your speaker model, phone operating system, whether the network appears, the exact error, and the stage where setup stops. Include whether this began after a password change, house move, or router replacement. Never include your actual Wi-Fi password in a public support post.
A useful report might read: “My first-generation Home Mini appears during setup, but connection fails after I enter the password. My phone accesses the internet on that network, and another phone gives the same error.” This is a hypothetical example, but its structure helps a support adviser focus on the failed stage. “My speaker does not work” gives them much less to investigate.
Google suggests a temporary mobile hotspot as an advanced diagnostic test, but hotspots are not fully supported for normal use. A successful connection there can help narrow the fault to your home network.
Frequently asked questions
What if I changed only the Wi-Fi password?
Treat it as a connection change even when the network name stays the same. The Mini needs the updated credentials. Use the offline setup route if it can no longer connect; changing the saved password on your phone alone does not complete the speaker’s setup.
Can I use hotel, university, or workplace Wi-Fi?
Do not assume a network that works on your phone will support the Mini. Google warns that public and shared networks may not work, and its setup documentation excludes WPA2-Enterprise networks. Ask the network administrator about a suitable connection before attempting repeated resets.
Do I need to change Wi-Fi after moving the speaker to another room?
Not if you are keeping it on the same working network. Reconnect its power and check its performance in the new position. If problems occur only there, investigate placement and reception before treating the move as a network-change task.
Get the Mini working where you use it
Start with the path that matches your situation, finish setup, and test the speaker in its normal location. If something fails, identify whether the problem is discovery, network selection, password acceptance, or a particular service. That is more useful than repeating every step without knowing what changed.
