

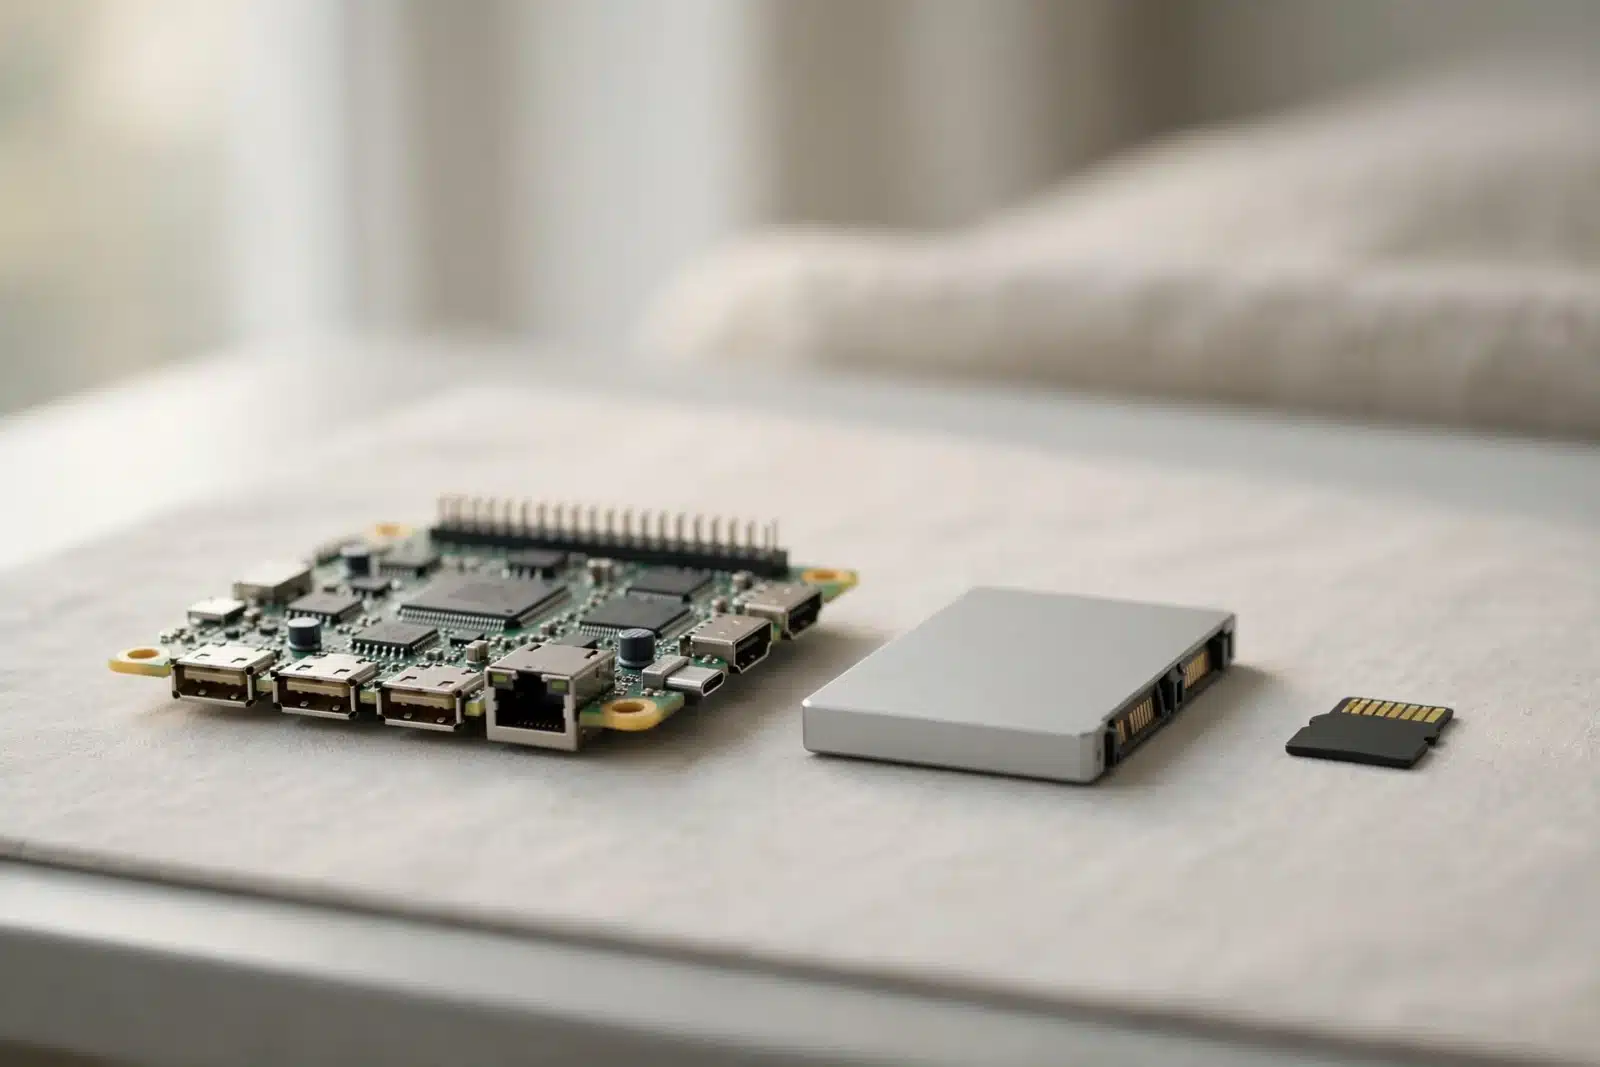
Your Home Assistant has run happily on a memory card for months. Then one morning, nothing responds — the dashboard won’t load, the green light blinks, but your smart home is dead. Nine times out of ten, the culprit is the same: the SD card gave up.
A memory card was never built for this job. Home Assistant writes data to it all day, every day — and every card has a limited number of writes before it wears out. The fix is simple: migrate Home Assistant from SD card to SSD, once, and never worry about it again.
This guide walks you through the whole move — back up, flash the SSD, restore, boot — without losing a single device, automation, or setting. If you installed your system with our step-by-step install guide, you already know every tool we’ll use.
Why Migrate Home Assistant from SD Card to SSD?
Home Assistant is a busy program. It saves every temperature change, every light switch, every sensor reading into its database — constantly, around the clock. That’s great for your history graphs, and terrible for a memory card.
Memory cards have a limited number of write cycles. In plain words: each tiny storage cell inside the card can only be rewritten so many times before it dies. A phone camera writes in bursts, then rests. Home Assistant never rests. So after months or years of this nonstop writing, parts of the card start failing. First your system gets slow. Then it crashes randomly. One day it simply won’t boot.
An SSD is built for this workload: far more writes, much faster reads, and better survival of sudden power cuts. The result is faster boots, snappier history graphs, and a system you can trust for years:
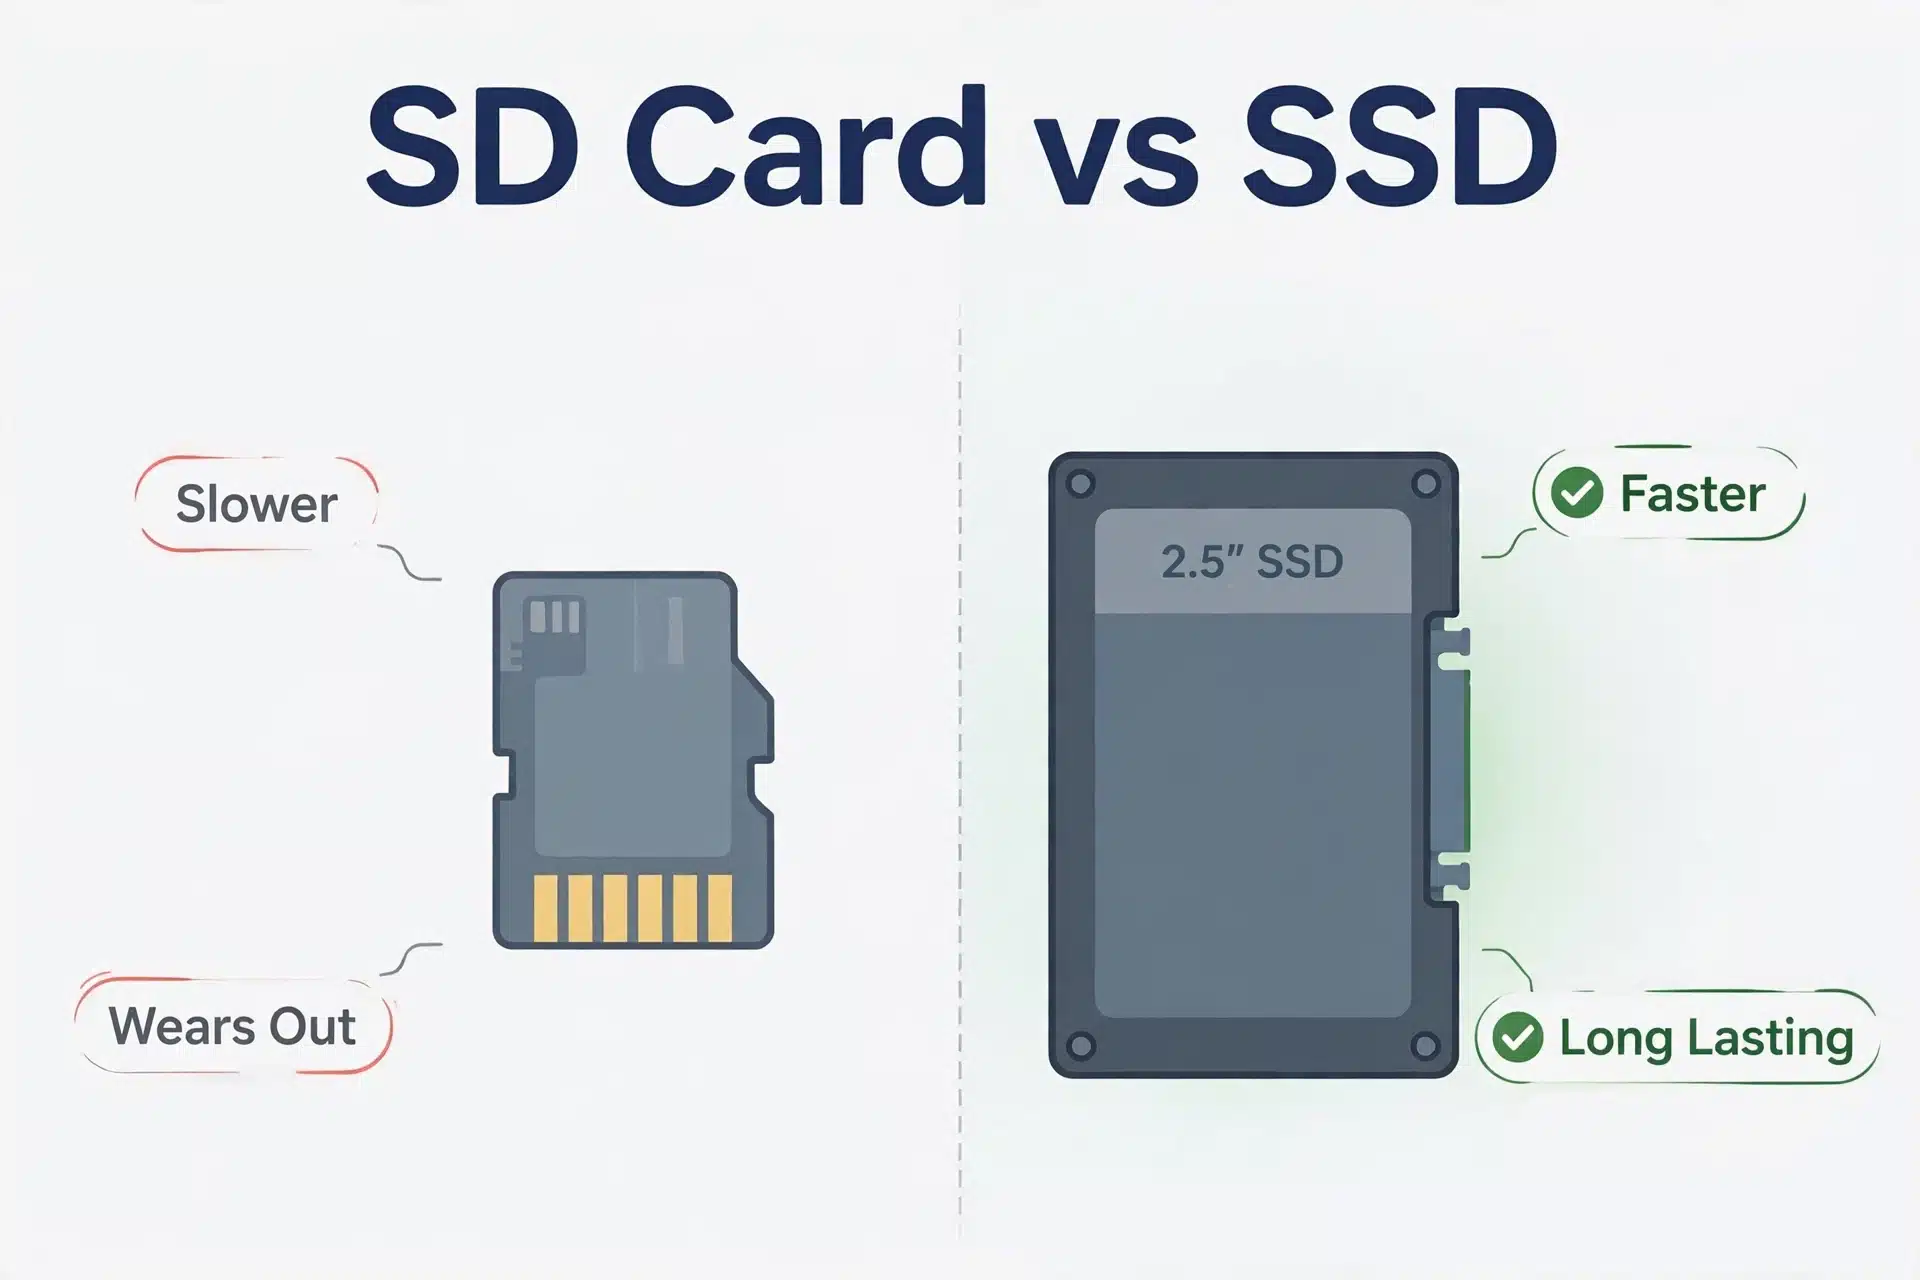
Table: SD card vs SSD for Home Assistant
| Feature | SD Card | SSD |
|---|---|---|
| Lifespan under constant writing | Limited — wears out after months or years of daily use | Much longer — built for heavy, constant workloads |
| Speed | Slower — boot and history graphs can feel sluggish | Faster — quick boots and snappy dashboards |
| Reliability | Can corrupt, especially if power cuts during a write | Far more tolerant of power cuts and heavy use |
| Price | Very cheap | Costs more, but still affordable |
| Best choice for | Starting out and testing | Running your smart home every day, long term |
Simple advice: a card is fine for trying things out. But once Home Assistant runs your actual home — your lights, your locks, your morning routines — it deserves an SSD.
What You Need Before You Start
First, gather everything on this list. Here is what each item does, in simple words:
- An SSD, 64GB or bigger. A basic 2.5-inch SATA SSD is the simplest choice — 64GB or 128GB is plenty for most homes. Don’t overspend on a fancy drive; the Pi can’t use the extra speed anyway.
- A USB-to-SATA adapter or SSD enclosure. This connects the SSD to your computer for flashing, and later to the Pi. You can’t do this job without it.
- A computer (Windows, Mac, or Linux). You’ll use it to write the system onto the SSD, exactly like you once wrote it onto the memory card.
- Raspberry Pi Imager. The same free tool from your first installation. If you deleted it, grab it again from the official Raspberry Pi software page.
- Your running Home Assistant. It must be working right now, because the first thing we’ll do is make a full backup of it.
- Ethernet cable. A wired connection makes the restore faster and safer.
- The official Pi power supply. An SSD draws more power than a card, so a weak phone charger can cause random disconnects — use the proper supply.
Step 1: Back Up Everything First
Do not skip this step. The backup is your safety net — a complete snapshot of your smart home. If anything goes wrong later, the restore brings back every device, automation, dashboard, and setting.
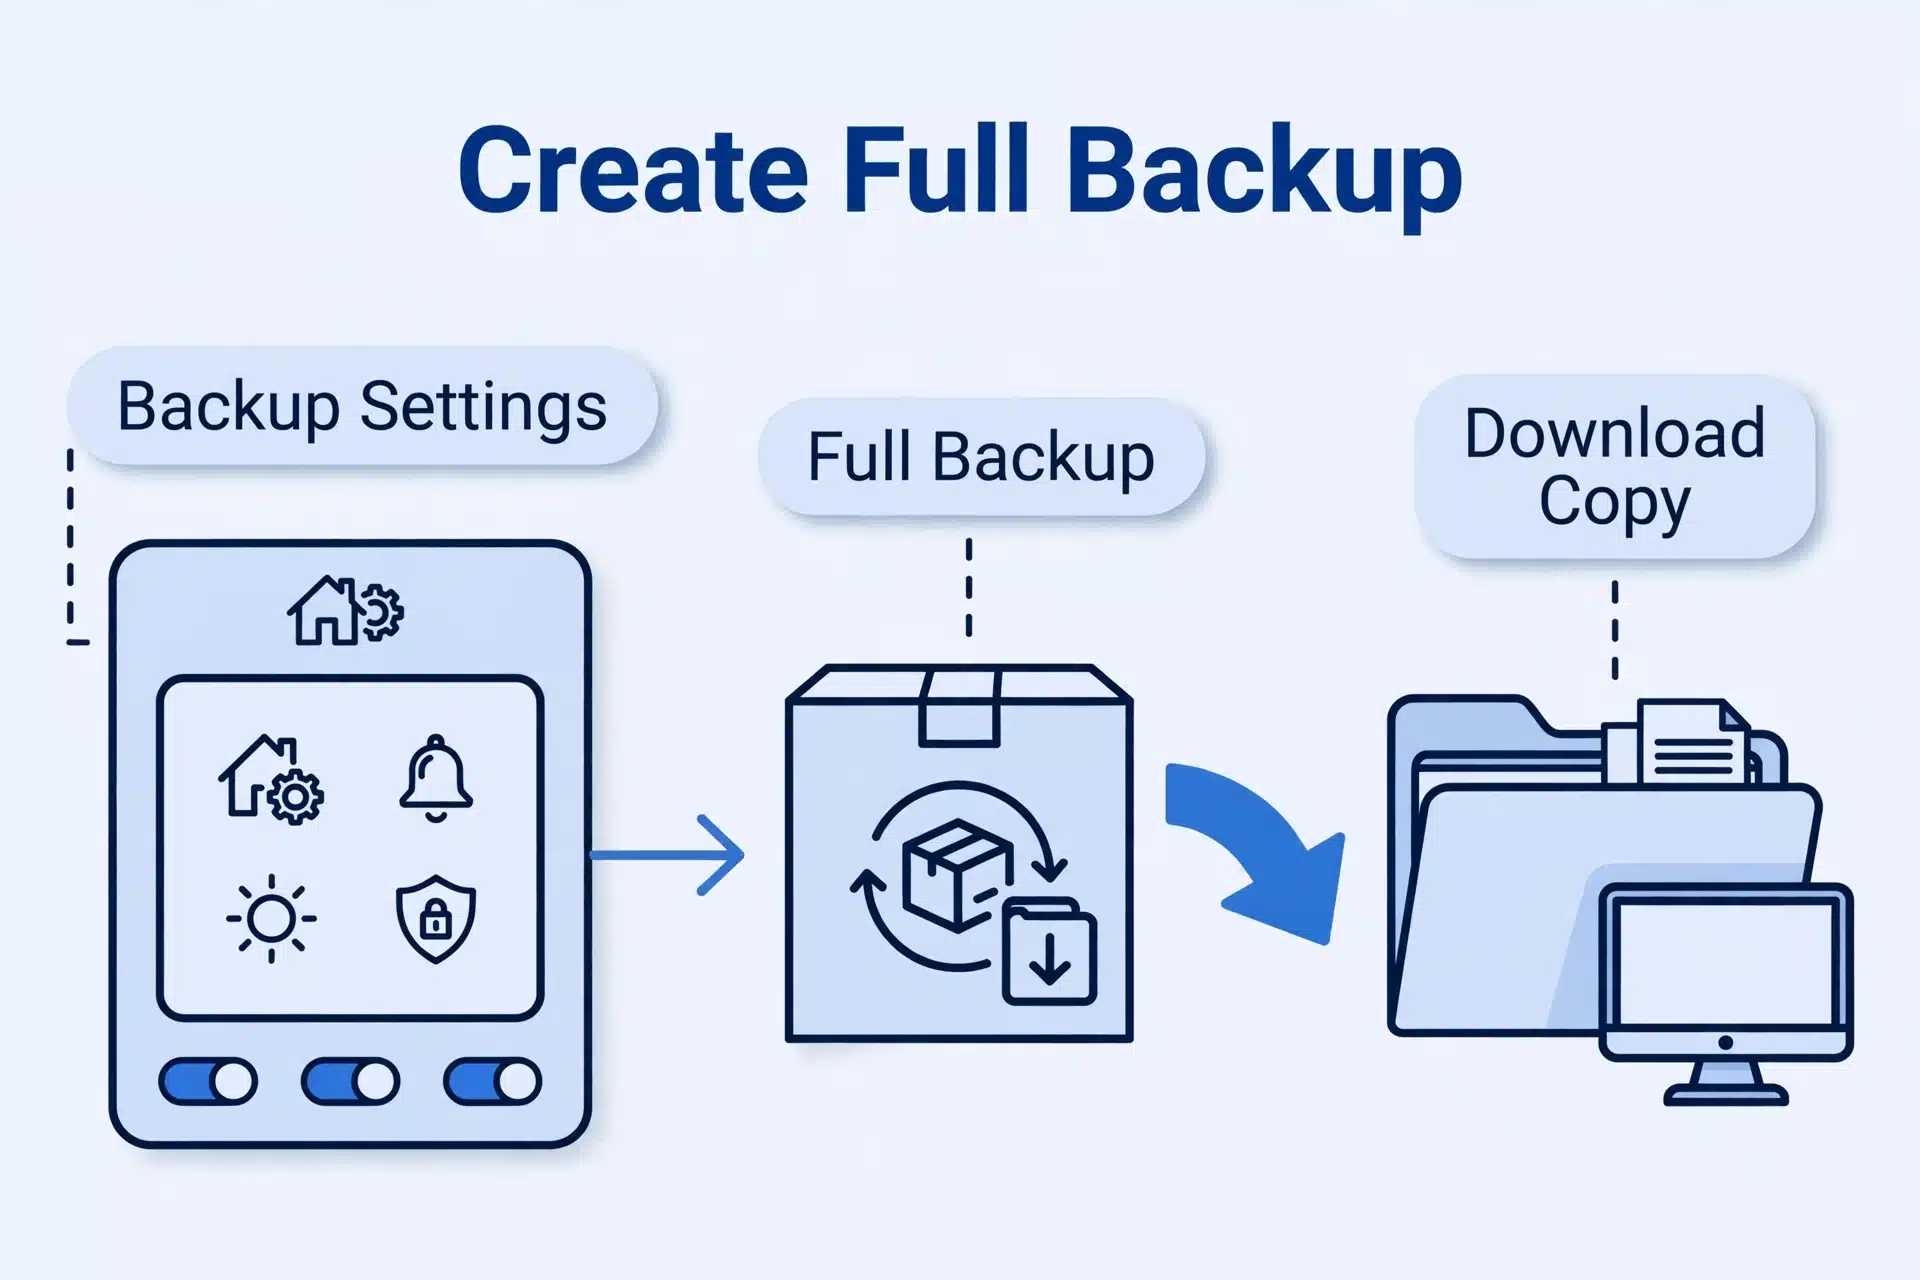
- Open Home Assistant in your browser and go to Settings → System → Backups.
- Click “Create backup.” Choose a full backup — not a partial one. A full backup includes your devices, automations, dashboards, add-ons, and history.
- Give it a clear name, like “Before SSD migration,” and start it. This takes a few minutes — longer if you have years of history saved.
- Download the backup to your computer. Click the finished backup, then click Download. Save the file somewhere you won’t lose it.
- Make a second copy on a USB stick or in another folder. Two copies in two places — this one file holds your entire smart home.
Now take a breath. Whatever happens next, your data is safe.
Step 2: Flash Home Assistant OS to the SSD
This is the same flashing process you already know — only the target changes from a memory card to the SSD. The official Home Assistant installation guide covers the same method, so you’re on familiar ground.
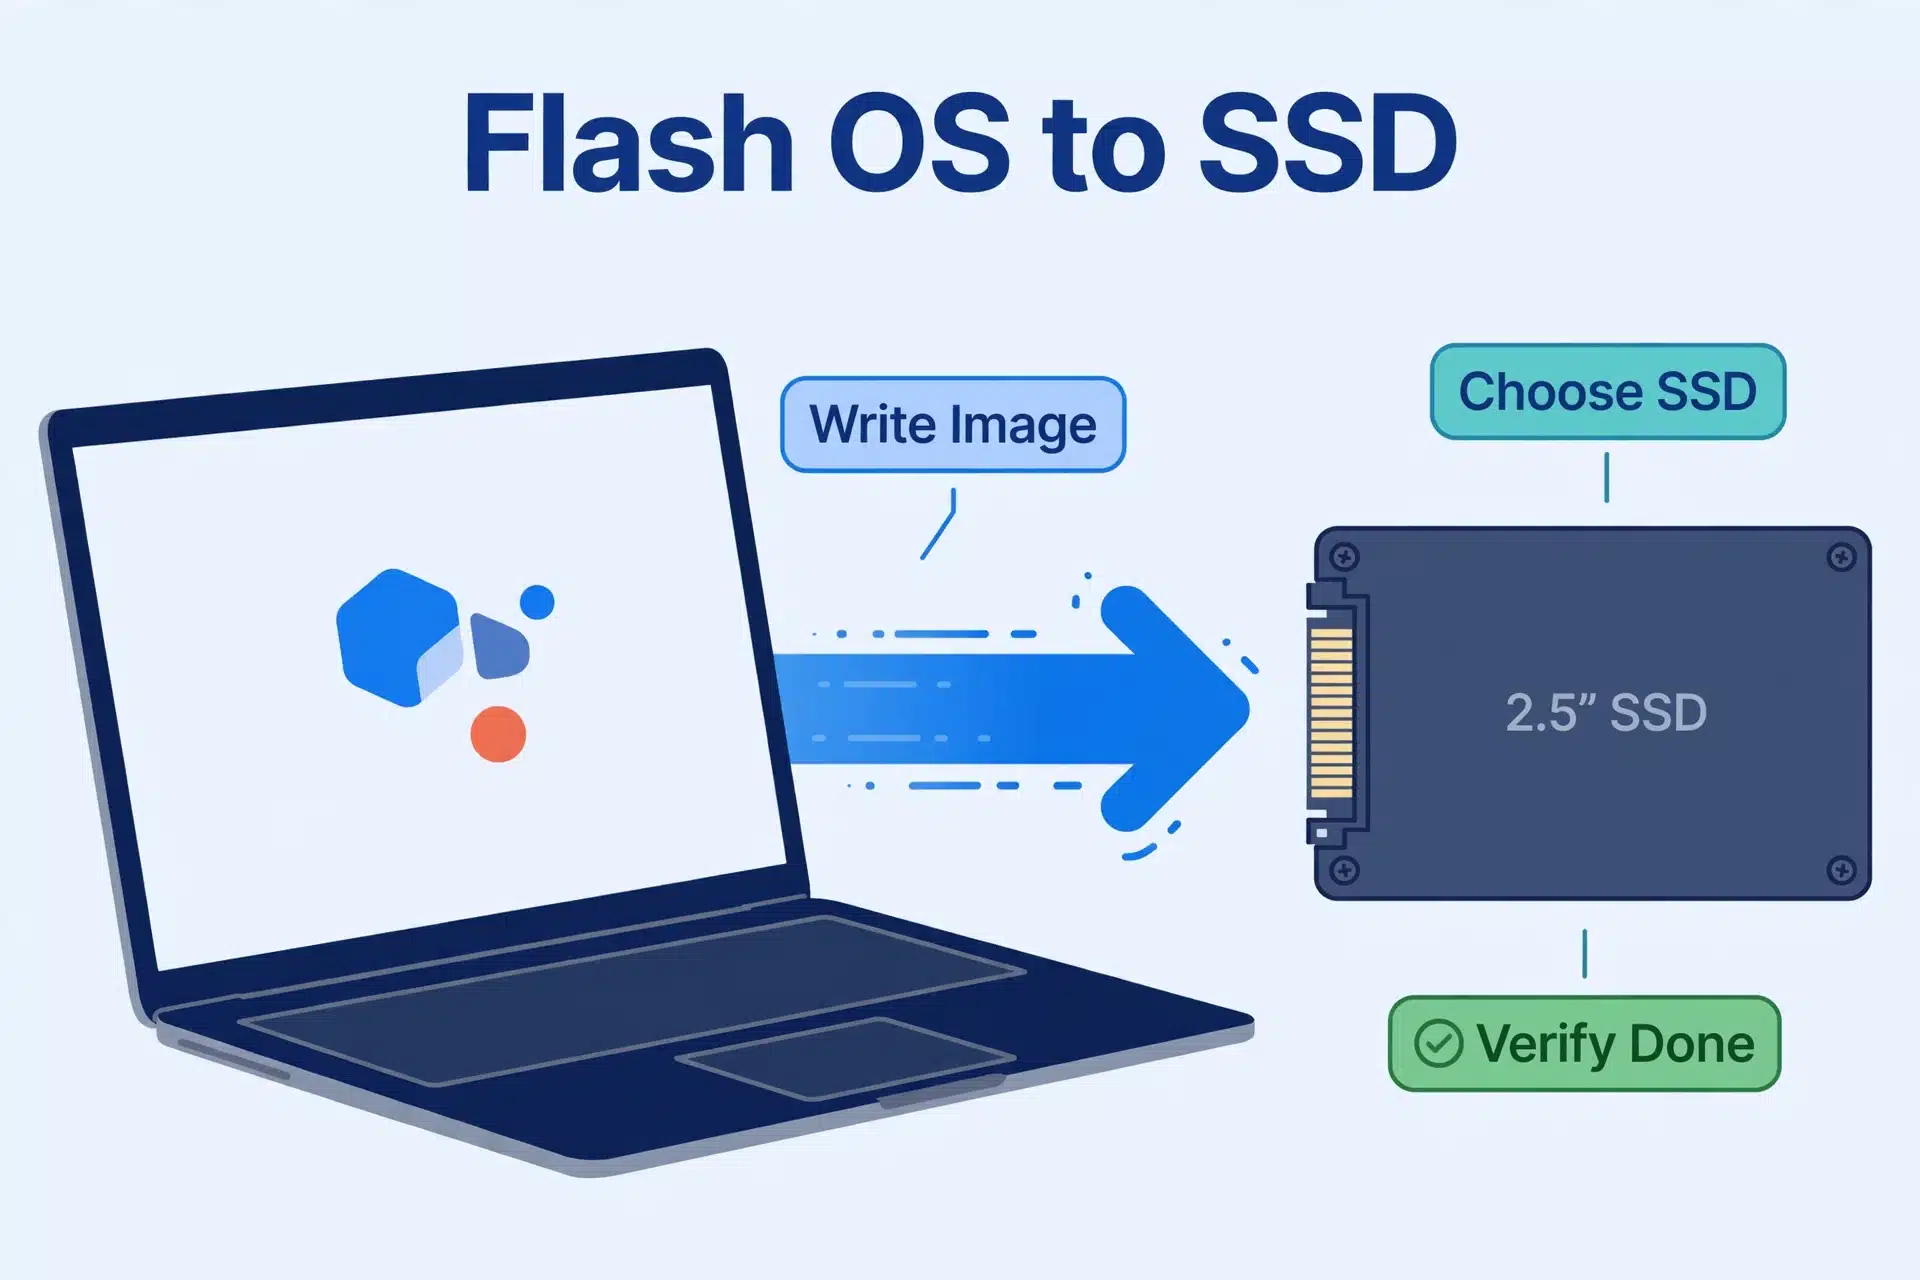
- Connect the SSD to your computer using the USB adapter or enclosure. You should hear or see the computer recognize a new drive.
- Open Raspberry Pi Imager and click “Choose OS.” Then click Other specific-purpose OS, then Home automation, then Home Assistant. Pick the version for your Pi model (RPi 5 or RPi 4).
- Click “Choose Storage” and select the SSD from the list. Double-check it’s the SSD — everything on the selected drive gets erased.
- Click “Next,” then click “Write.” Skip any Wi-Fi or settings prompts, just like the first time.
- Wait until it finishes, then safely eject the SSD from your computer.
You now have a fresh Home Assistant system on the SSD. Your data is safe in the backup file — we’ll bring it over next.
Step 3: Restore Your Backup onto the SSD
Here comes the satisfying part: boot the Pi from the SSD and pour your old system back in.
- Shut the Pi down properly: in Home Assistant, go to Settings → System, click the power icon, and choose Shut down. Wait until the green light stops blinking, then unplug the power.
- Remove the old SD card and keep it safe — don’t wipe it yet. This is essential: the Pi checks the SD slot first, so a leftover card means it boots from the card instead of the SSD.
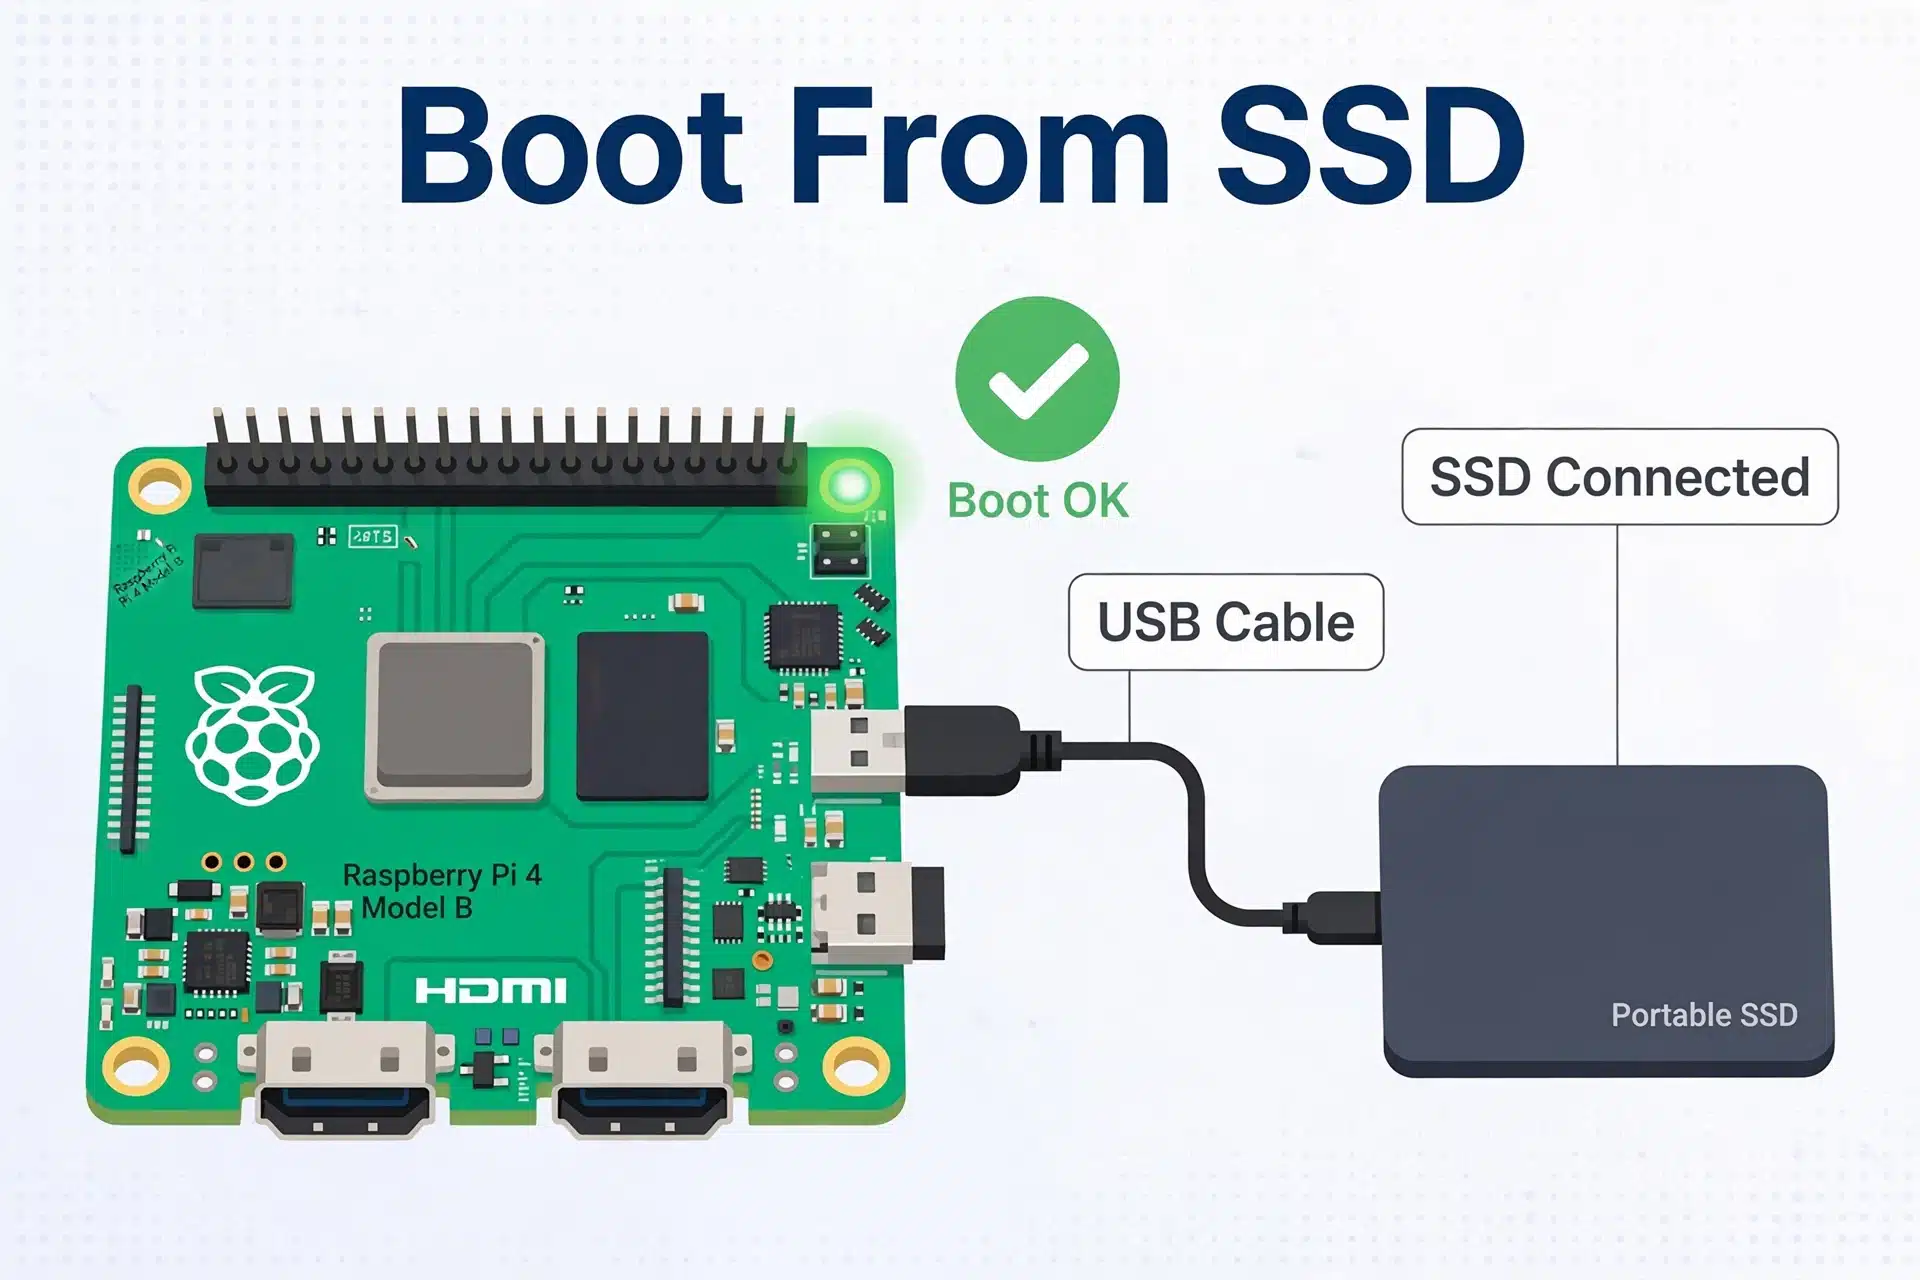
- Plug the SSD into a blue USB 3.0 port on the Pi using the adapter.
- Connect the Ethernet cable, then plug the power back in. The Pi will start from the SSD.
- Wait 5 to 15 minutes while the Pi downloads the newest version and sets itself up. Don’t unplug it.
- Open
http://homeassistant.localin your browser. You’ll see the welcome screen — instead of creating a new account, choose the option to restore from a backup. - Upload the backup file from Step 1. The restore takes 10 to 20 minutes; the page may look frozen, but it’s working.
- Log in with your old username and password. If the page doesn’t refresh by itself, reload it after 20 minutes.
Your dashboard should look exactly as before — same devices, same automations — only now it’s running on the SSD.
Step 4: Boot from the SSD and Check Everything
Don’t celebrate just yet. Run through this checklist to make sure the migration is truly complete:
- Check your devices. Go to Settings → Devices & services and confirm everything is listed.
- Test one automation manually. Run a simple one and watch it work. If it works, the rest almost certainly do too.
- Open your history graphs. They should load noticeably faster now — that’s the SSD doing its job.
- Check USB dongles. If you use a Zigbee or Z-Wave USB stick, confirm its integration still works. If it’s missing, unplug the stick and plug it back into the same port.
- Set up automatic backups again. In Settings → System → Backups, make sure scheduled backups are on — ideally with a copy stored outside the Pi.
Everything working? Then the migration is done. Your smart home now runs on fast, reliable storage.
What to Do with Your Old SD Card
Don’t throw the old card away — and don’t reuse it right away either. Label it with today’s date and the words “Home Assistant fallback,” then store it somewhere safe. It’s a complete, working copy of your system from right before the move: if the SSD ever fails years from now, you can pop this card back in and be online in minutes. That’s a free emergency plan.
After the SSD has run smoothly for a week or two, you can wipe the card and use it for something else. But there’s no rush — a spare fallback is never a bad thing to own.
A Simpler Alternative: Move Just the Data Disk
Short on time? Home Assistant OS can move only the data disk to an external drive — no reflashing, no backup needed. Plug the SSD into your running Pi, go to Settings → System → Storage, and move the data disk. All the heavy writing shifts to the SSD. The trade-off: the system still boots from the SD card, so the full migration above remains the more reliable long-term fix.
Common Problems and Quick Fixes
Most migrations go smoothly. But if yours doesn’t, here are the problems people hit most often, with a simple fix for each one.
The Pi keeps booting from the SD card instead of the SSD
Why it happens: the Pi always checks the SD card slot first. If the old card is still inside, the Pi boots from it and ignores the SSD.
Fix: shut the Pi down, take the SD card out entirely, and power on again with only the SSD connected. This solves the problem almost every time.
Raspberry Pi Imager doesn’t show the SSD
Why it happens: the adapter connection is loose, or the computer needs a moment to recognize the new drive.
Fix: unplug the adapter and plug it back in firmly. Try a different USB port, then restart Imager. If it still doesn’t appear, try a different cable or adapter — cheap adapters fail more often than drives do.
The restore seems stuck, and nothing is happening
Why it happens: big backups take a long time to unpack, and the first boot downloads updates in the background. The screen can look frozen for 20 minutes while everything is fine.
Fix: wait a full 30 minutes on a wired Ethernet connection before you panic. Don’t unplug the Pi — interrupting a restore is the one thing that can actually break it.
“homeassistant.local” won’t open after the restore
Why it happens: the Pi may have a new IP address, or your browser is showing old cached data from the SD-card system.
Fix: check your router’s device list for the Pi’s current address and open that directly. If that fails, clear your browser cache or use a private/incognito window.
Zigbee or Z-Wave devices are missing after the move
Why it happens: the USB stick that talks to those devices can get a different internal path in the new setup.
Fix: unplug the USB stick and plug it back into the same port it used before. Then check Settings → System → Hardware to confirm it’s detected. If the integration still complains, open it and re-select the correct device path.
The Pi won’t boot from the SSD at all
Why it happens: some USB adapters don’t play nicely with the Pi, or the drive isn’t getting stable power.
Fix: use the official Pi power supply — not a phone charger. Try a different USB port, and if possible, a different adapter or enclosure. On a Pi 5, this works out of the box; on a Pi 4, it works with recent firmware, which any Pi bought in the last few years already has.
FAQs About Migrating Home Assistant from SD Card to SSD
Will I lose my devices, automations, or settings during the migration?
No — that’s exactly what the full backup is for. It contains your devices, automations, dashboards, add-ons, and history. When you restore it onto the SSD, everything comes back exactly as it was. Just don’t skip Step 1, and keep a second copy of the backup file somewhere safe.
Can I migrate to SSD without a computer?
Not with the full migration — you need a computer to flash the SSD with Raspberry Pi Imager. But the data-disk alternative in this guide needs no computer at all: just plug the SSD into the running Pi and move the data disk from the settings. It’s less complete, but it needs nothing except the drive and an adapter.
What size SSD do I need for Home Assistant?
Less than you’d think. A 64GB or 128GB SSD is plenty for most homes, even with a year of history saved. Only go bigger if you store camera recordings or keep many years of sensor data.
Can I use an NVMe SSD, or does it have to be SATA?
Both work through a USB adapter, but a basic SATA SSD is the smarter buy. The Pi’s USB ports are the speed limit here, so an expensive NVMe drive won’t run noticeably faster for Home Assistant. Save your money.
Do I need to change any settings for the Pi to boot from SSD?
On a Raspberry Pi 5, no — USB boot works out of the box. On a Pi 4, it also works with recent firmware, which any Pi bought in the last few years already has. The one thing you must do on any model: remove the SD card, because the Pi always tries the card slot first.
How long does the whole migration take?
About 30 to 45 minutes of your own time, plus waiting: 5 to 15 minutes for the first boot and 10 to 20 minutes for the restore. Plan for about an hour end-to-end, most of it hands-off.
Quick Recap
The whole migration in five lines:
- Back up — create a full backup in Settings → System → Backups and download two copies.
- Flash — write Home Assistant OS to the SSD with Raspberry Pi Imager.
- Swap — shut down, remove the SD card, plug the SSD into a USB 3.0 port.
- Restore — boot, open
http://homeassistant.local, and restore your backup. - Verify — check devices, test an automation, and turn automatic backups back on.
And remember the three golden rules of this move: never skip the backup, never leave the old SD card in during the first SSD boot, and never unplug the Pi while it’s restoring. Follow those, and your smart home graduates from a fragile memory card to storage it can rely on for years.
