

There is a special kind of frustration that only smart-home owners know. Your Zigbee motion sensor worked perfectly for months, and then, out of nowhere, the hallway light stops responding. The sensor shows “unavailable” in Home Assistant. And there you are, standing in the dark, waving your arms like you’re landing a plane.
Most of the time, nothing is actually broken. Your Wi-Fi is simply shouting over your Zigbee network — both live in the crowded 2.4 GHz band, and when their channels overlap, the interference makes messages quietly get lost. The fix is almost embarrassingly simple: change your Zigbee channel to a quieter slice of the spectrum.
In this guide, I’ll show you how to change Zigbee channel interference patterns by moving your network away from your Wi-Fi — with separate steps for ZHA and Zigbee2MQTT, an honest look at what happens to your devices afterward, and the USB trick that fixes half of all “interference” complaints by itself. If your devices keep dropping offline, by the way, interference is one of the top suspects — and we’ve put together a full walkthrough for fixing Zigbee devices that keep going offline.
How Zigbee and Wi-Fi channels actually overlap
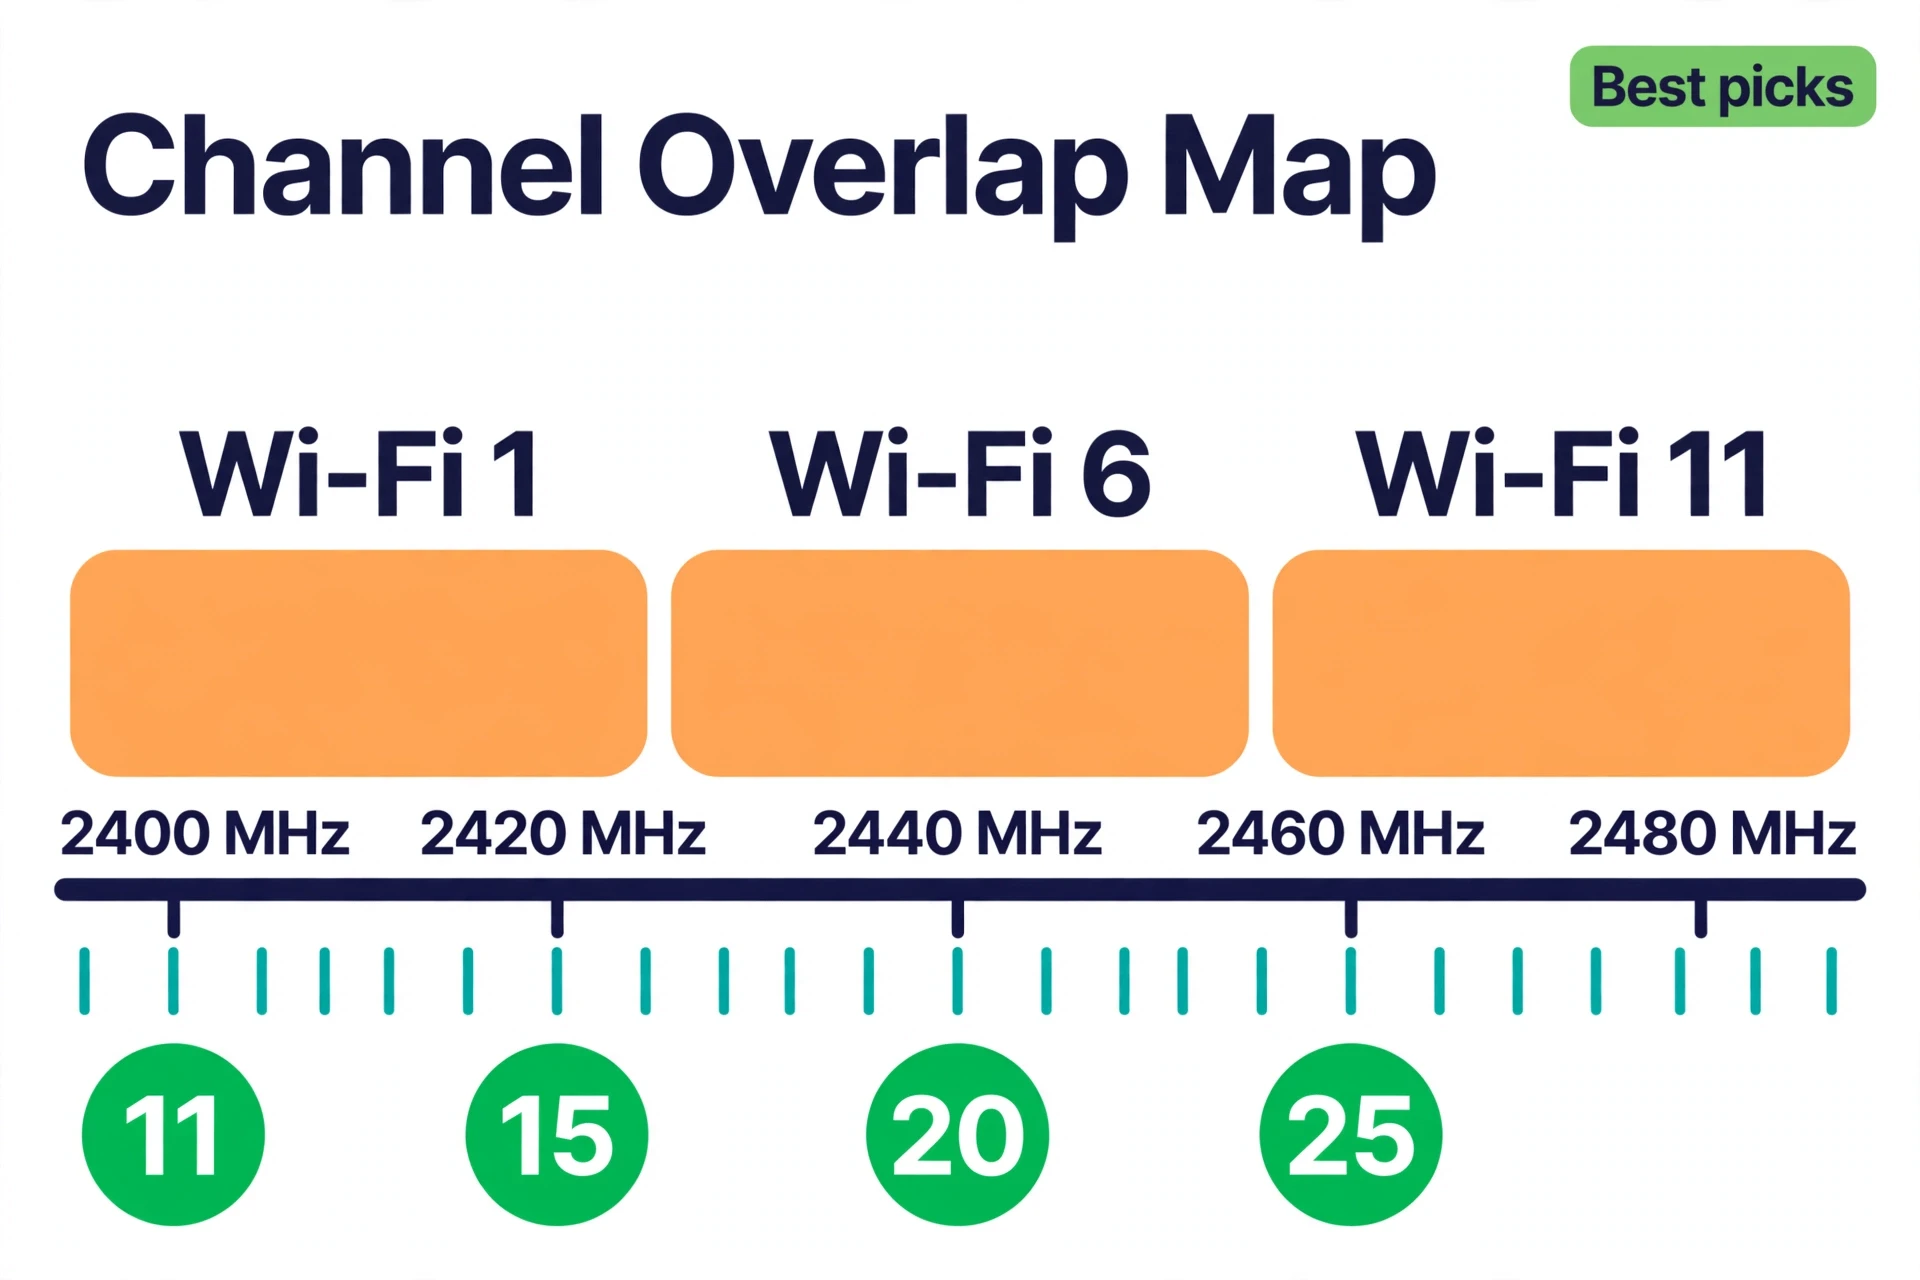
The 2.4 GHz band is a shared highway. Wi-Fi channels are wide — roughly 20 to 22 MHz each, which is why routers stick to the classic non-overlapping trio of 1, 6, and 11. Zigbee channels are narrow 2 MHz lanes, numbered 11 through 26 and spaced 5 MHz apart.
Each Zigbee channel sits at a predictable center frequency: 2405 + 5 × (channel − 11) MHz. So Zigbee channel 11 is centered at 2405 MHz, channel 15 at 2425 MHz, channel 20 at 2450 MHz, and channel 25 at 2475 MHz. Meanwhile, Wi-Fi channel 1 is centered at 2412 MHz (spanning roughly 2401–2423 MHz), Wi-Fi 6 at 2437 MHz (about 2426–2448 MHz), and Wi-Fi 11 at 2462 MHz (about 2451–2473 MHz).
A fat Wi-Fi signal easily swallows several skinny Zigbee channels at once. Here’s the overlap map that matters:
| Zigbee channel | Center frequency | Overlaps these Wi-Fi channels |
|---|---|---|
| 11 | 2405 MHz | Wi-Fi 1–2 |
| 15 | 2425 MHz | Wi-Fi 2–4 |
| 20 | 2450 MHz | Wi-Fi 6–8 |
| 25 | 2475 MHz | Wi-Fi 11–13 |
Notice something? Only four Zigbee channels — 11, 15, 20, and 25 — sit in the quiet gaps between the big Wi-Fi channels. These are the only channels you should ever use. (Channel 26 exists too, but skip it: a handful of popular devices simply don’t support it, and in some regions it runs at reduced power.)
This also explains why defaults can hurt: ZHA defaults to channel 15, Zigbee2MQTT to channel 11. If your Wi-Fi sits on channel 1, Zigbee2MQTT’s default of 11 is parked directly inside your Wi-Fi’s blast zone. No wonder things drop. If you’re still deciding between the two, our Zigbee2MQTT vs ZHA comparison breaks down which fits your setup.
Pick your new channel before you touch anything
Ten minutes of detective work now saves you from moving onto a channel that’s just as noisy:
- Find out which Wi-Fi channels are in use. Log in to your router’s admin page (usually at an address like
192.168.1.1) and check the 2.4 GHz wireless settings. Note your own access points’ channels — and the loudest neighbors’, if your router shows them. - Check your current Zigbee channel. In ZHA: Settings, then Connectivity, then Zigbee, then Network information. In Zigbee2MQTT: the frontend shows it, and it’s also in your
configuration.yaml. - Pick the Zigbee channel farthest from your Wi-Fi. Use this as your starting point:
| Your Wi-Fi 2.4 GHz channel | Zigbee channels to try | Why it works |
|---|---|---|
| Wi-Fi 1 | 25 (first choice) | Sits well above Wi-Fi 1’s 2401–2423 MHz band |
| Wi-Fi 6 | 11 or 25 (15 also works) | 11 sits far below, 25 far above the 2426–2448 MHz band |
| Wi-Fi 11 | 15 (safest) or 20 | Both clear the 2451–2473 MHz band; 20 is tighter but usually fine |
| Neighbors everywhere / not sure | Try 25, or ZHA’s Smart scan | 25 is farthest from the most common Wi-Fi setups |
- Back up Home Assistant first. Go to Settings, then System, then Backups, and take a full backup. Channel changes are safe, but a backup turns any “oops” into a five-minute restore instead of a lost weekend.
One more option: flip the problem and change your Wi-Fi channel instead. With dozens of Zigbee devices and one router, moving the router is far less work — park Wi-Fi on 1, 6, or 11 and slot Zigbee into the gaps.
How to change the Zigbee channel in ZHA
ZHA has a built-in channel change tool, so no network rebuild is needed. The official ZHA documentation walks through the same flow, including a “Smart” option that scans every channel and picks the quietest one. One caveat from those docs: best practice is to leave the channel alone unless you have a real reason — and persistent interference counts.
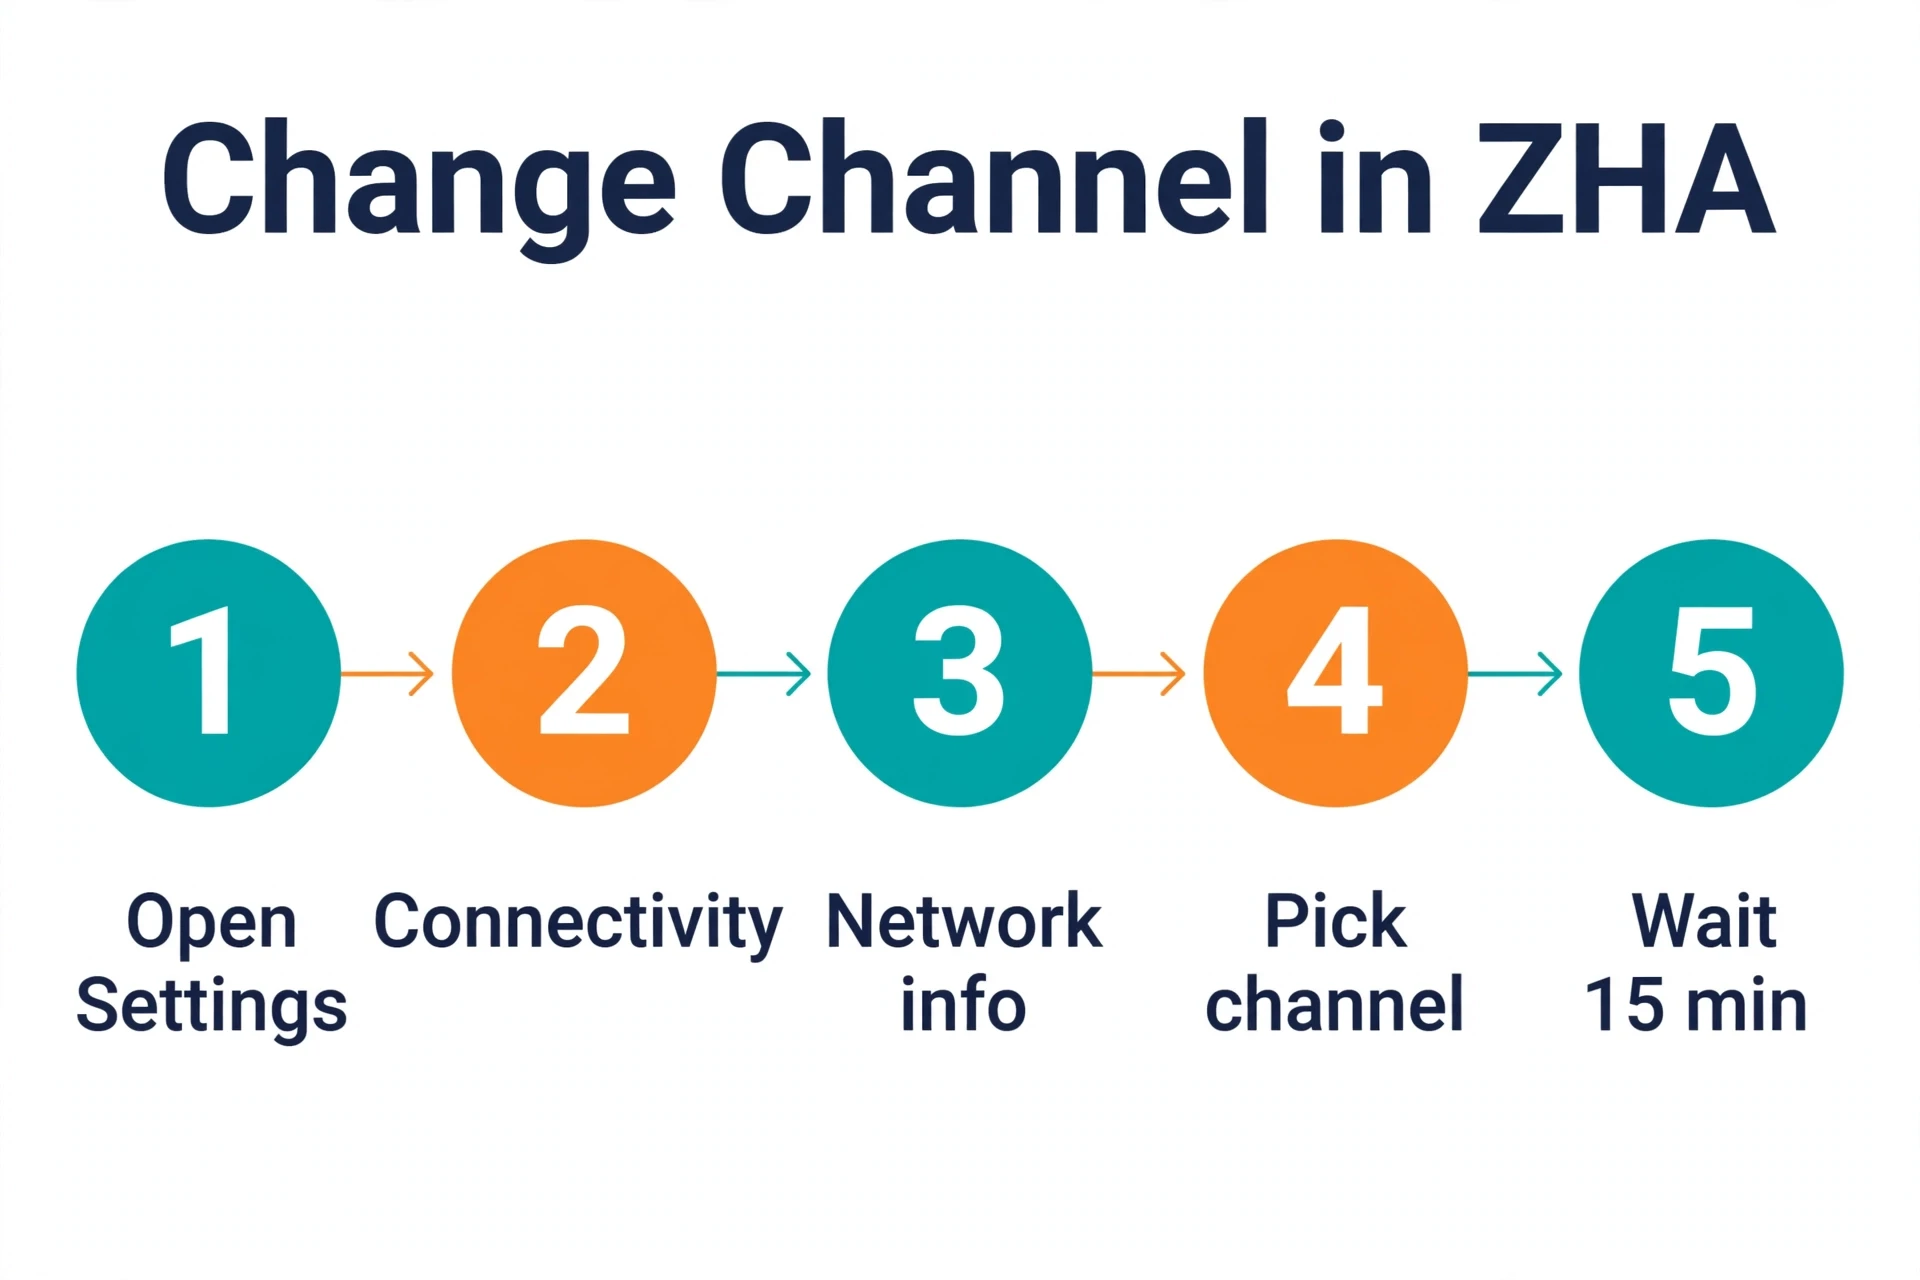
- In Home Assistant, open Settings, then Connectivity, then Zigbee.
- Select Network information.
- Click the pencil icon next to the current channel to edit it.
- Choose your new channel from the dropdown — or pick Smart and let ZHA scan all channels once and choose the quietest, preferring 15, 20, and 25. Note: it’s a one-time scan, not continuous monitoring.
- Click Change channel to confirm, then wait. The migration takes a few minutes.
- Give the mesh 10 to 15 minutes to settle before you judge the result. Link quality readings will look strange at first; that’s normal while routes rebuild.
That’s the mechanics. What happens on the device side deserves its own section — keep reading before you panic about “unavailable” entities.
How to change the Zigbee channel in Zigbee2MQTT
Zigbee2MQTT works differently: you change the channel in the configuration, restart, and the coordinator forms the network on the new frequency. Zigbee2MQTT’s official documentation is blunt about the cost: changing the channel means re-pairing every single device. Schedule this for a quiet evening, not five minutes before guests arrive.
- Open the Zigbee2MQTT frontend and go to Settings, then Advanced, then ZigBee channel, and set your new channel (11, 15, 20, or 25). If you prefer editing files, set
channel: 25in yourconfiguration.yamlinstead. - Stop the Zigbee2MQTT add-on or service completely.
- Start it again and confirm the new channel in the frontend or startup logs. If the logs still show the old channel (a “configured vs. adapter” mismatch), stop Zigbee2MQTT, delete the stale
coordinator_backup.jsonfrom the data folder — it can pin the old channel — and start up again. - Enable permit join in the frontend.
- Re-pair every device, working methodically: pair all mains-powered routers first so the mesh backbone rebuilds, then the battery devices. Pair each device close to the coordinator or a router, then move it to its final spot.
One mercy: Zigbee2MQTT matches re-paired devices by IEEE address, so friendly names usually pop right back. Still, test your automations afterward.
What happens to your devices after a channel change
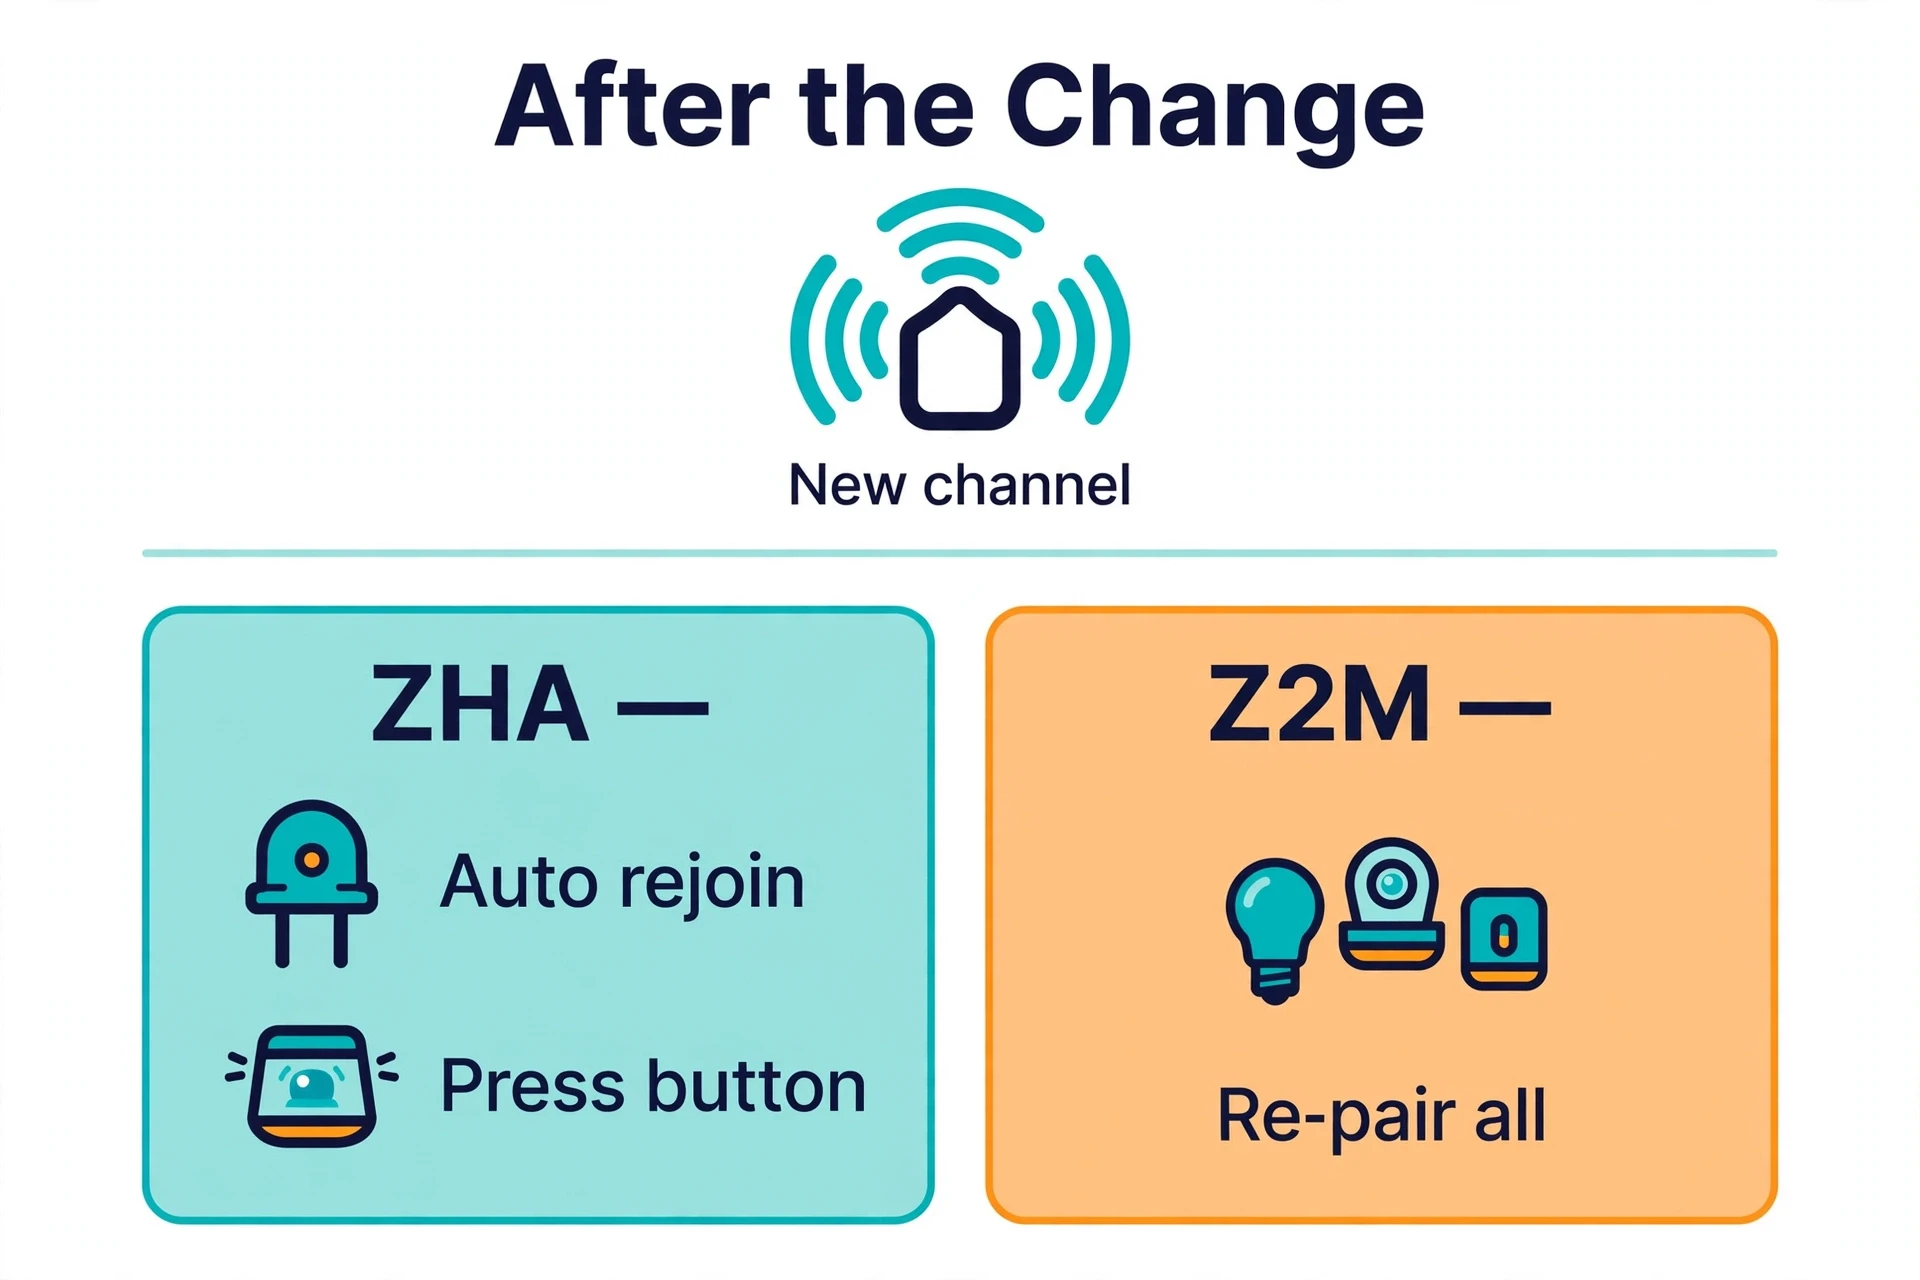
A channel change moves your whole network to a new frequency. Devices can’t hear the old one anymore — they must find the network again. How painful that is depends on your integration.
In ZHA, most mains-powered routers — smart plugs, wired switches, always-on bulbs — rejoin on their own within minutes. Battery devices are the drama queens: they sleep most of the time and often miss the move entirely. If a sensor stays “unavailable” after half an hour, wake it with a button press; if that fails, re-pair it via ZHA’s add-device mode. Don’t delete the device from Home Assistant first — re-pairing into the existing entry keeps entity names and automations intact.
In Zigbee2MQTT, every device must be re-paired — no exceptions. The upside: you rebuild a clean, healthy mesh. Pair routers first, working outward from the coordinator like ripples in a pond, then add battery devices last so they latch onto the nearest router.
Either way: don’t judge the network for at least a day — link quality bounces while the mesh rediscovers routes. If a device won’t come back, check the basics: fresh battery, close pairing distance, permit join actually enabled. And keep that backup handy — restoring beats midnight troubleshooting.
The USB interference trick most people miss
Here’s the thing nobody tells you: sometimes the interference isn’t coming from your Wi-Fi at all. It’s coming from the computer your Zigbee dongle is plugged into.
USB 3.0 ports radiate noise right across the 2.4 GHz band. A dongle plugged directly into a Raspberry Pi next to a USB 3.0 SSD is trying to whisper beside a jet engine — and no channel change fixes that, because the noise is broadband: it pollutes every channel at once.
The fix costs almost nothing — do it before or right after your channel change:
- Put your Zigbee dongle on a USB 2.0 extension cable, one to two meters long, and get it physically away from the computer.
- Keep it away from USB 3.0 ports, external SSDs, and hard drives — these are the worst offenders.
- Place the dongle somewhere central and elevated if you can: on top of a shelf beats behind a TV cabinet every time.
- Don’t coil the extension cable tightly around power bricks or other electronics.
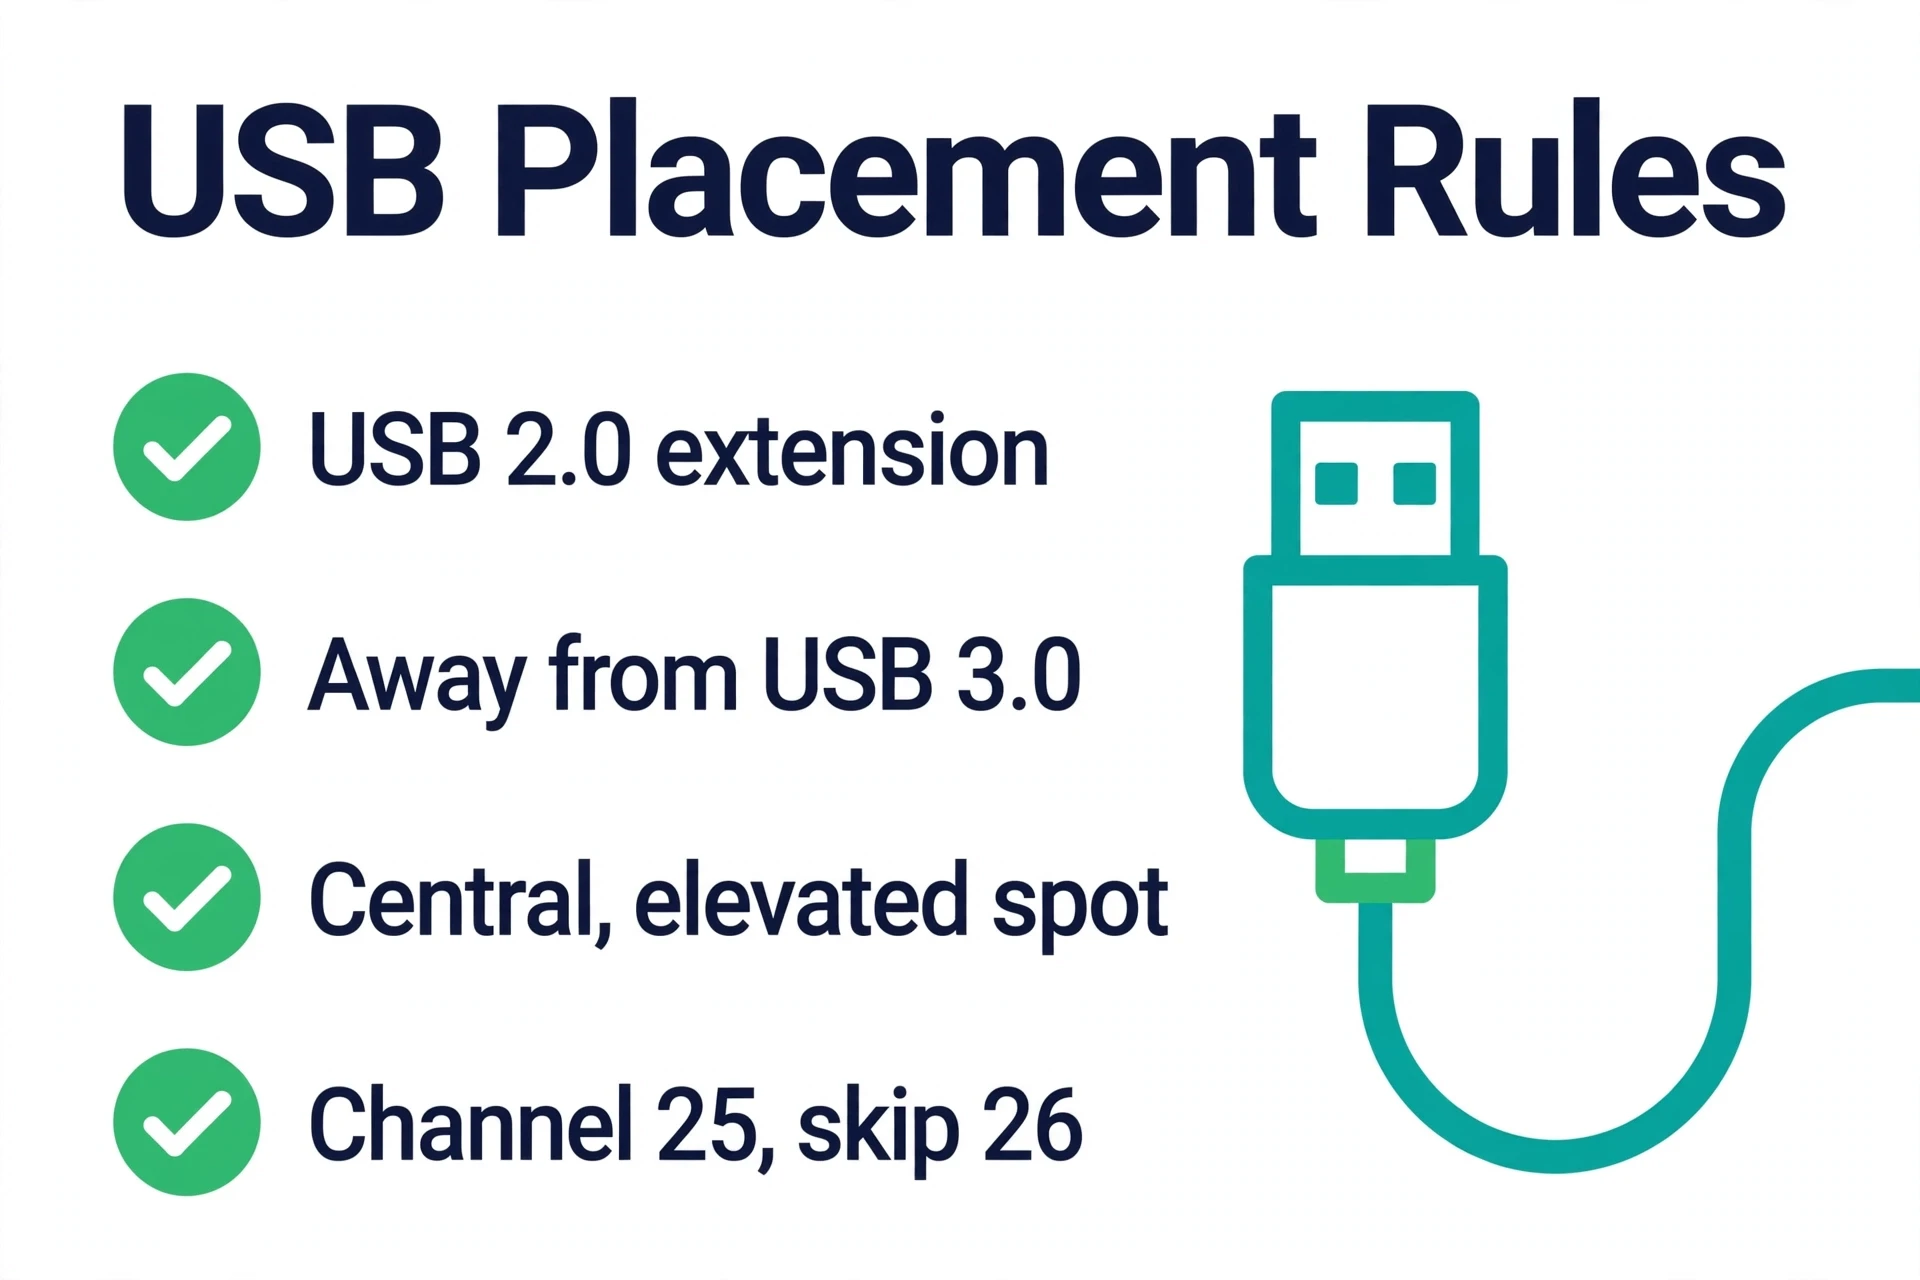
Both the ZHA and Zigbee2MQTT docs recommend this, and it resolves a shocking number of “mystery interference” cases on its own. If dropouts persist after a channel change, the dongle’s placement is suspect number one.
When the channel change doesn’t fix it
Sometimes you do everything right and the gremlins persist. If you’re new to how these radios fit together, our plain-English guide to what smart technology actually is is a good backgrounder. Otherwise, work through these three usual suspects.
Your devices won’t come back online
Wait a full 30 minutes first — meshes heal slower than you’d expect. Then wake each battery device with a button press; sleepy sensors don’t check in on your schedule. Still “unavailable”? Re-pair it without deleting it from Home Assistant. Still nothing? Check for a dead battery, pair within a couple of meters of the coordinator or a router, and confirm permit join is actually enabled — it loves to time out.
Zigbee2MQTT ignored your new channel
The telltale symptom: startup logs show a “configured vs. adapter” channel mismatch — the old channel is pinned in the stale coordinator_backup.json. Stop Zigbee2MQTT, delete that file from the data folder, and start up again so the new channel from configuration.yaml applies. Then verify the frontend shows the intended channel.
Everything worked for a day, then the dropouts returned
Two likely culprits. First, a neighbor’s router on “auto” channel selection hopped onto your quiet frequency overnight — re-scan and move again, or let ZHA’s Smart scan pick a fresh winner. Second, something physical changed: the dongle got nudged next to a USB 3.0 port. Also check timing: microwaves blast noise around 2.45 GHz, so if dropouts match cooking times, you’ve found your culprit — distance is the only fix.
Frequently asked questions
Will changing the Zigbee channel delete my devices or automations?
No. In ZHA, devices stay in Home Assistant and most mains-powered ones rejoin alone; only stubborn battery devices need re-pairing. In Zigbee2MQTT, everything must be re-paired, though friendly names usually restore automatically via IEEE address matching. Re-pair into existing entries instead of deleting devices, and automations keep working. And take that backup first.
Which Zigbee channel is best if my Wi-Fi is on channel 6?
Zigbee channel 11 or 25 — both sit well clear of Wi-Fi 6’s 2426–2448 MHz band. Channel 15 works too; it sits just below Wi-Fi 6’s lower edge. Or let ZHA’s Smart option scan and decide for you.
Can I just change my Wi-Fi channel instead of the Zigbee channel?
Absolutely — sometimes it’s the smarter move. With dozens of Zigbee devices and one router, moving the router is far less work. Stick 2.4 GHz Wi-Fi on channel 1, 6, or 11 and slot Zigbee into the gaps using the overlap math above. Bonus: move TVs and laptops to 5 GHz — every device off 2.4 GHz is less noise for Zigbee.
Why does everyone say to avoid Zigbee channel 26?
First, some popular devices — certain Aqara and Xiaomi sensors among them — don’t scan channel 26, so they’d never find your network. Second, in some regions 26 runs at reduced transmit power, quietly shrinking range. Channels 11, 15, 20, and 25 work with everything — no reason to gamble.
How do I know the interference is actually gone?
Give it 48 hours and watch three things: LQI values should climb and stabilize, random “unavailable” episodes should stop, and automations should feel snappy again. For proof, note a few LQI readings before the change and compare days later. No improvement? Revisit USB placement — the most common reason a channel change “doesn’t work.”
The short version
Wi-Fi and Zigbee share the 2.4 GHz band, and overlapping channels cause the mysterious dropouts. The fix: find which Wi-Fi channels are busy, pick a Zigbee channel from 11, 15, 20, or 25 sitting farthest away, and move. In ZHA: Settings, then Connectivity, then Zigbee, then Network information, then Change channel. In Zigbee2MQTT: config change, restart, re-pair everything. Fix USB placement too, give the mesh a day to settle, and enjoy the silence.
