


Imagine this: you walk into your kitchen, say “turn on the lights,” and your house obeys instantly. No internet lag. No recording sent to a data center. Nothing you said ever leaves your walls.
If you have ever wanted that kind of magic — a voice assistant that answers fast, keeps working during internet outages, and never ships your voice to a tech company’s servers — you are in the right place. This guide shows you how to build a local voice assistant with Home Assistant that runs entirely inside your home. You will install free local tools for listening and speaking, set up a wake word, and start controlling your smart home by voice. And because everything happens on your own hardware, a local voice assistant Home Assistant owners build this way is private by design.
Here is the best part: it is a practical example of smart technology at its best. By the end of this tutorial you will have a working voice assistant that toggles lights, runs automations, and answers simple questions — all by voice. Let us build it step by step.
How a Local Voice Assistant with Home Assistant Actually Works
First, let us understand the moving parts. A voice command travels through a short chain of steps called the Assist pipeline. Each step is a separate tool, so you can swap any of them later without breaking the rest.
Here is what happens:
| Stage | What happens | Local tool |
|---|---|---|
| Wake word | Listens for a trigger phrase like “okay nabu” and wakes up | openWakeWord |
| Speech to text | Turns your spoken words into written text | Whisper |
| Intent handling | Figures out what you want and finds the right device | Assist (Home Assistant) |
| Text to speech | Turns the answer into a spoken voice and plays it back | Piper |
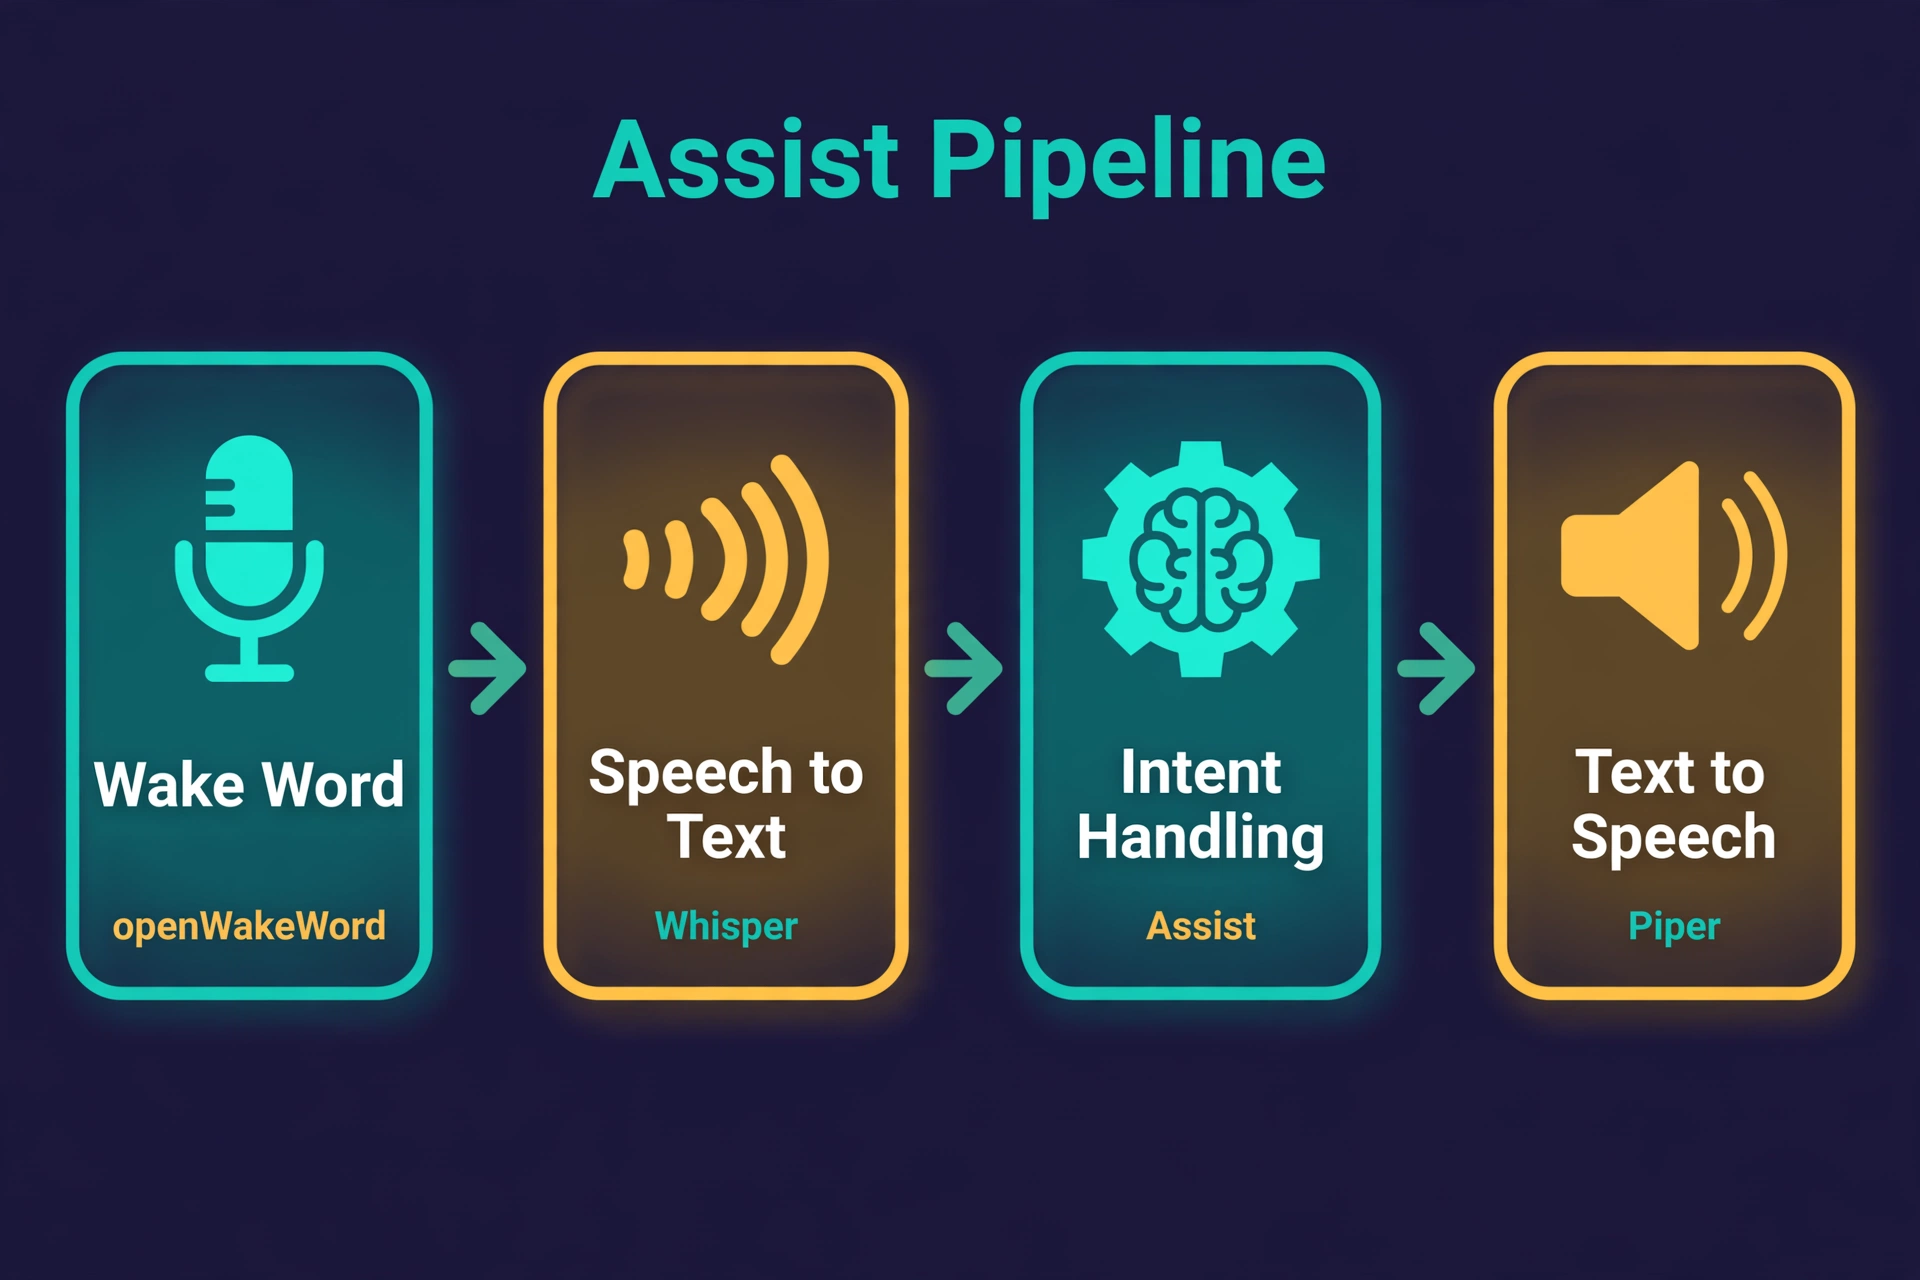
Every one of these tools runs on your own machine — Whisper, Piper, and openWakeWord are all free and open source, and install as official add-ons with a few clicks. Home Assistant acts as the brain in the middle, and it is widely regarded as one of the best home automation systems for exactly this kind of local control.
What You Need: Hardware for a Local Voice Assistant
You need three ingredients: a microphone, a speaker, and a machine strong enough to run Home Assistant plus the voice tools. Here are your options, cheapest first.
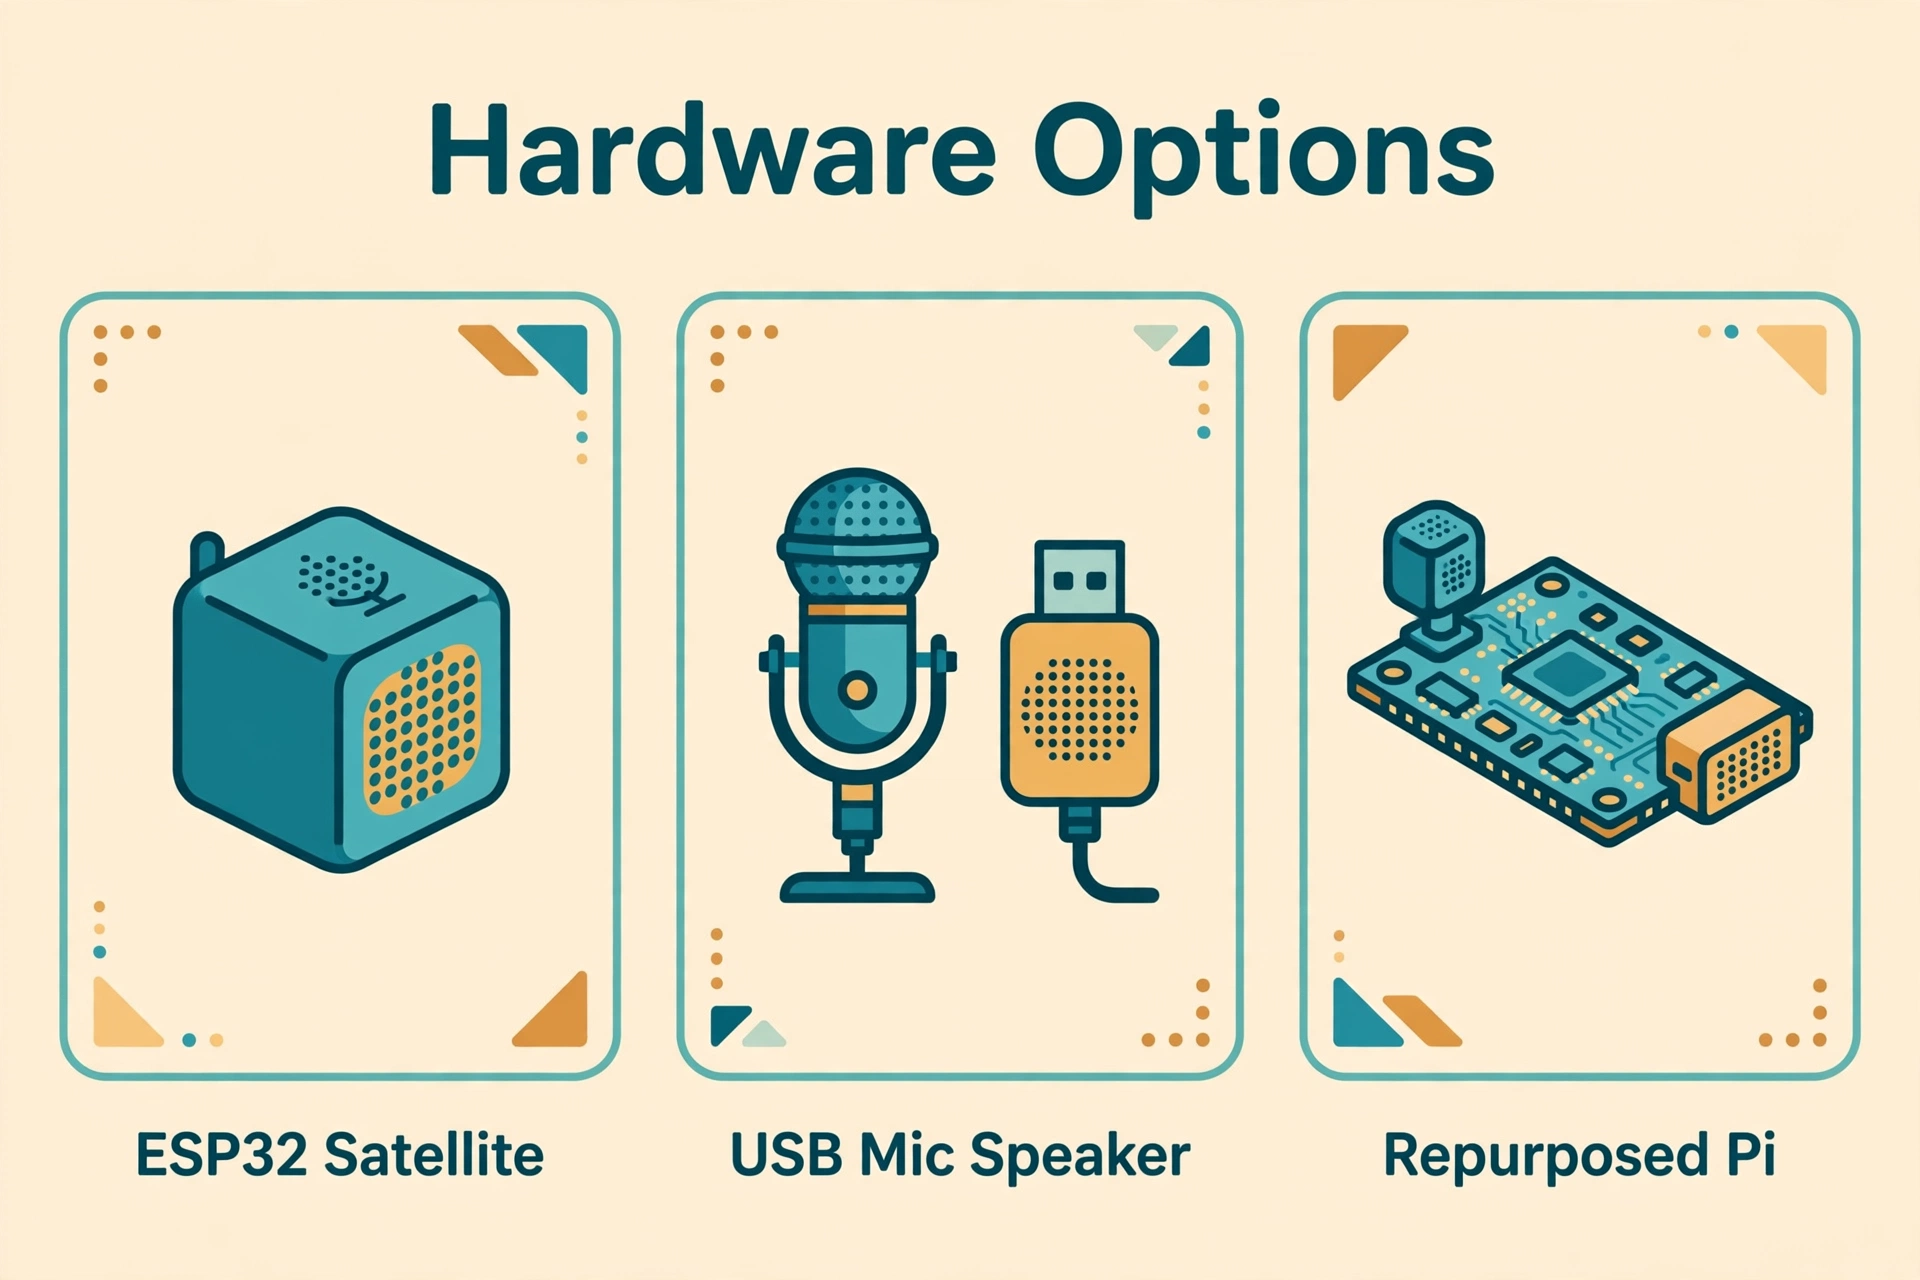
Option 1: An ESP32 Voice Satellite (Recommended)
The cheapest and most flexible route is a tiny ESP32-based device that acts as a “voice satellite” — a small mic-and-speaker box per room. The M5Stack ATOM Echo is the community favorite at around $10–15, with a built-in microphone, speaker, and WiFi, running ESPHome firmware that talks directly to your pipeline.
Home Assistant also sells its own official device, the Voice Preview Edition, if you would rather buy something purpose-built. Details are in the official Home Assistant voice documentation. One satellite per room gives you whole-home voice control.
Option 2: A USB Microphone and Speaker
If you just want to experiment at your desk, plug a USB microphone and a USB speaker (or a combo headset) directly into the machine running Home Assistant. This costs almost nothing if you already own the gear. The catch is obvious: the microphone only hears well in the room where the server sits.
Option 3: A Repurposed Old Device
An old Raspberry Pi with a USB mic and a cheap speaker makes a fine satellite. Install the Wyoming Satellite software on it, point it at your Home Assistant instance, and it behaves like a store-bought satellite. A nice weekend project if you have spare hardware lying around.
Minimum Requirements for the Server
- Home Assistant installed (Home Assistant OS is the easiest route)
- A machine with at least 4 GB of RAM — a Raspberry Pi 5 or, better yet, a mini PC powerful enough to run the voice pipeline
- SSD storage recommended, since Whisper and Piper download models that can take up a few gigabytes
- Same local network for Home Assistant and all satellites (WiFi works fine)
One honest warning: Whisper’s speech recognition is the heaviest part of the chain. A Pi handles the small models fine, but a small x86 machine responds noticeably faster.
Step 1: Install the Whisper and Piper Add-Ons
First, we install the two engines that do the listening and speaking. Both live in the official add-on store, so setup takes only a few minutes.
- Open your Home Assistant dashboard at
homeassistant.local:8123and log in. - Go to Settings → Add-ons → Add-on Store.
- Search for Whisper, click it, then click Install.
- In the add-on’s Configuration, pick a model. Start with
tiny-int8(fastest) orbase-int8(a good balance). You can change this later. - Set your language, then click Start on the info tab.
- Go back to the Add-on Store and do the same for Piper (text-to-speech).
- In Piper’s configuration, pick a voice —
en_US-lessac-mediumis a safe, natural-sounding default — then click Start. - You should see the Wyoming protocol integration appear as discovered. Click Configure on each entry so Home Assistant creates the speech-to-text and text-to-speech entities.
Give both add-ons a few minutes on first launch — they download their models in the background.
Step 2: Create Your Local Voice Assistant Pipeline
Now we connect the engines into one pipeline — telling Home Assistant to use Whisper’s ears, its own brain, and Piper’s voice.
- Go to Settings → Voice assistants.
- Click Add assistant (or edit the default one).
- Name the pipeline, like “House” or “Jarvis.”
- Set the Conversation agent to Home Assistant — this is the built-in brain that controls your devices, answers timers and weather questions, and needs no cloud account.
- Set Speech-to-text to the faster-whisper entry you just added.
- Set Text-to-speech to the piper entry and pick your voice.
- Choose your language, then Save. If you have more than one pipeline, mark this one as the preferred assistant.
The pipeline exists now, but nothing can hear you yet — that changes in the next step.
Step 3: Set Up the Wake Word
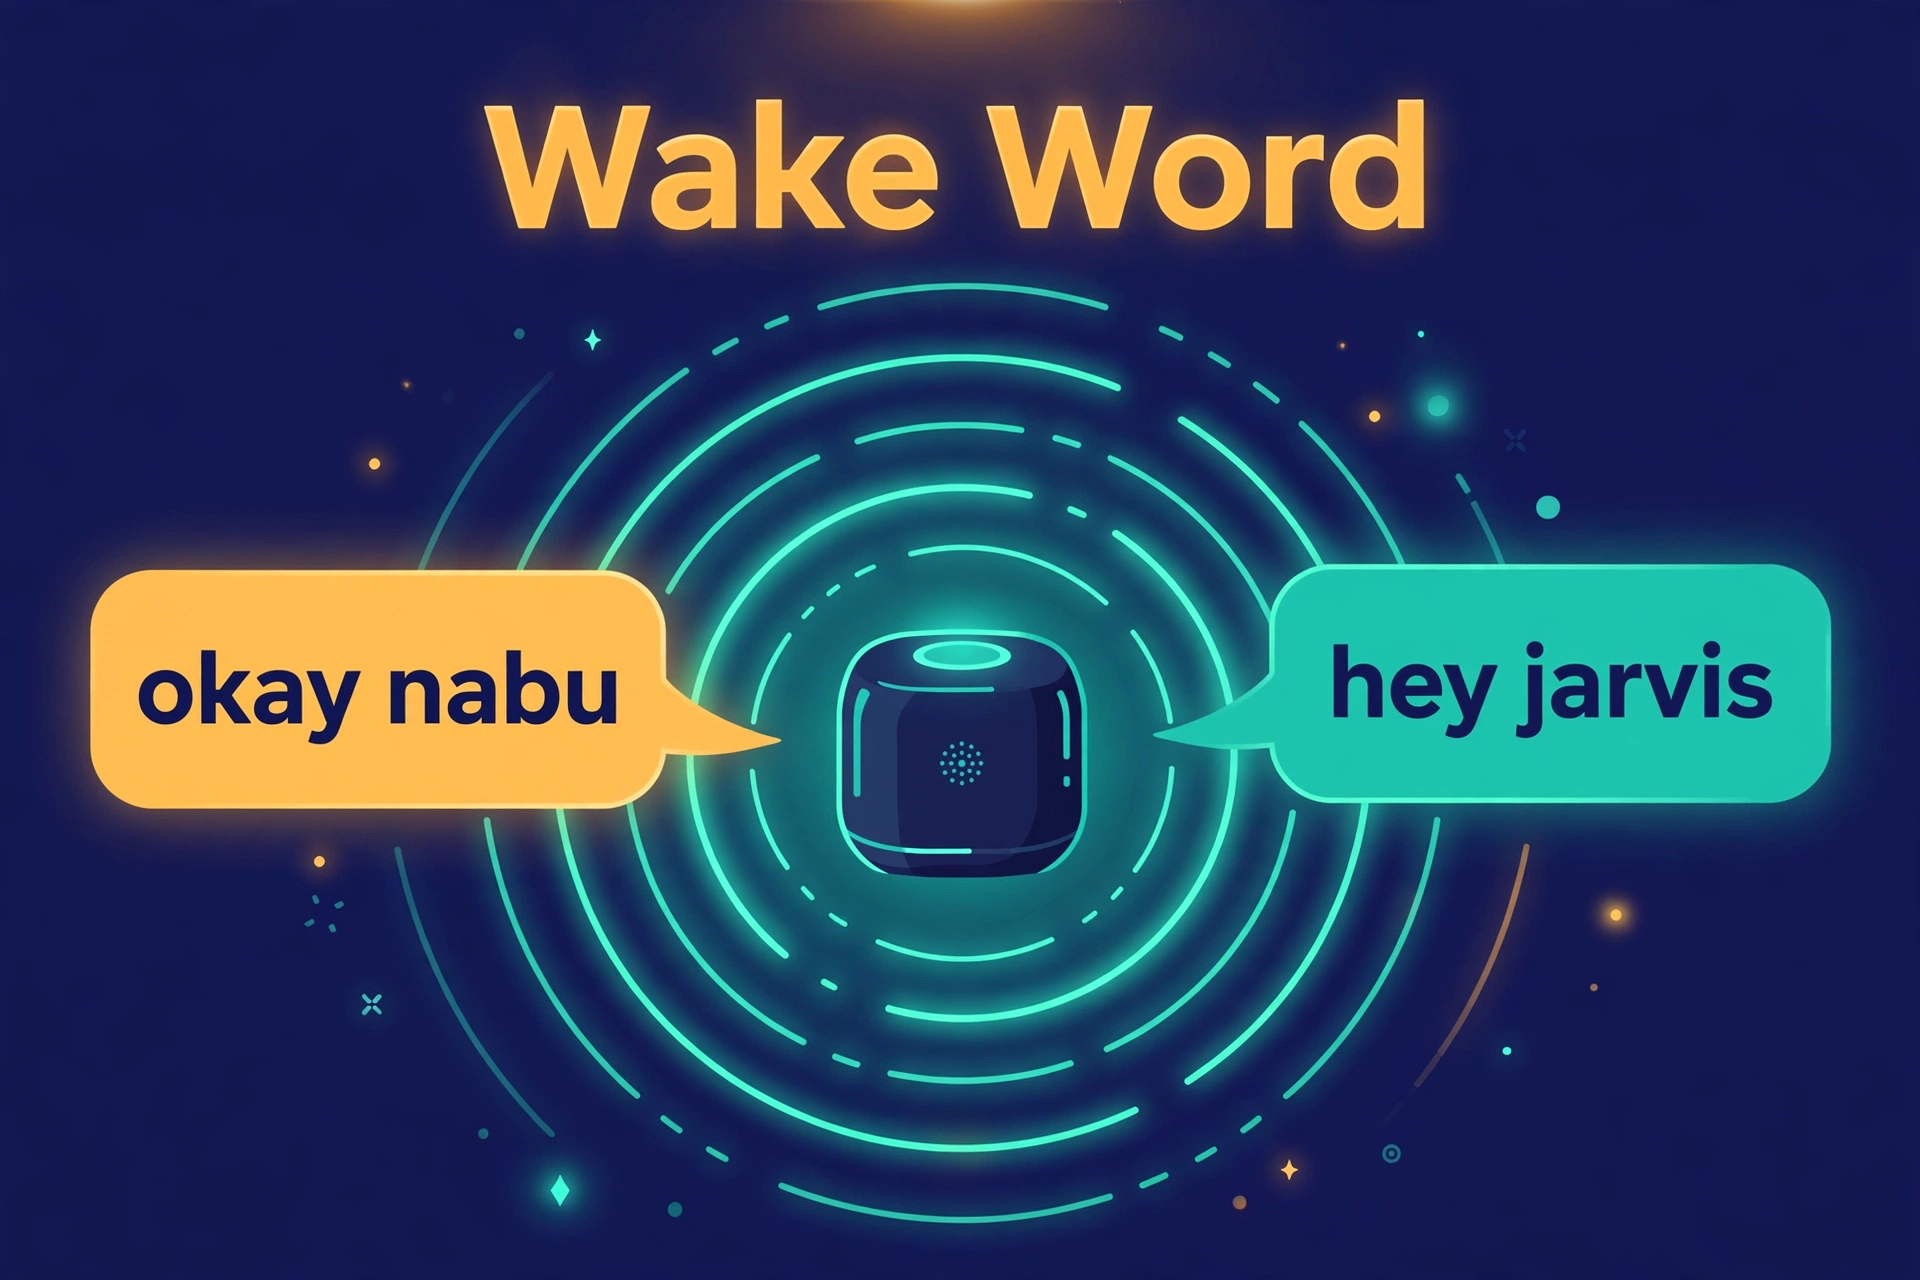
The wake word is the trigger phrase that tells your assistant to start listening — like saying “Hey Siri” on a phone. The openWakeWord add-on handles it locally, so microphone audio never leaves the house until the wake word is heard.
- Go to Settings → Add-ons → Add-on Store and install openWakeWord.
- In its Configuration, pick one or more wake words. Defaults include “okay nabu” and “hey jarvis”.
- Click Start, then configure the Wyoming integration under Settings → Devices & services if a new discovered entry appears.
- Open your pipeline and set the Wake word field to the phrase you chose, then Save.
On ESP32 satellites, the wake word can also run directly on the device itself — snappier for a single satellite, while the add-on is easier to manage across rooms. More detail is in the voice control section of Home Assistant’s official docs.
Step 4: Add a Voice Satellite
This step is optional — you can test everything from the Assist button in the app — but a real satellite makes the setup feel magical.
- Flash the ATOM Echo with the ready-made ESPHome voice satellite firmware from your computer’s browser (ESPHome’s web flasher works in Chrome and Edge).
- During setup, connect the device to your WiFi network and name it, like “Kitchen.”
- Open Home Assistant and go to Settings → Devices & services. The ESPHome integration should discover the new device — click Configure and enter the API encryption key if asked.
- Open the satellite’s device page and set its Assist pipeline to the pipeline from Step 2 (or leave it on “Preferred assistant”).
- Choose which speaker replies play through — the satellite’s own speaker is simplest, but you can point responses at a better speaker in the same room.
- Say your wake word, wait for the light or tone, then say “turn on the kitchen lights.”
Once this works, voice control covers nearly everything Home Assistant can already control — including the devices in our guide to Matter-compatible smart home devices.
Step 5: Expose Scripts and Automations to Voice
Out of the box, Assist already understands a lot: “turn on the living room lights,” “lock the front door,” “what’s the weather,” “set a timer for ten minutes,” and similar commands. The real fun starts when you teach it your own routines.
The simplest way is exposing entities so voice commands can reach them:
- Go to Settings → Voice assistants and click the Expose tab.
- Click Expose entities and pick the devices you want voice control over — lights, switches, locks, media players, scripts, and automations.
- Give entities clear, speakable names. “Kitchen ceiling light” works far better than “light.kitchen_1.”
- Add aliases for anything you might phrase differently — alias “TV” for “living room television,” for example, so both work.
The second way is custom sentences — new voice commands you invent that trigger scripts:
- Go to Settings → Voice assistants → Custom sentences.
- Add a sentence like “movie time” and link it to a script that dims the lights and turns on the TV.
- Test the sentence in the Assist test tool before relying on it.
- Add variations (“start movie mode,” “it’s movie time”) so natural phrasing keeps working.
Keep custom commands short and distinct. “Good night” beats “please initiate the evening shutdown routine” — you will never say the second one twice.
Step 6: Test Everything
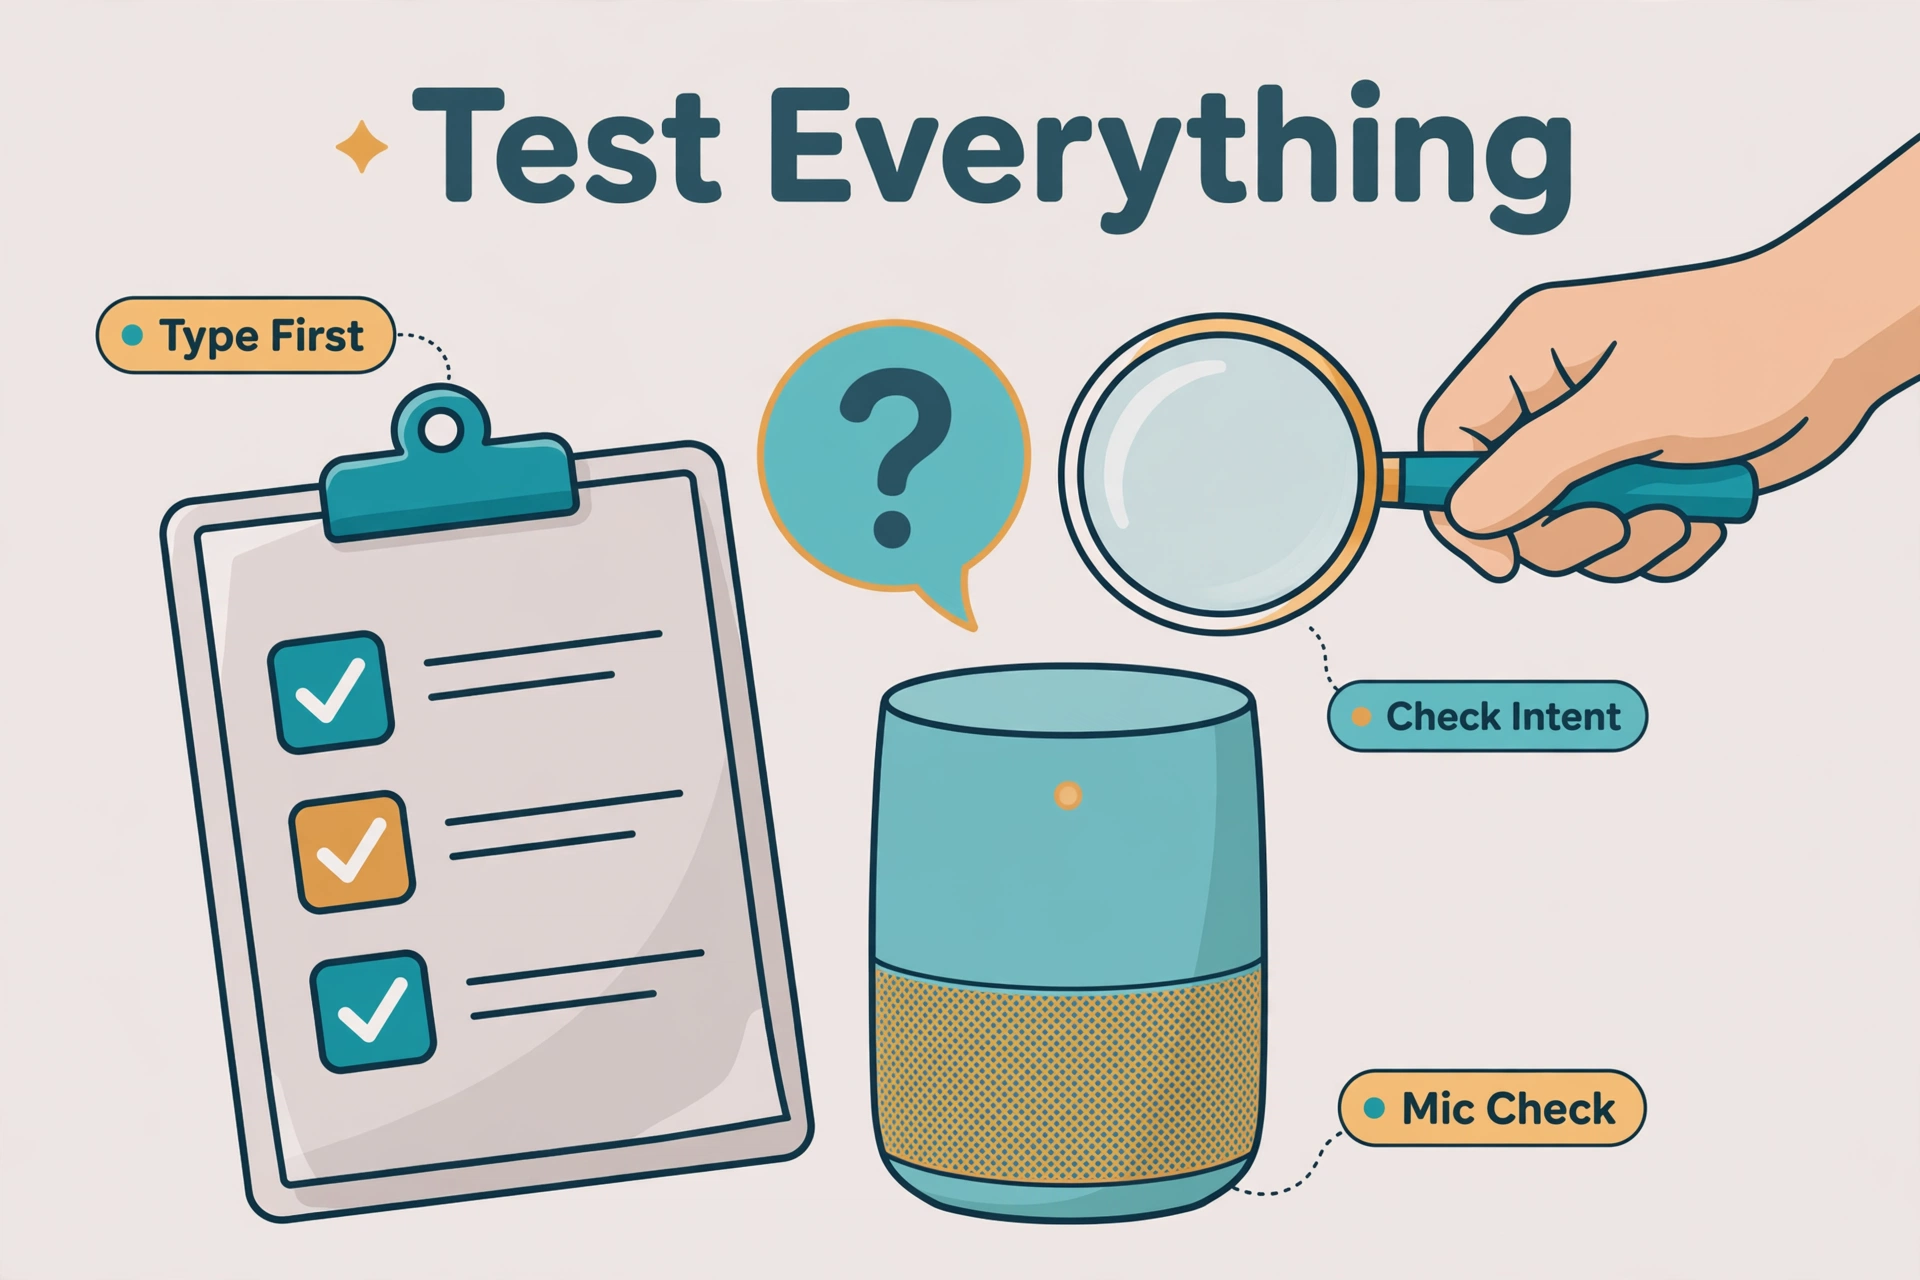
Testing by talking is fun, but testing by typing is faster. Home Assistant’s Assist test tool shows you exactly which intent matched and which entities were targeted — perfect for debugging without shouting across the room.
- Go to Developer Tools → Assist.
- Type “turn on the kitchen lights” and run it.
- Check which intent matched and whether the right entity was targeted. If the wrong device lit up, rename the entity or add an alias.
- Repeat for every custom sentence you created.
- Now test by voice: trigger the wake word, wait for the acknowledgment tone, and speak at a normal volume.
- Try it from different spots in the room. Cheap satellite microphones pick up nearby sound best, so knowing the effective range saves frustration later.
If typed commands work but spoken ones fail, suspect the microphone or the Whisper model size.
Troubleshooting: Fixing Common Problems
The Wake Word Is Not Heard (or It Mis-Fires Constantly)
Confirm the openWakeWord add-on is running under Settings → Add-ons, and that your pipeline’s wake word matches a loaded model — a mismatch is the most common cause. If detection is spotty, reduce background noise and speak at a natural pace. If it mis-fires on random speech, try a more distinctive phrase like “hey jarvis.”
Whisper Transcribes Everything Wrong
Bad transcription means a weak model or a weak microphone. If tiny-int8 is inaccurate, step up to base-int8 or small-int8 in the Whisper configuration — bigger models need more CPU and RAM. Also check the mic input level: distant, quiet, or echoey audio is hard for any speech engine to decode, so keep the mic close to where you speak.
Piper Sounds Glitchy or Completely Silent
Glitchy audio often means the voice model is still downloading — restart the Piper add-on and wait a few minutes. If you hear nothing at all, check the pipeline’s text-to-speech setting and the speaker it sends replies to. If a voice just sounds bad, try another one in Piper’s configuration; quality varies a lot.
The Satellite Connects but Never Responds
When the satellite shows up but ignores commands, check its pipeline assignment on the device page (or “Preferred assistant”), then confirm the Wyoming entries for Whisper and Piper are running. Also make sure both devices are on the same network — WiFi isolation or a guest network silently breaks the connection.
Commands Work by Typing but Not by Voice
This is almost always audio quality, not intent matching. Since the test tool proves the brain understands you, focus on the ears: reposition the mic, cut background noise, and consider a bigger Whisper model. On the ATOM Echo, speaking from several meters away in a noisy room defeats even a good setup — add a second satellite for large rooms.
Privacy Notes Worth Knowing
The whole point of this project is privacy, so let us be precise about what stays private and what does not.
With Whisper, Piper, openWakeWord, and the built-in Home Assistant conversation agent, nothing leaves your network. Audio is captured, transcribed, understood, and answered locally. Unplug your internet cable and the assistant keeps working — try that with a cloud speaker.
Two things to watch, though. First, if you ever switch the pipeline’s conversation agent to a cloud LLM or enable Home Assistant Cloud’s voice features, audio and transcripts will go to the cloud — your choice, but no longer fully local. Second, keep Home Assistant’s optional audio recording off unless you are actively troubleshooting, since recordings turn private audio into stored data.
Frequently Asked Questions
Does a local voice assistant with Home Assistant work without internet?
Yes — that is the main reason to build one. Once the models are downloaded, the entire pipeline runs on your local network. Commands, timers, device control, and announcements all work with the internet cable unplugged. The only exceptions are answers that inherently need the web, like weather forecasts.
How powerful a server do I need?
A Raspberry Pi 5 with 4 GB of RAM and the small Whisper model handles a single satellite fine. For faster responses, multiple satellites, or the more accurate models, step up to a small x86 mini PC with 8 GB of RAM or more — speech-to-text is the heaviest step, so CPU power there means snappier replies.
Can I use “Alexa” or “Hey Google” as the wake word?
You could train a custom wake word model, but it is not recommended — those phrases are trademarked, and they confuse everyone in the house since the real devices respond to them too. The built-in options like “okay nabu” and “hey jarvis” work well and keep things unambiguous.
Which languages are supported?
Whisper supports dozens of languages, and Piper ships voices in many languages too. Set the same language in both add-ons and your pipeline. English has the most voices and the best accuracy, but other major languages work well too.
Can I use different wake words in different rooms?
Yes. Create multiple pipelines, each with its own wake word, and assign each satellite to a different one. The kitchen could answer to “hey jarvis” while the bedroom uses “okay nabu” — handy in open-plan homes where one satellite might overhear another room’s commands.
The Bottom Line
You now have a local voice assistant with Home Assistant that listens, understands, and answers without ever phoning home. Start small — one satellite, a handful of exposed devices, a couple of custom sentences — and grow from there. The pipeline you built today can later gain new voices, smarter wake words, or even a local LLM brain, all without giving up the privacy that makes this setup special.
Your house is listening now. For once, that is a good thing.
