

How to Configure mmWave Detection Zones (ESPHome Guide)
A normal motion sensor can tell you that something moved. It cannot tell you where. That is why your lights still turn off while you sit on the sofa, and why a cheap PIR sensor fires every time the cat walks past. Zones fix that. With a proper mmWave detection zones setup, your sensor knows the difference between the sofa, the desk, and the doorway — and your automations can react to each spot in the room differently.
In this guide you will configure detection zones on an LD2450 mmWave radar using ESPHome, step by step. You will plan the zones on paper first, enter the coordinates in YAML, and then fine-tune them live from Home Assistant. No soldering skills beyond basic ESP32 flashing are needed, and every change after the first flash can be done over the air.
What mmWave Detection Zones Actually Do
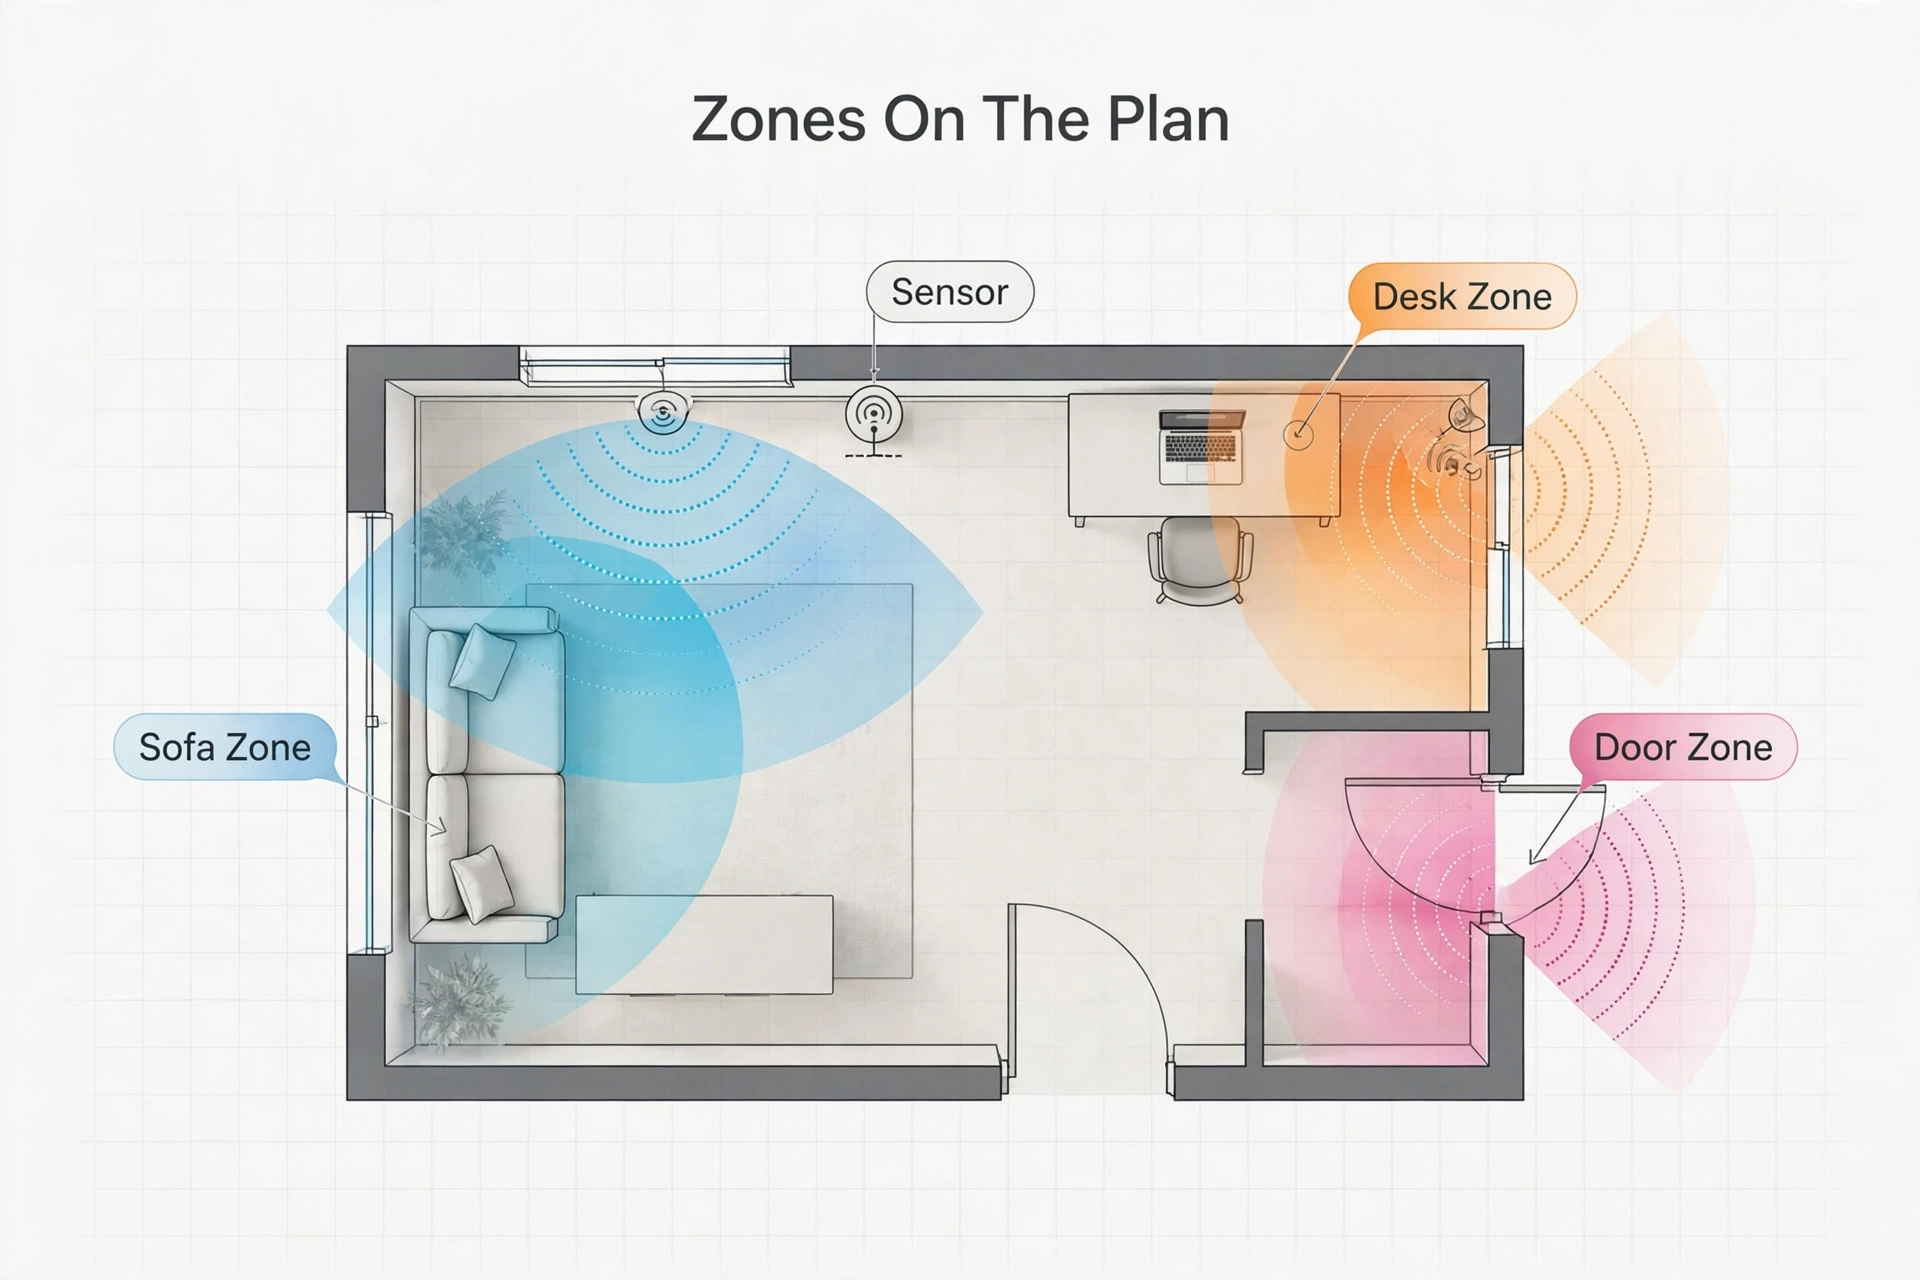
The LD2450 is a small 24 GHz radar module. Unlike a PIR sensor, which only notices heat movement, the LD2450 tracks moving targets and reports each one as a point on a map: an X coordinate (left or right of the sensor) and a Y coordinate (how far in front of it). It can follow up to three targets at the same time. If you want the full background on how this compares with a classic PIR, our guide to mmWave vs PIR motion sensors explains the difference in detail.
A detection zone is simply a rectangle on that map. The moment a tracked target steps inside the rectangle, ESPHome turns on a binary sensor for that zone. Step out, wait a few seconds, and it turns off again. Your automations then use those zone sensors exactly like any other presence sensor — except each one covers one chosen part of the room.
Zones vs. plain presence
Plain presence answers one question: “Is anyone in this room?” Zones answer a better one: “Where in the room are they?” That one change unlocks smarter automations. The reading lamp can follow the desk chair. The TV area lights can stay on while the hallway corner stays dark. A night light path can light up only when someone crosses the doorway zone at 2 a.m. None of that is possible with a single whole-room sensor.
What You Need Before You Start
Gather everything first, so the setup goes in one sitting:
- An LD2450 mmWave module (the common Hi-Link board sold for DIY presence projects)
- An ESP32 development board with spare UART pins
- A USB cable for the first ESPHome flash
- Home Assistant with the ESPHome add-on installed and working
- A tape measure and a piece of paper for sketching your room
- A phone or laptop to watch test results live in Home Assistant
The sensor itself connects with just four wires: power, ground, TX, and RX. ESPHome talks to the LD2450 over a UART connection at 256000 baud, which is the default in the official configuration.
Step 1: Mount the Sensor Where It Can See the Room
Placement decides how well your zones work, so take five minutes here. The LD2450 looks outward in a wide cone in front of the board. Anything between the sensor and the person — a thick bookshelf, a metal cabinet — blocks the view.
Follow these simple rules:
- Mount the sensor on the wall opposite the area you care about, or in a corner looking across the room.
- Keep it roughly at chest to head height for a seated room, so sofas and desks sit inside the cone.
- Point it slightly downward if it sits high, so the floor area is covered.
- Keep it away from ceiling fans, moving curtains, and large metal objects, which can confuse the radar.
- Remember the sensor reports positions relative to itself: it becomes the “zero point” of your room map.
Do not fix it permanently yet. Tape it up, run the tests below, and only drill holes once the zones behave.
Step 2: Add the LD2450 to ESPHome
Create a new ESPHome device for your ESP32 and add the LD2450 component. The full reference lives in the official ESPHome LD2450 documentation, but the block below is enough to get targets on screen:
uart:
  id: uart_ld2450
  tx_pin: GPIO17
  rx_pin: GPIO16
  baud_rate: 256000

ld2450:
  id: ld2450_radar
  uart_id: uart_ld2450

binary_sensor:
  - platform: ld2450
    ld2450_id: ld2450_radar
    presence:
      name: "Room Presence"
    zone_1:
      name: "Sofa Zone"
    zone_2:
      name: "Desk Zone"
    zone_3:
      name: "Doorway Zone"
Flash the ESP32 once over USB. After that, open the device page in Home Assistant and walk across the room. The presence sensor should turn on, and you should see target coordinate sensors updating as you move. If presence never triggers, swap the TX and RX pins — that is the most common wiring mistake.
Step 3: Map Your Room on Paper First
This is the step most people skip, and it is the step that makes zones easy. Take your tape measure and draw a rough floor plan. Mark where the sensor sits. That point is coordinate zero. Everything in front of the sensor is positive Y. To the sensor’s left is negative X, to its right is positive X. ESPHome expects all numbers in millimeters, so a sofa that starts 2 meters ahead and 1 meter left of the sensor begins around X −1000, Y 2000.
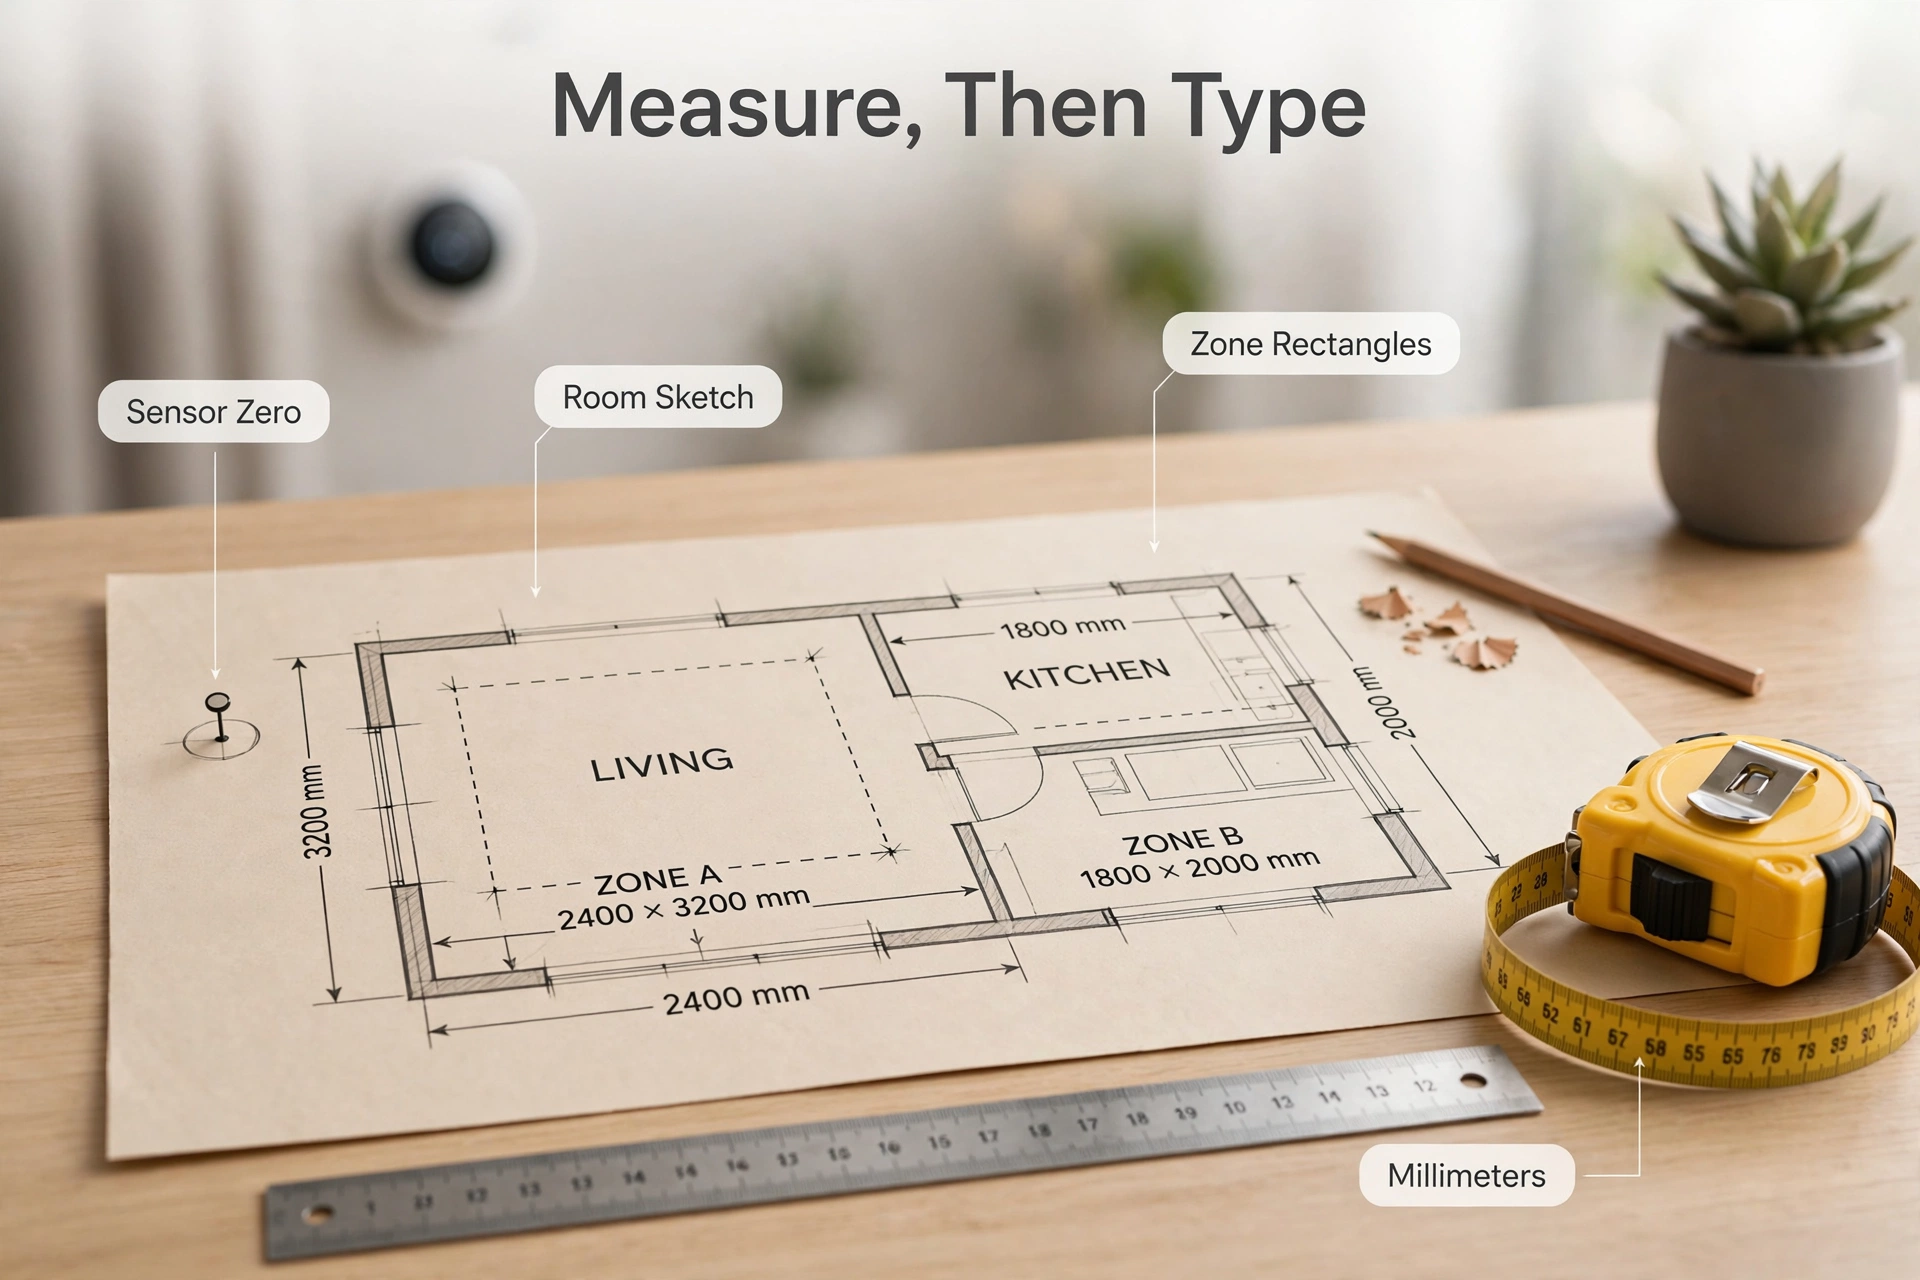
Walk to each spot you want to cover — the sofa, the desk chair, the doorway — and note roughly how far forward and how far sideways each one is. Do not aim for perfection. A rough rectangle that covers the whole sofa beats a precise one that misses the armchair. Leave a little margin on every side, because people lean, stretch, and shift around.
The coordinate limits from the ESPHome configuration are worth knowing before you draw:
| Axis | Direction | Allowed range |
|---|---|---|
| X | Left (−) to right (+) of the sensor | −3000 mm to 3000 mm |
| Y | Distance in front of the sensor | 0 mm to 6000 mm |
In plain terms: each zone is a box inside a room map that is 6 meters wide and 6 meters deep, measured from the sensor. Most living rooms, bedrooms, and home offices fit comfortably inside that space.
Step 4: Set Your mmWave Detection Zones in YAML
Now add the zone boundaries. ESPHome exposes each zone’s four numbers — x1, y1, x2, y2 — as adjustable number entities. Adding them to your YAML looks like this (zone 1 shown; zones 2 and 3 follow the same pattern):
number:
  - platform: ld2450
    ld2450_id: ld2450_radar
    presence_timeout:
      name: "Presence Timeout"
    zone_1:
      x1:
        name: "Zone 1 X1"
      y1:
        name: "Zone 1 Y1"
      x2:
        name: "Zone 1 X2"
      y2:
        name: "Zone 1 Y2"
The reason for exposing these numbers is simple: once they exist as entities, you can drag the zone borders live in Home Assistant while you watch someone sit in the chair. No reflashing, no guessing. This is the heart of a good mmWave detection zones setup — set rough numbers in YAML, then tune them in real life.
A worked example: sofa, desk, doorway
Picture a living room with the sensor on the TV wall, looking into the room. The sofa sits centered, about 2.5 to 4 meters out. A desk occupies the left corner, 1.5 to 3 meters out. The doorway is on the right edge, close to the sensor. Your zones might start like this:
| Zone | x1 | y1 | x2 | y2 | Covers |
|---|---|---|---|---|---|
| Zone 1 | −1200 | 2500 | 1200 | 4000 | Sofa and coffee table |
| Zone 2 | −2600 | 1500 | −1200 | 3000 | Desk and office chair |
| Zone 3 | 1800 | 500 | 3000 | 2000 | Doorway and entry path |
Zones are allowed to overlap. If the doorway zone and the sofa zone share a corner, that is fine — both sensors simply turn on when a target is in the shared area. Overlap a little on purpose where two areas meet, so people walking between them never fall into a dead gap.
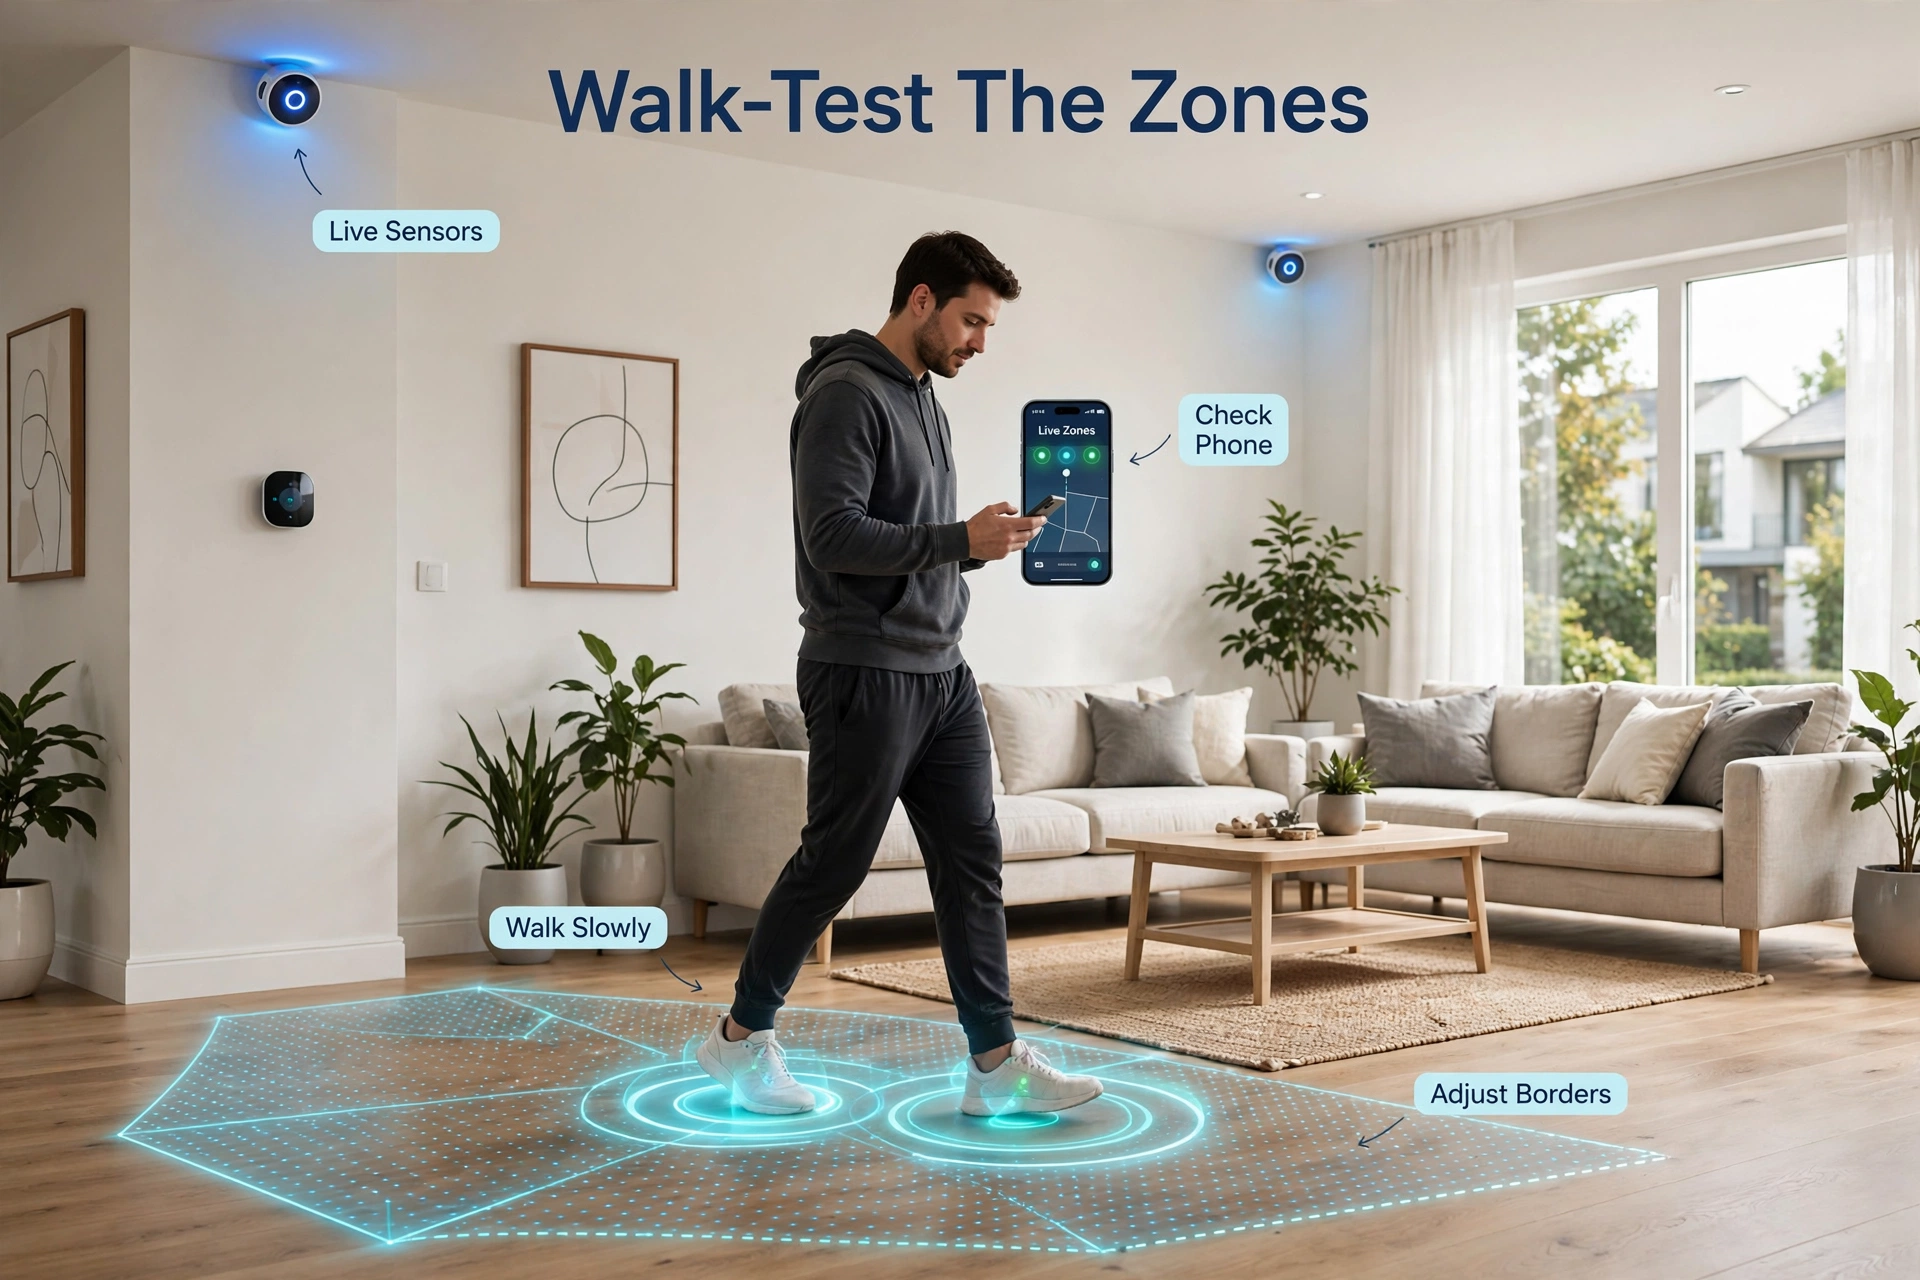
Step 5: Walk-Test and Fine-Tune Your Zones
Now make the map match reality. Follow these steps:
- Open the device page in Home Assistant on your phone.
- Stand in the middle of the sofa zone and check that only the sofa sensor turns on.
- Sit down and stay still for a minute. The sensor should hold.
- Walk slowly from zone to zone and watch the sensors hand over.
- Adjust the number entities in small steps — 200 to 300 mm at a time — until each zone matches the furniture.
- Test the edges: sit on the very end of the sofa, lean back in the desk chair, stand just inside the doorway.
One setting matters more than the rest: the presence timeout. By default, ESPHome keeps a zone’s presence state for 5 seconds after the target disappears. A short timeout makes lights feel responsive but can cause flicker when someone sits very still. For seating zones, a longer timeout — 30 to 60 seconds — usually feels much calmer. Walkway zones can stay short.
Fixing the Three Most Common Zone Problems
The lights turn off while you sit still
This is the classic mmWave complaint, and zones make it worse if the rectangle is too tight — a person reading on the sofa shifts half a body outside the box. Widen the zone so the whole seating area fits with margin, and raise the presence timeout for that zone. Remember the radar detects tiny movements like breathing, so if the target itself vanishes, the box is usually drawn too small or the sensor is pointed slightly off the seat.
The sensor sees people through the wall
Radar can pass through light interior walls and thin doors, so a zone that extends to the wall line may keep triggering from the next room. Pull the far edge (y2) back a few hundred millimeters from the wall, and avoid pointing the sensor straight at a thin partition if the room behind it is busy. If a neighbor room still leaks in, shrink the zone rather than lowering your expectations — the map is yours to draw.
The hallway keeps triggering the room
If an open doorway or corridor sits inside your map, targets passing through will light up the room zone. Narrow the zone’s X range so the rectangle ends before the walkway, or accept the traffic and give the doorway its own zone (like Zone 3 in the example) so automations can treat “passing through” and “sitting down” as different events.
Turn Zones into Automations
With working zones, automations become simple and honest. A few proven patterns:
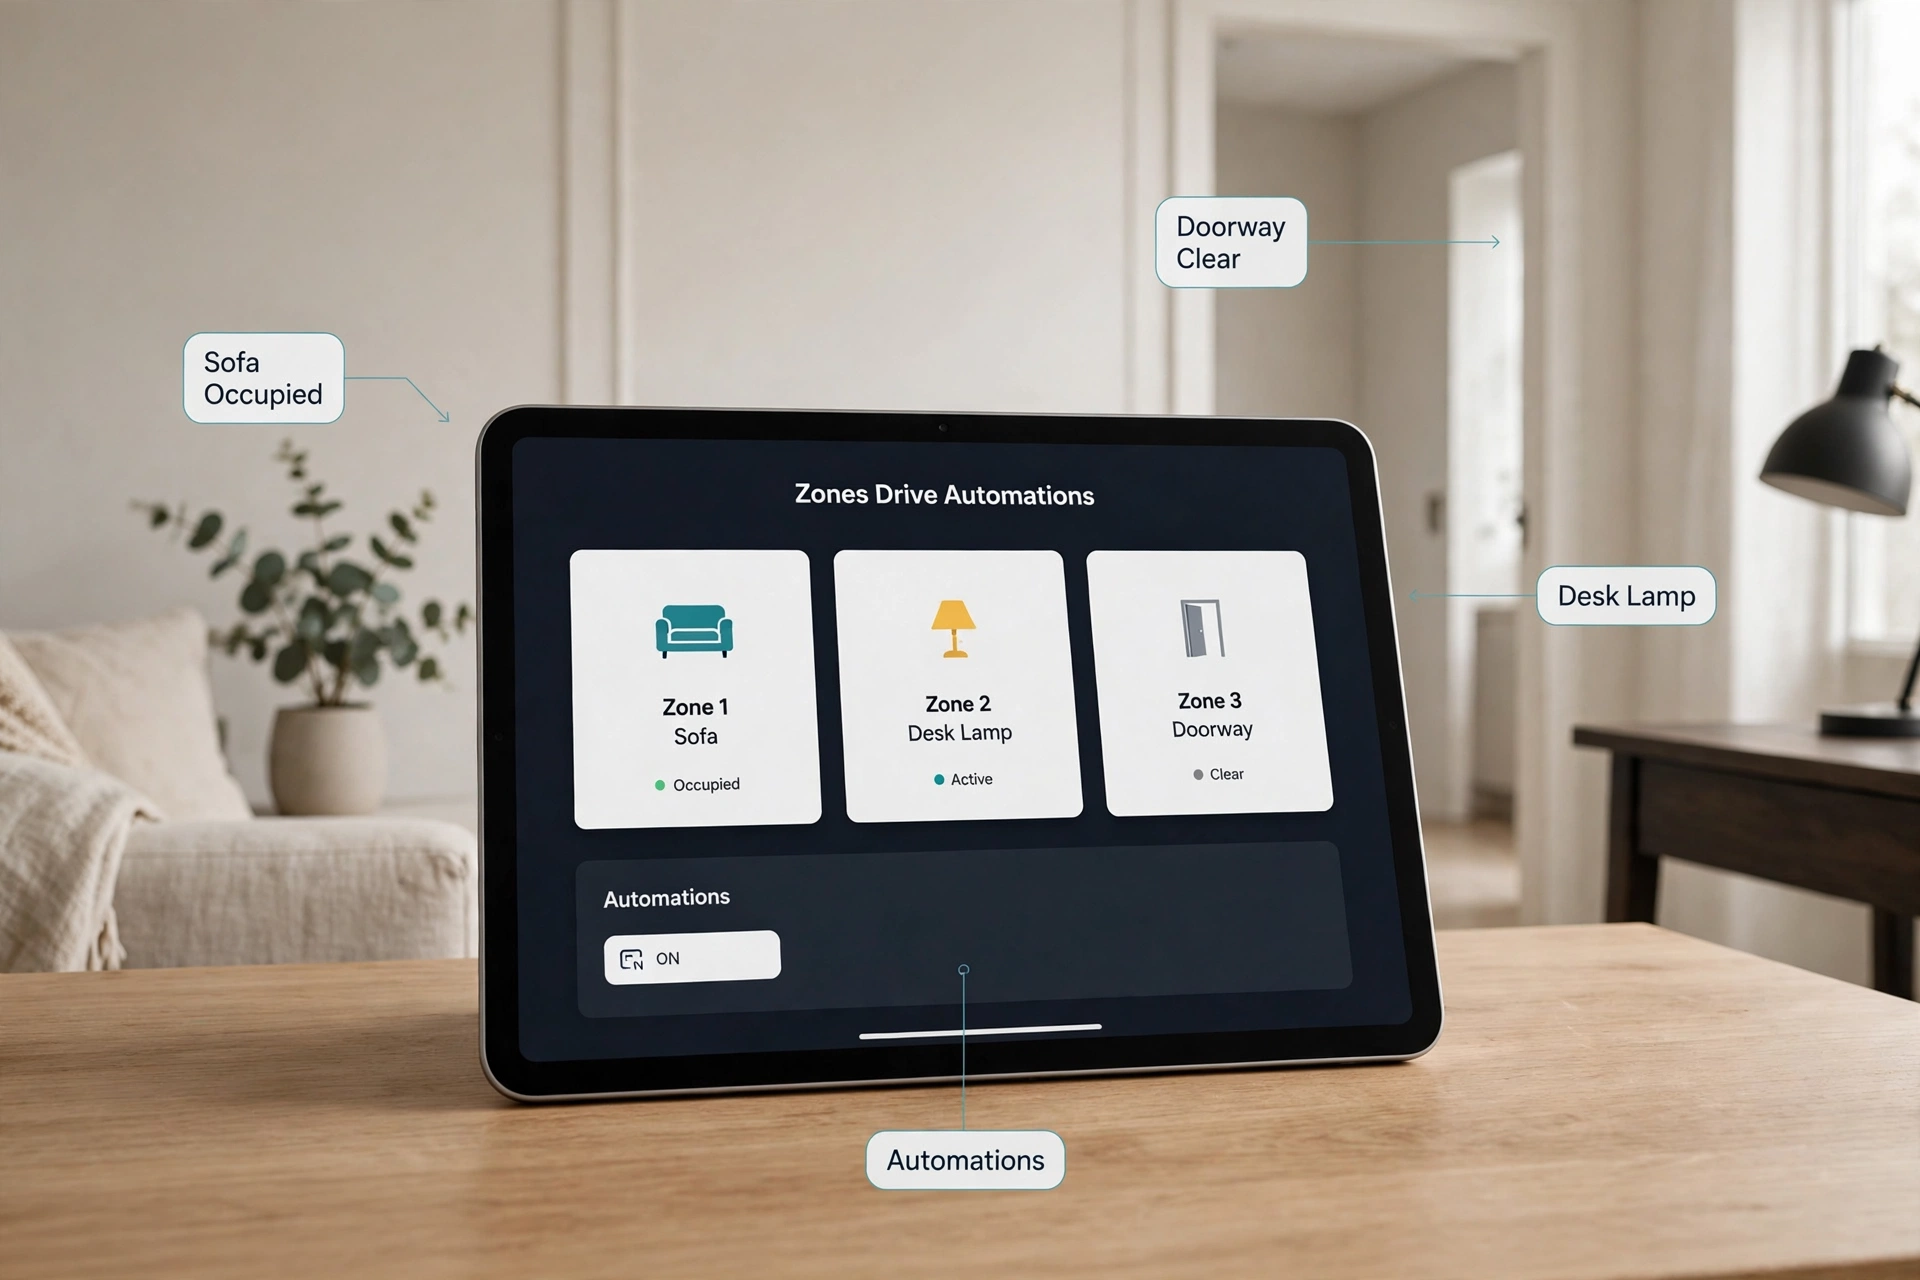
- Desk zone: turn on the desk lamp and monitor backlight when the desk zone is occupied; turn them off 5 minutes after it clears.
- Sofa zone: keep the main lights on while the sofa zone is occupied, even with zero movement, and dim them when it empties.
- Doorway zone: after midnight, light a low night path for 60 seconds when the doorway zone triggers.
One big comfort of this build: the ESPHome node talks over Wi-Fi directly to Home Assistant, so it never depends on a mesh network. If the rest of your presence setup mixes in Zigbee sensors, keep that mesh healthy too — our troubleshooting guide explains why Zigbee devices keep going offline, and if you are still choosing how those sensors connect, the Zigbee2MQTT vs ZHA comparison helps you pick the right integration. And if nearby Wi-Fi is crowding your Zigbee traffic, here is how to change your Zigbee channel to avoid Wi-Fi interference.
Frequently Asked Questions
How many zones can the LD2450 have in ESPHome?
Three zones: zone 1, zone 2, and zone 3. Each is a rectangle defined by two corner points. If you need more areas covered, a second sensor on another ESP32 is the usual answer — one per room works well.
What is the difference between LD2410 gates and LD2450 zones?
The older LD2410 divides distance into slices called gates and reports energy per slice; it knows how far away a person is, but not where they are sideways. The LD2450 reports real X and Y coordinates for up to three targets, which is what makes true room zones possible.
Can zones overlap each other?
Yes. Overlap is normal and often useful. A target standing in shared space turns on both zone sensors, and each automation decides for itself what that means.
Do zones keep working without internet?
Yes. Detection happens on the ESP32 and ESPHome talks to Home Assistant on your local network. Your zones, automations, and lights keep working during an internet outage.
Final Thoughts
A good mmWave detection zones setup is not about fancy hardware — the LD2450 is a tiny, cheap board. It is about drawing the right rectangles. Mount the sensor where it can see, sketch the room before you type a single number, tune the borders live while someone sits in the chair, and give seating zones a patient timeout. Do that, and presence detection stops being a guessing game. Your lights finally know where you actually are.
