

I’m the friend my family calls when computers act weird. I have installed Jellyfin five times — mine, my brother’s, my parents’, and two for friends. The fourth one went sideways: I skipped a folder step, updated the container months later, and wiped every library, user, and watch history in one click. Then I restored from a backup at 1 AM on a Monday. So: I’ve made the mistakes already. You get to skip that part.
Jellyfin is a free, open-source media server — your own private Netflix on hardware you own. No subscriptions, no tiers, no account on someone else’s server. Still on the fence? Our jellyfin vs plex comparison lays out the trade-offs without the fanboy stuff.
One assumption: your NAS supports Docker. That covers most Synology Plus-series models and most QNAP boxes from the last several years. Still shopping? Our guide to the best nas for home use will point you at the right box.
What You Need First
Five things, gathered before you start. Ten minutes of prep saves an hour of swearing at a container that won’t start.
First, a NAS with Docker support. On Synology that means Container Manager — Plus series and better, since the little J-series boxes don’t have it. On QNAP it’s Container Station. Second, admin access to your NAS web interface. Third, your media folders in some kind of order — movies, TV shows, music in clearly named shared folders. The next section covers the ideal layout.
Fourth, a few gigabytes of free space for Jellyfin’s config and metadata cache — artwork piles up shockingly fast. Fifth, your NAS is reachable on the local network with a known IP or hostname. That’s everything. No licenses, no logins, no credit card.
Organize Your Media Folders First
Nobody warns you about the folders. The install takes twenty minutes; the folders eat the afternoon. But Jellyfin’s metadata matching goes from “mostly wrong” to “eerily right” when your folders follow the standard layout.
Table 1: Recommended Jellyfin folder structure
| Media type | Example folder layout |
|---|---|
| Movies | /media/movies/Movie Name (Year)/Movie Name (Year).mp4 |
| TV shows | /media/tv/Show Name/Season 01/Show Name S01E01.mp4 |
| Music | /media/music/Artist/Album/Track Number – Title.mp3 |
Three rules of thumb. Every movie gets its own folder named “Title (Year)” — the year keeps the 1971 original separate from the 2019 remake. TV goes Show, then Season, then Episodes, with season and episode numbers in the filenames. Keeping both 4K and 1080p versions? Label them clearly. And the golden rule that breaks more libraries than anything else: one library, one content type. Never mix movies and TV in the same folder.
Messy collection? Don’t reorganize your entire life today. Do one quick pass so new additions follow the pattern, and let Jellyfin’s Identify feature fix the old mismatches one by one.
Method 1 — Install Jellyfin with Docker (Any NAS)
Docker is the universal method, and the one I’d push almost everyone toward. It works on any NAS or server that runs Docker, keeps Jellyfin fenced off from the rest of your system, and updates cleanly. Even when a native package exists, start here.
Now, the story I promised. My botched Sunday: I skipped the data-folders step, ran Jellyfin happily for months, then updated the container. Clean slate — every setting, library, and watch history gone. All because I didn’t spend ninety seconds creating two folders. So do this properly: make a home for Jellyfin’s data, a shared folder like docker/jellyfin/config plus docker/jellyfin/cache. Your settings and metadata live there, so they survive updates.
Folders in place? Create the container from the official jellyfin/jellyfin image. The standard shape:
services:
  jellyfin:
    image: jellyfin/jellyfin:latest
    container_name: jellyfin
    volumes:
      - /path/to/config:/config
      - /path/to/cache:/cache
      - /path/to/media:/media:ro
    ports:
      - 8096:8096
    restart: unless-stopped
Swap in your actual NAS shared-folder paths wherever you see placeholders. And notice the :ro on the media mount — read-only. Jellyfin has no business writing to your movie collection, so don’t give it permission to.
Start the container, give it a minute, then point a browser at http://YOUR-NAS-IP:8096. The setup wizard should be waiting. Why 8096? Because Jellyfin picked it years ago and never changed it. Don’t add your media libraries during the wizard — click through and add them afterward.
If the wizard doesn’t load, it’s almost always one of three things: the container didn’t start (check its logs), a firewall rule blocking port 8096, or a typo in a volume path. The second time I did this, I spent forty minutes on a “port already in use” error that was my own typo. The official Docker documentation covers what each compose option does.
Method 2 — Install on Synology (Container Manager)
Prefer clicking to typing? No judgment. Synology’s Container Manager is Docker wearing a friendly GUI — same container, same Jellyfin, you walk through a wizard instead of writing a compose file. For the first install, the GUI is lovely; by the fifth I was back in a compose file. Start wherever you’re comfortable — the folders are identical.
Open Package Center and install Container Manager if it isn’t there. Then in File Station, create docker/jellyfin/config and docker/jellyfin/cache in a shared folder. Same ninety seconds that would have saved my Sunday.
Back in Container Manager, head to Registry, search for jellyfin/jellyfin, and download the latest image. Then Container → Create, select the image, and walk through the wizard. Name it jellyfin, enable auto-restart. Under Port Settings, map container port 8096 to a local port. Under Volume Settings, add three mounts: config to /config, cache to /cache, media to /media (read-only if offered). Leave Environment defaults.
Review the summary, create the container, give it a minute. Then browse to http://YOUR-SYNOLOGY-IP:8096 and complete the wizard, skipping the media libraries for now.
One thing the GUI does well: updates. Download the new image, stop the old container, recreate it with the same settings — your config and cache folders keep everything intact. Container Manager’s Projects feature is basically compose inside the GUI, making updates nearly one-click.
Method 3 — Install on QNAP (Container Station)
QNAP’s Container Station does the same job as Synology’s Container Manager. Different buttons, same concepts. If Method 2 made sense, you already understand this one.
Open the App Center and install Container Station if it isn’t there. In File Station, create Container/jellyfin/config and Container/jellyfin/cache. In Container Station, go to Create, search for jellyfin/jellyfin, and pull the latest image. Click Create and configure: name it jellyfin; under Network, default NAT mode with port 8096 published; under Shared Folders / Volumes, mount config to /config, cache to /cache, media to /media; set the restart policy.
Create and start the container, wait a minute, then open http://YOUR-QNAP-IP:8096 and walk through the wizard, skipping the media libraries for now.
One QNAP-specific check: Container Station’s default resource limits are conservative. If your NAS has RAM to spare, raise the container’s memory limit — metadata scanning on a large library is noticeably happier with headroom.
Enable Hardware Transcoding
Container’s running. Nice. Before you add a single movie, turn on hardware transcoding — the step everyone skips and then complains about stuttering. It’s free in Jellyfin, worth saying out loud: over on Plex, hardware transcoding hides behind a paid Pass. Here it’s just a setting — and the difference between smooth 4K and a slideshow. Our plex hardware transcoding explained guide covers the concept in plain language.
First, figure out what silicon you’re working with. Most Intel-based Synology and QNAP models include Quick Sync Video — Intel’s built-in encode/decode block. Some models have no iGPU at all, especially the ARM-based budget boxes. Check your NAS specs before assuming anything.
For Intel Quick Sync in Docker, the container needs GPU access — which it doesn’t get by default. In a compose file, add a devices entry mapping /dev/dri, like - /dev/dri:/dev/dri under devices. In Container Manager or Container Station, find the device mapping option in advanced settings. Skipping it is why CPUs melt on movie night — the server falls back to software transcoding and your little NAS fan starts screaming like a hair dryer.
Then in Jellyfin: Dashboard → Playback, and set Hardware Acceleration to the matching option — “Intel Quicksync (QSV)” and “VAAPI” in current Jellyfin. Enable the hardware encoders and decoders for H.264 and HEVC. That covers nearly everything you’ll ever throw at it.
Test it. Play a 4K file on your phone and watch Jellyfin’s dashboard while it plays — the transcode should run in hardware with low CPU usage. If the CPU is pinned at 100%, the device mapping didn’t take. Go back and recheck it.
First-Run Setup: Libraries and Users
Container running, transcoding on. Now finish the job properly — this is where a good setup becomes a great one, and it’s worth doing slowly.
Open the Jellyfin web UI and complete the wizard: create your admin account, set your language. Then Dashboard → Libraries, and add your first library. Choose the content type — Movies, Shows, Music — name it, and add the folder, like /media/movies. Save, and Jellyfin starts scanning. Let the first full scan finish before judging — a half-scanned library always looks broken.
Once the scan settles, browse through and fix mismatches with Identify. An obscure 1974 film matched to its 2021 remake is practically a rite of passage.
Then the people part, which everyone forgets until someone complains. Create user accounts under Dashboard → Users for each household member, with library access and parental controls per user — the kids get the Kids library, not your horror movies. Have everyone install the Jellyfin app — Android, iOS, Android TV, Fire TV, Roku, or the web client — and sign in.
Take an evening to live with it before the grand unveiling. Play something on each device, test the subtitles, confirm the app feels right on the TV your family actually uses. Small annoyances are trivial to fix now and infuriating after everyone depends on the server.
Remote Access Basics
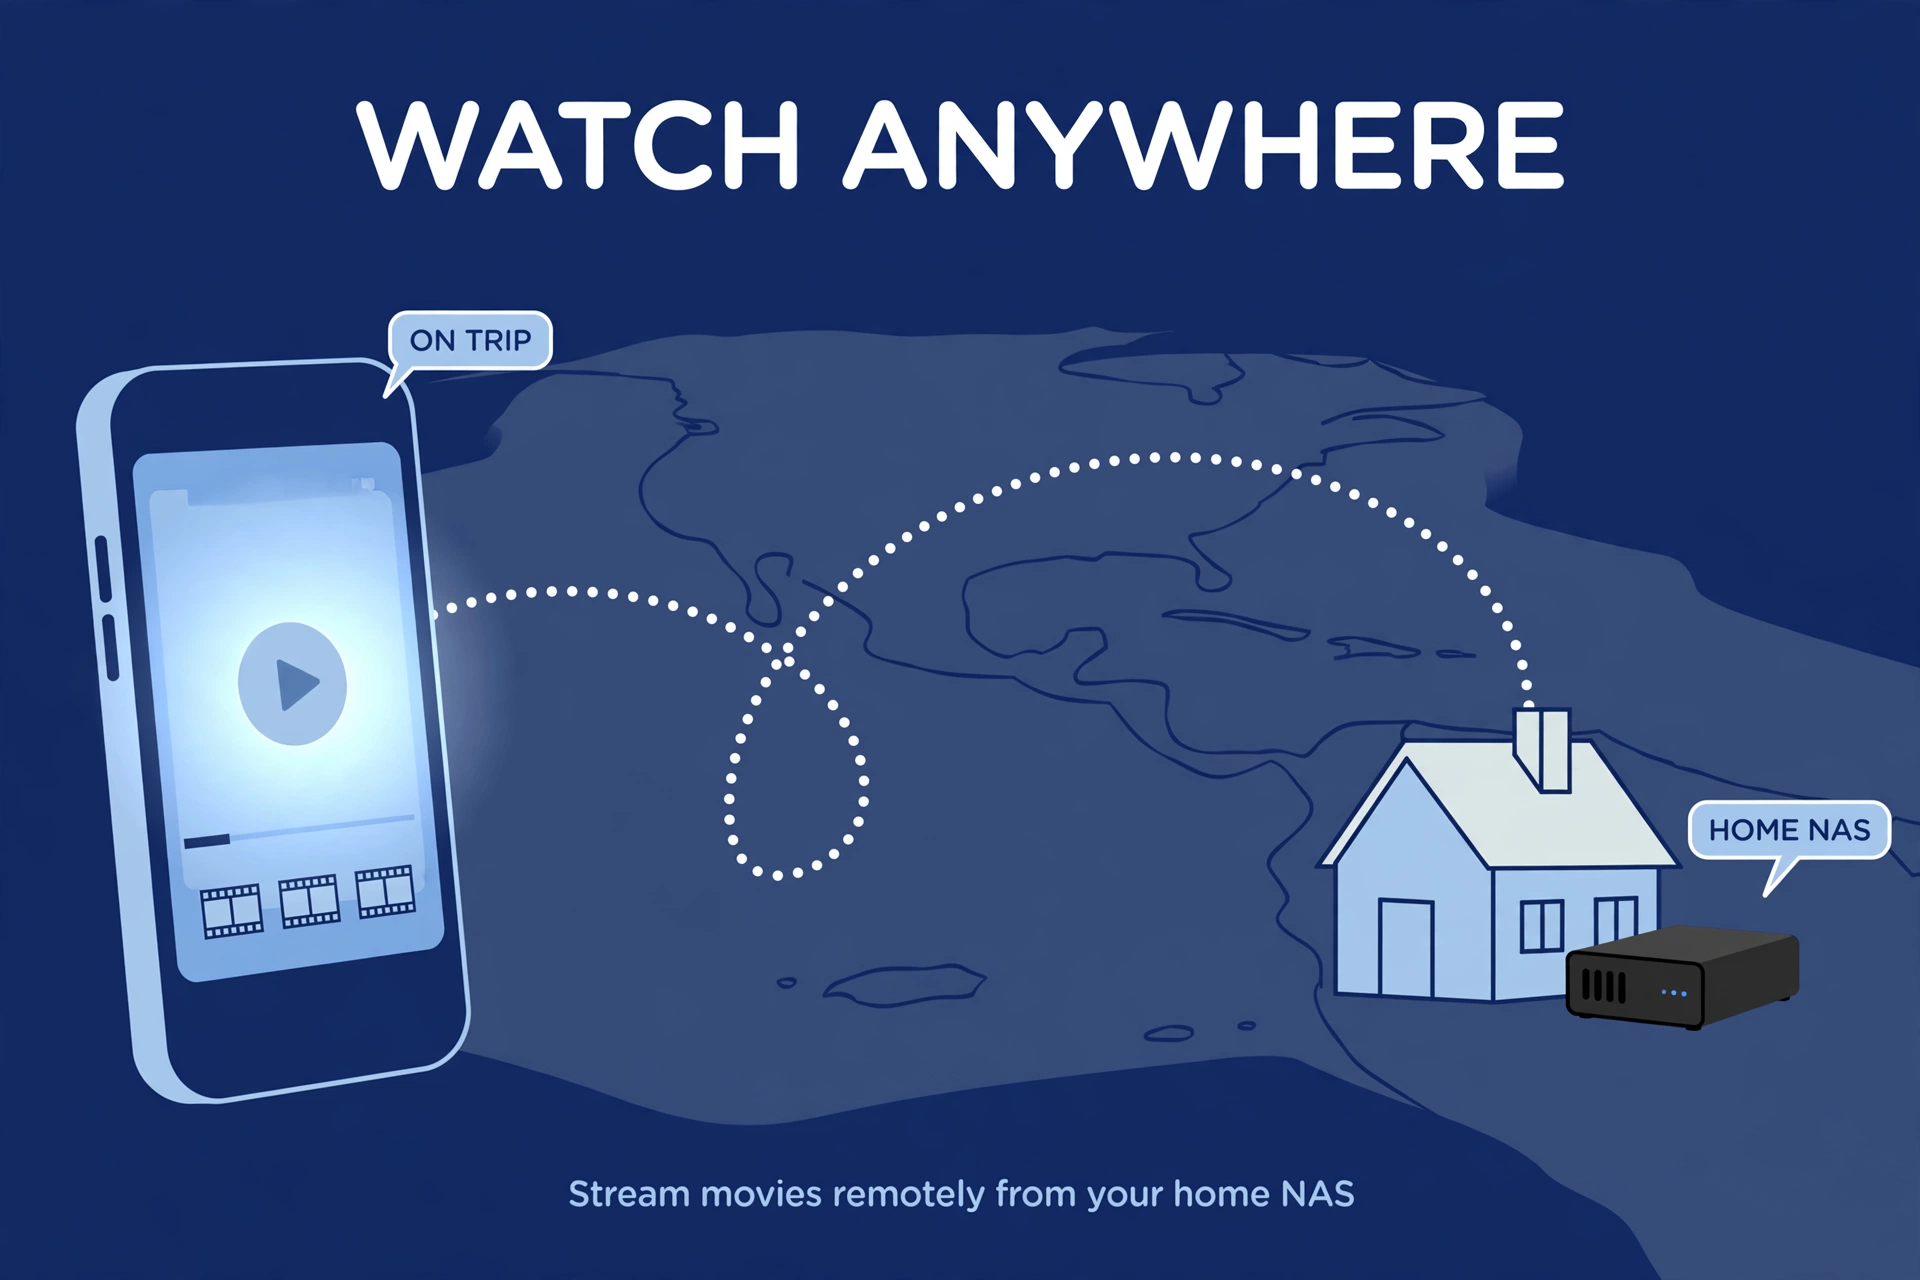
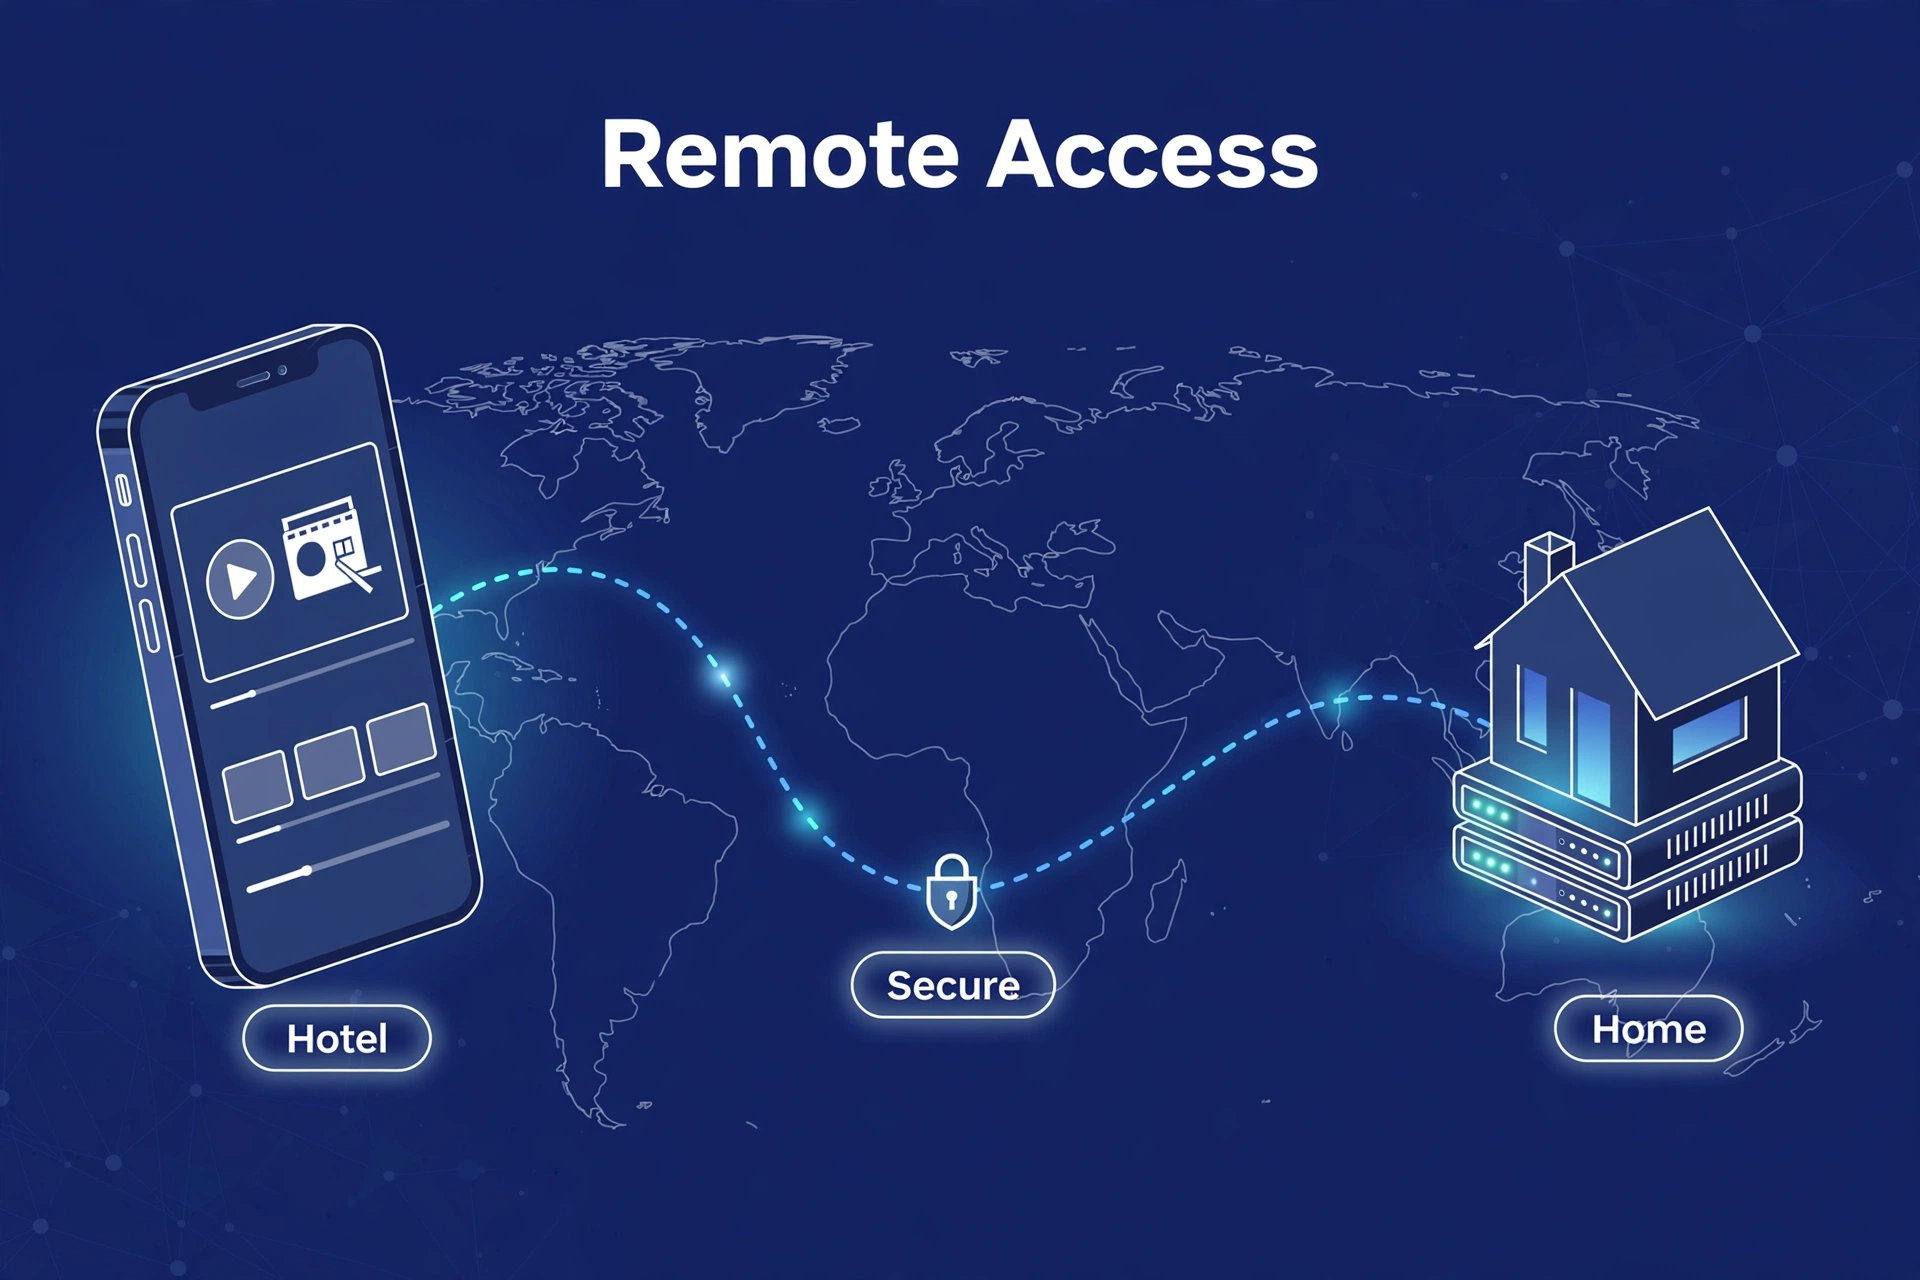
Watching at home is the easy part — everything’s on the same network. Watching from a hotel or a friend’s house needs remote access, and Jellyfin won’t set it up automatically the way Plex does. Three common approaches, simplest first.
Option 1: Port forwarding. Forward Jellyfin’s port — 8096 by default — on your router to your NAS, then reach it at your home IP or a dynamic DNS hostname. It works. It’s also the least secure option, because you’ve exposed a port to the entire internet, and the internet is full of bots knocking on doors. Going this route? Strong admin password, keep Jellyfin updated. No excuses.
Option 2: Reverse proxy with HTTPS. Run a reverse proxy — many NAS owners use Nginx Proxy Manager or similar in another container — and access Jellyfin through an encrypted subdomain like jellyfin.yourdomain.com. More setup, much better security.
Option 3: VPN into your home. Run a VPN server on your NAS or router — Tailscale and WireGuard are the popular choices — and connect your phone when you’re away. Your device acts as if it’s on your couch. Nothing exposed publicly at all. For most people, this is the sweet spot: genuinely secure, and not much harder than port forwarding once you’ve followed a guide. Me? Tailscale. Ten minutes, done.
Whichever you pick, test it from mobile data — not home Wi-Fi — before you need it on a trip. Discovering it doesn’t work from a hotel room at midnight is a special kind of misery.
Troubleshooting Common Problems
Jellyfin can’t see my media
Nine times out of ten, this is a volume mount problem — the folder path inside the container doesn’t match where you mounted your media. Check the container’s volume settings and confirm the mount exists. Then check permissions: the user Jellyfin runs as inside the container must be able to read those folders. This one got me on install number three. I was so sure the paths were right. They were not.
The web UI won’t load
Work through the checklist in order: is the container actually running? Check its logs. Right IP and port? No firewall blocking it? And the classic: did you change the published port during setup? Then use that port, not 8096. Everybody does this exactly once.
Scanning is slow or stuck
Large libraries take hours on the first scan — normal, especially on ARM-based NAS models. Let it run overnight before panicking. Genuinely stuck on one file? That file is probably corrupt or in an odd format. Move it aside and rescan.
Playback stutters on 4K
Almost always transcoding, not the network. Everyone blames the Wi-Fi; it’s never the Wi-Fi. Confirm hardware acceleration is enabled and actually active during playback — check the dashboard while it’s playing. No iGPU on your NAS? Keep a 1080p copy of heavy files, or direct-play on capable devices.
Subtitles don’t show up
Check subtitle settings per library and per user — Jellyfin’s defaults can be conservative. For external subtitles, name them to match the video file: Movie.en.srt next to Movie.mp4, rescan the library, done. The naming has to be exact.
Frequently Asked Questions
Can I install Jellyfin on any Synology NAS?
Only models that support Docker via Container Manager — generally the Plus series and above. The entry-level J-series models lack Docker support, so check your model’s specs first.
Does Jellyfin run well on a NAS?
Yes, with the right expectations. Browsing, direct play, and hardware transcoding all run fine on modern NAS hardware. The first library scan is the heaviest task and can take hours on a big collection — that’s normal. Intel-based models with Quick Sync handle transcoding noticeably better than ARM-based ones.
How much RAM does Jellyfin need?
For a typical home library, 2 GB assigned to the container is comfortable; 1 GB works for small libraries. Large libraries with lots of artwork benefit from more — extra headroom speeds up scanning.
Can I run Jellyfin and Plex on the same NAS?
Yes. They’re independent containers that can read the same media folders at the same time — just use different ports, 8096 for Jellyfin and 32400 for Plex. Many people run both during a migration before retiring one.
Is it safe to expose Jellyfin to the internet?
Direct port exposure works but is the riskiest option. A reverse proxy with HTTPS or a VPN back into your home network is much safer. At minimum: strong unique admin password, keep Jellyfin updated, and don’t use the default port if you can avoid it.
How do I update Jellyfin in Docker?
Pull the new image, stop and remove the old container, and recreate it with the same volume mounts and settings. Your libraries, users, and watch history live in the config folder — which is why we made those folders back in Method 1. Container Manager’s Projects feature makes this nearly one-click.
