

Imagine this. Your internet goes down at night. Suddenly your smart lights don’t respond, and your automations stop. This happens because most smart devices depend on the cloud — servers far away from your house.
Home Assistant fixes this problem. It is a free, open-source home automation platform that runs everything inside your own home, on a small computer you own. In this guide, you will learn how to install Home Assistant on Raspberry Pi 5, step by step, even if you have never done anything like this before.
The Raspberry Pi 5 is the best computer for the job: cheap, power-efficient, and strong enough to run your whole smart home hub. You don’t need to be an expert — if you can copy a file to a memory card and plug in a cable, you can do this in about 30 minutes.
What You Need Before You Start
First, collect everything on this list. Here is what each item does, in simple words:
- Raspberry Pi 5 (4GB or 8GB model). This is the small computer itself — about the size of a credit card. The 4GB model handles most homes easily: lights, sensors, cameras, and many automations. Choose 8GB for extra headroom. Already own a Pi 4? It still works fine.
- Official 27W USB-C power supply. Do not use a phone charger. Phone chargers give unstable power, causing random restarts and card damage. The official supply delivers the stable 5V/5A the Pi 5 needs — don’t cheap out here.
- MicroSD card, 32GB or bigger, A2-rated. This is where the system lives. Look for the “A2” print — A2 cards handle the constant small writes Home Assistant performs daily. Avoid cheap or fake cards; buy from a trusted brand.
- SD card reader. You need this to connect the memory card to your computer. Many laptops have one built in. If yours doesn’t, buy a cheap USB card reader.
- Ethernet cable (network cable). Connect the Pi to your router with a cable during setup — the first installation needs it. You can switch to Wi-Fi later, but wired is more stable for a device that controls your home.
- Optional but helpful: a case with a small fan (the Pi 5 runs warm). Keep a micro-HDMI cable nearby too — only needed to read error messages if something breaks.
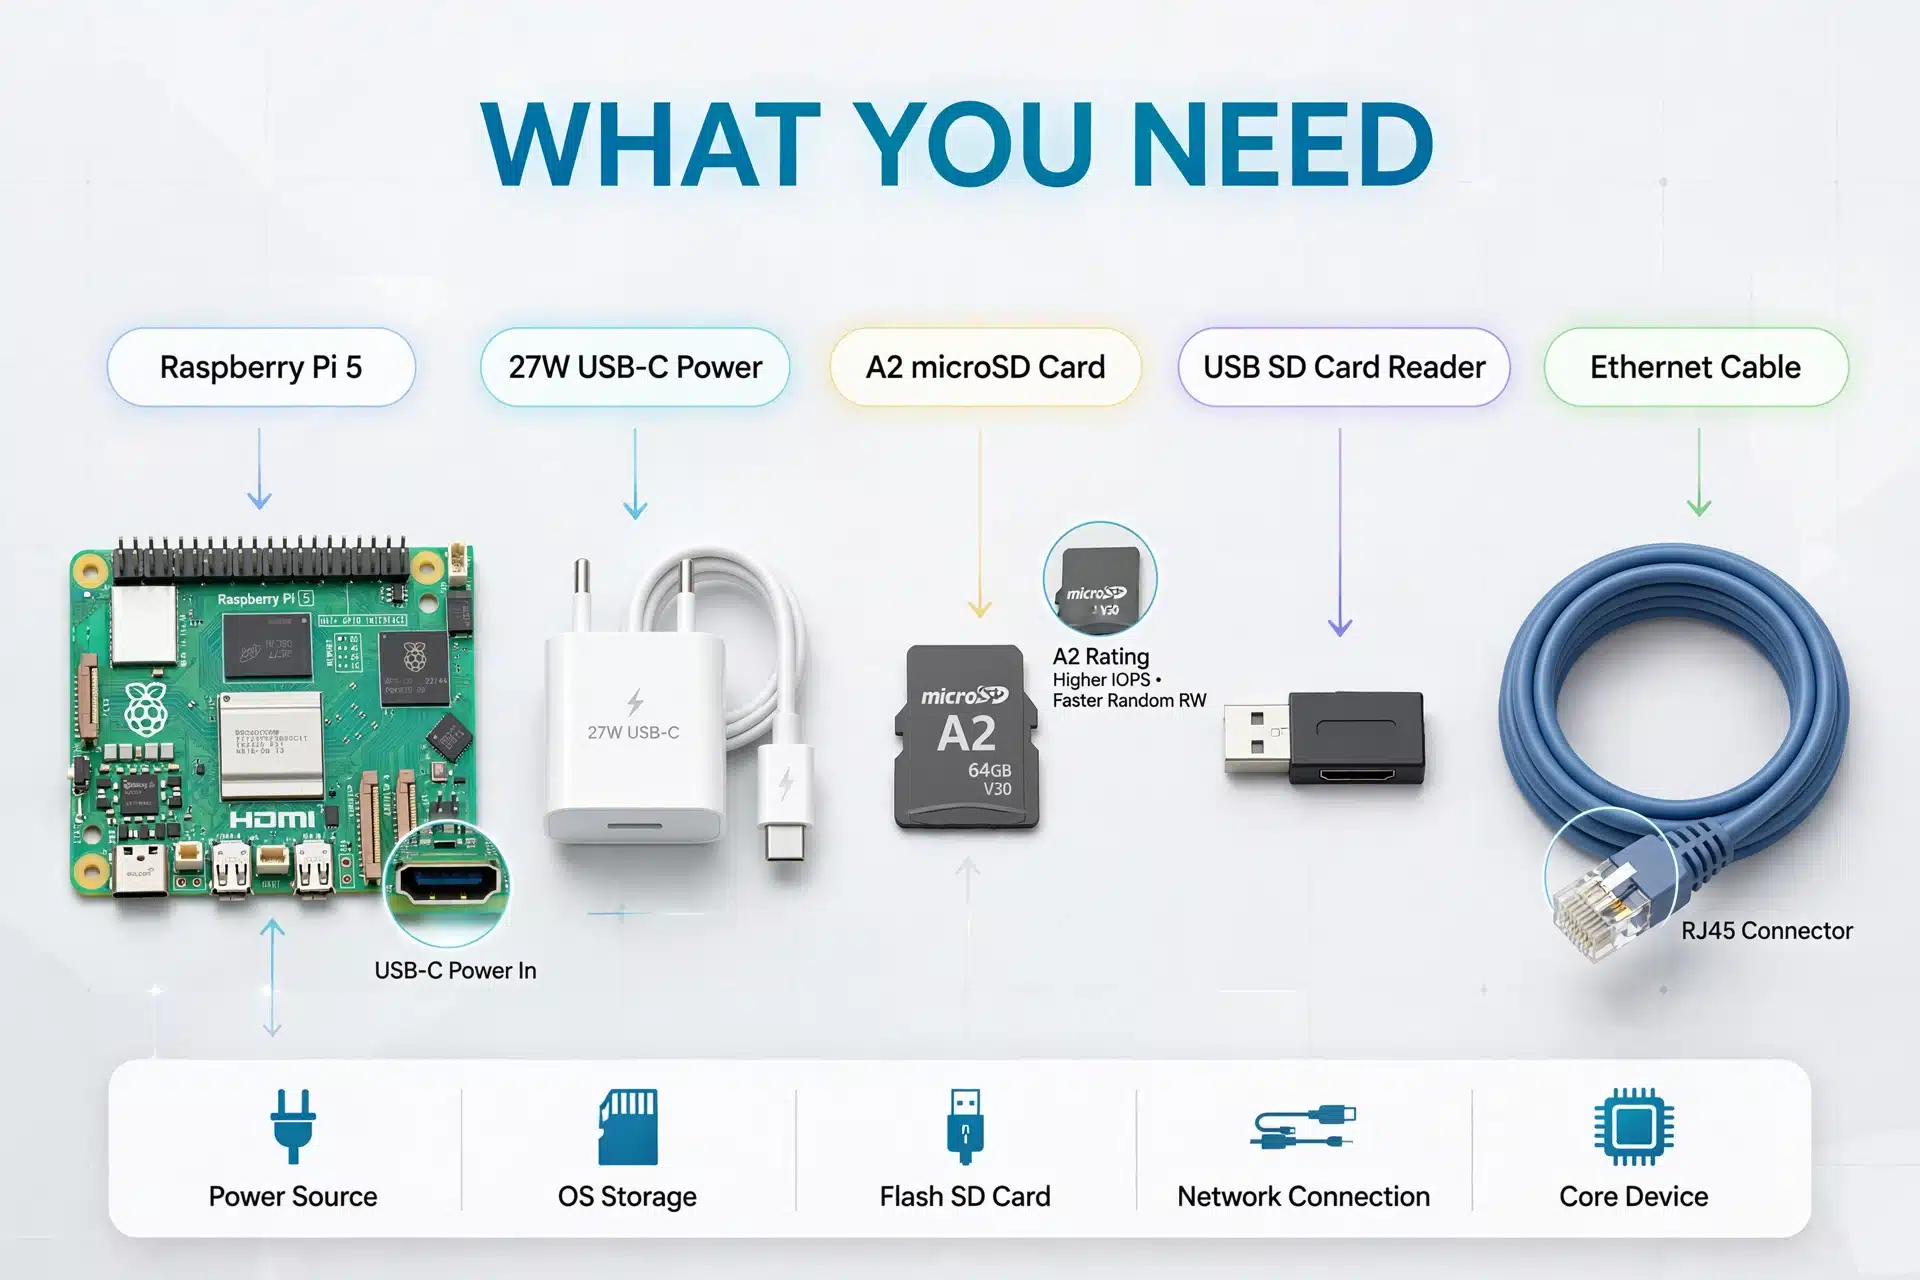
The official Home Assistant installation guide lists the same requirements, so you can double-check there if you want.
Raspberry Pi 5 vs Pi 4 vs Mini PC — Which Should You Buy?
Many beginners ask which computer to buy. The table below compares your three realistic options side by side:
Table: Quick comparison of computers for Home Assistant
| Feature | Raspberry Pi 5 | Raspberry Pi 4 | Mini PC (N100 type) |
|---|---|---|---|
| Speed for Home Assistant | Excellent | Good | Excellent |
| Electricity use | Very low | Very low | Low to medium |
| Storage | Memory card (SSD possible) | Memory card (SSD possible) | Built-in fast SSD |
| How hard to set up | Easy | Easy | Medium |
| Best choice for | Buying new today | If you already own one | Running many other programs too |
Simple advice: buying new? Get the Pi 5. Own a Pi 4 already? Keep it. Only consider a mini PC if the machine must also handle heavy jobs like media storage.
Step 1: Flash Home Assistant OS to the Memory Card
Home Assistant OS is the system we’ll install — the method the Home Assistant team recommends. It includes everything, updates itself, and needs no command-line skills.
What “flashing” means: copying the system files onto the memory card in a special way, using a free tool. Follow these steps in order:
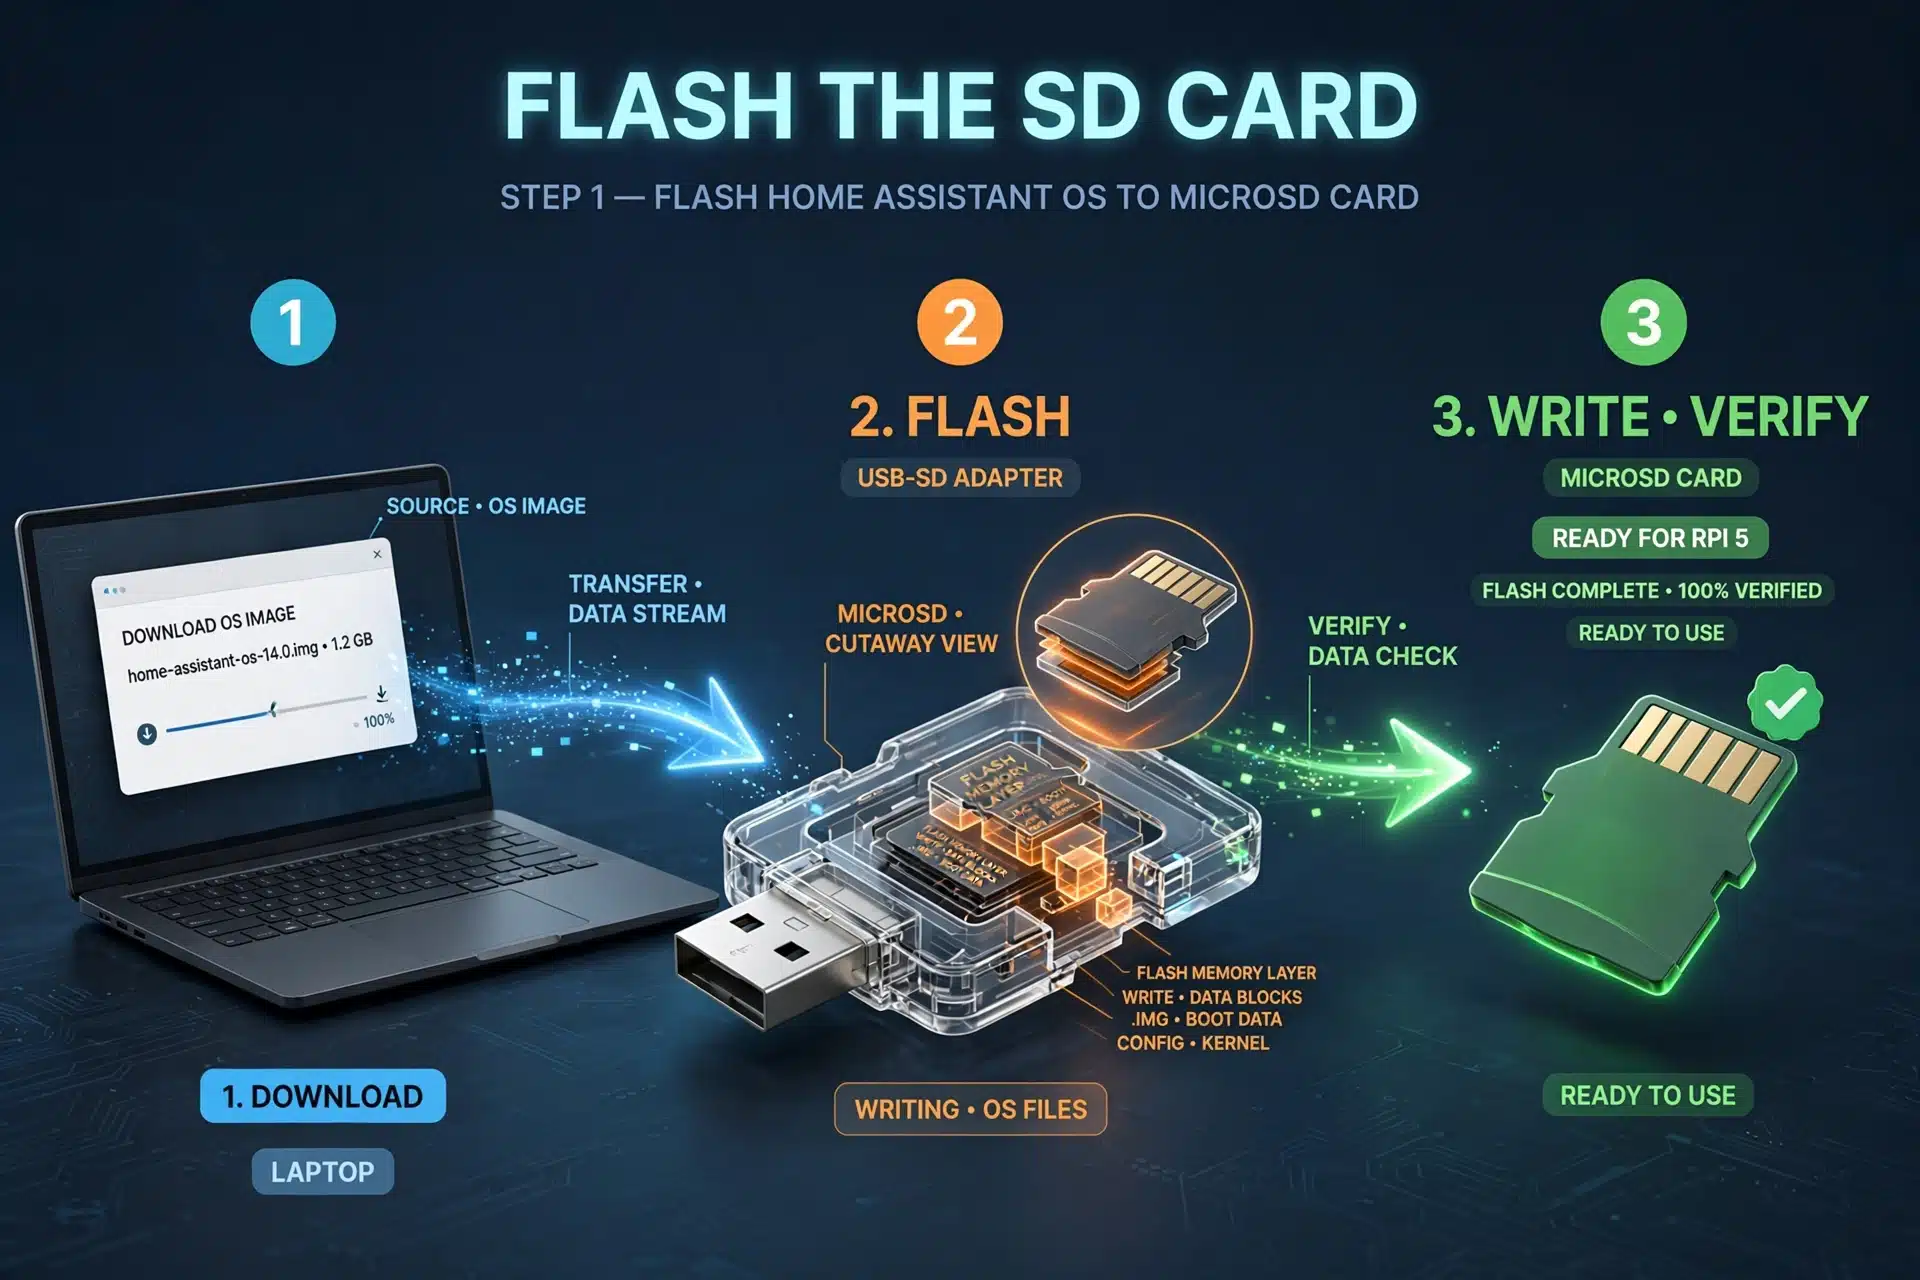
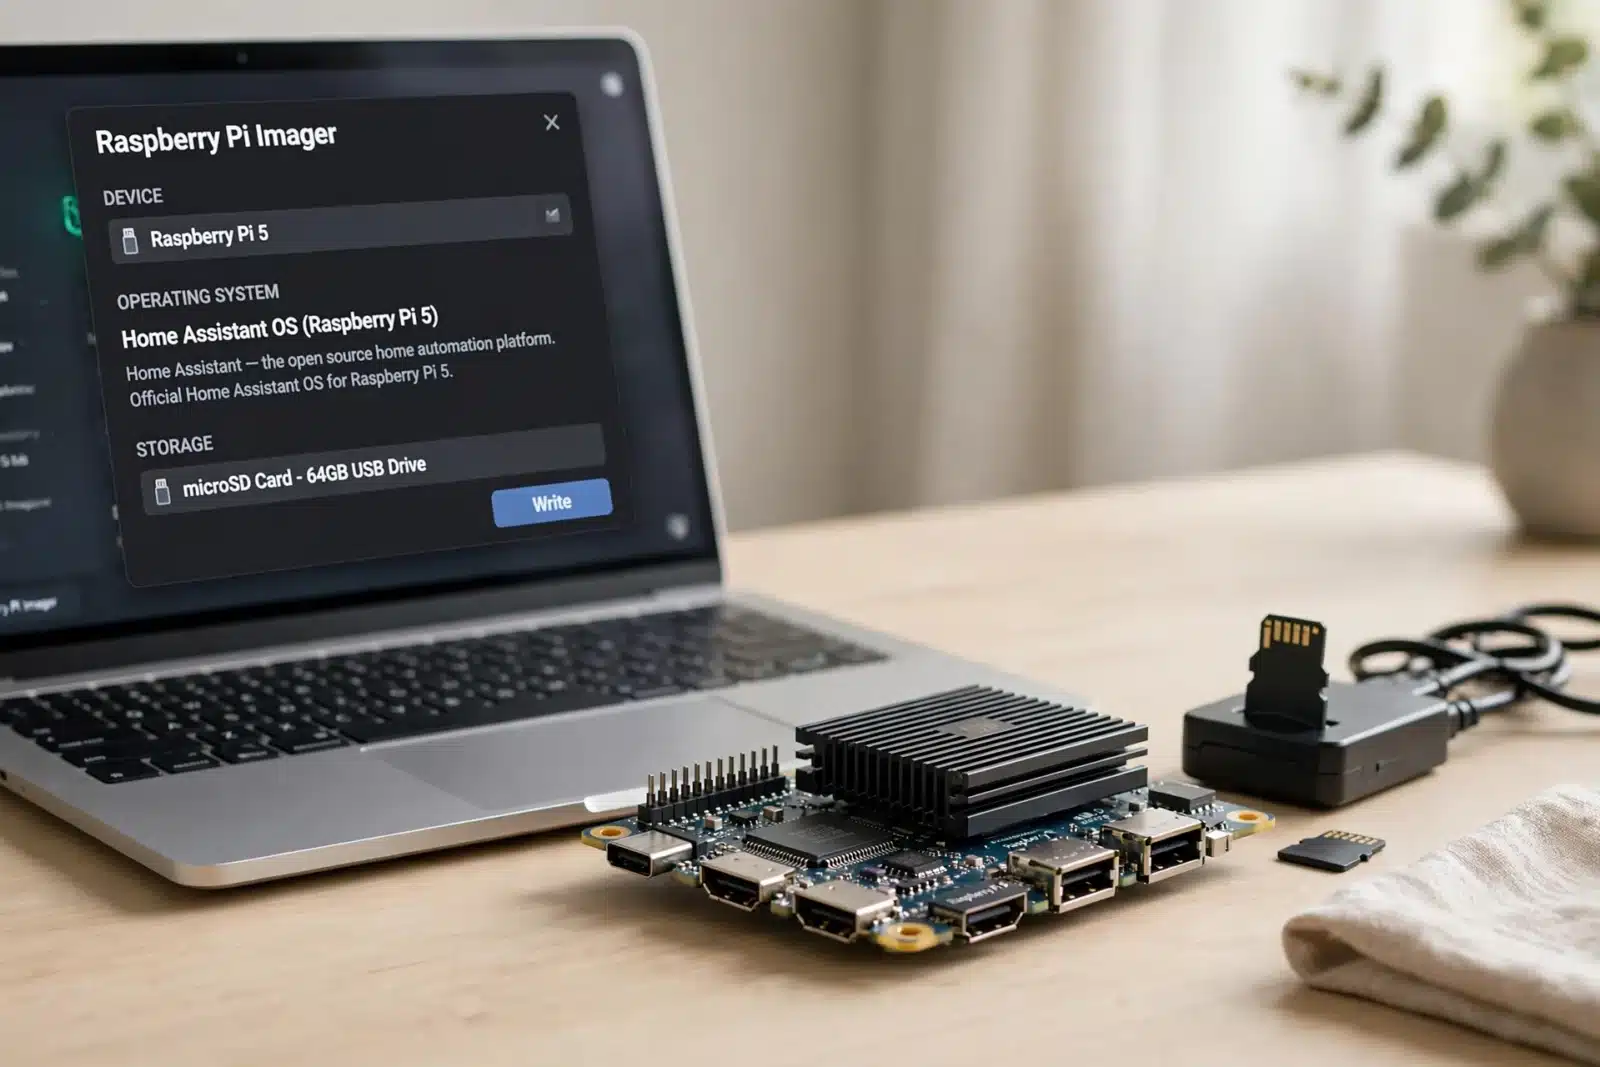
- Download Raspberry Pi Imager. Get it from the official Raspberry Pi software page on your computer. It is free for Windows, Mac, and Linux. Install it like any normal program.
- Put your microSD card into your computer using the card reader. Remember: everything on this card will be erased. If the card has photos or files, copy them somewhere safe first.
- Open Imager and click “Choose OS.” Then click Other specific-purpose OS, then Home automation, then Home Assistant. Choose the version for RPi 5. The tool downloads the correct file by itself.
- Click “Choose Storage” and select your memory card from the list. Be careful here — make sure you select the memory card and not another drive on your computer.
- Click “Next,” then click “Write.” The tool may ask about settings like Wi-Fi name or password. Skip this part. Home Assistant sets up its own network later, and changing these settings now can cause problems.
- Wait until it finishes, then safely remove the card from your computer. This takes a few minutes.
If Raspberry Pi Imager does not work on your computer: download the system file from the official releases page and write it with a free tool called Balena Etcher. Most people will never need this backup method.
Step 2: Boot the Raspberry Pi (Then Wait Patiently)
Now we move to the Pi itself. Do these three things:
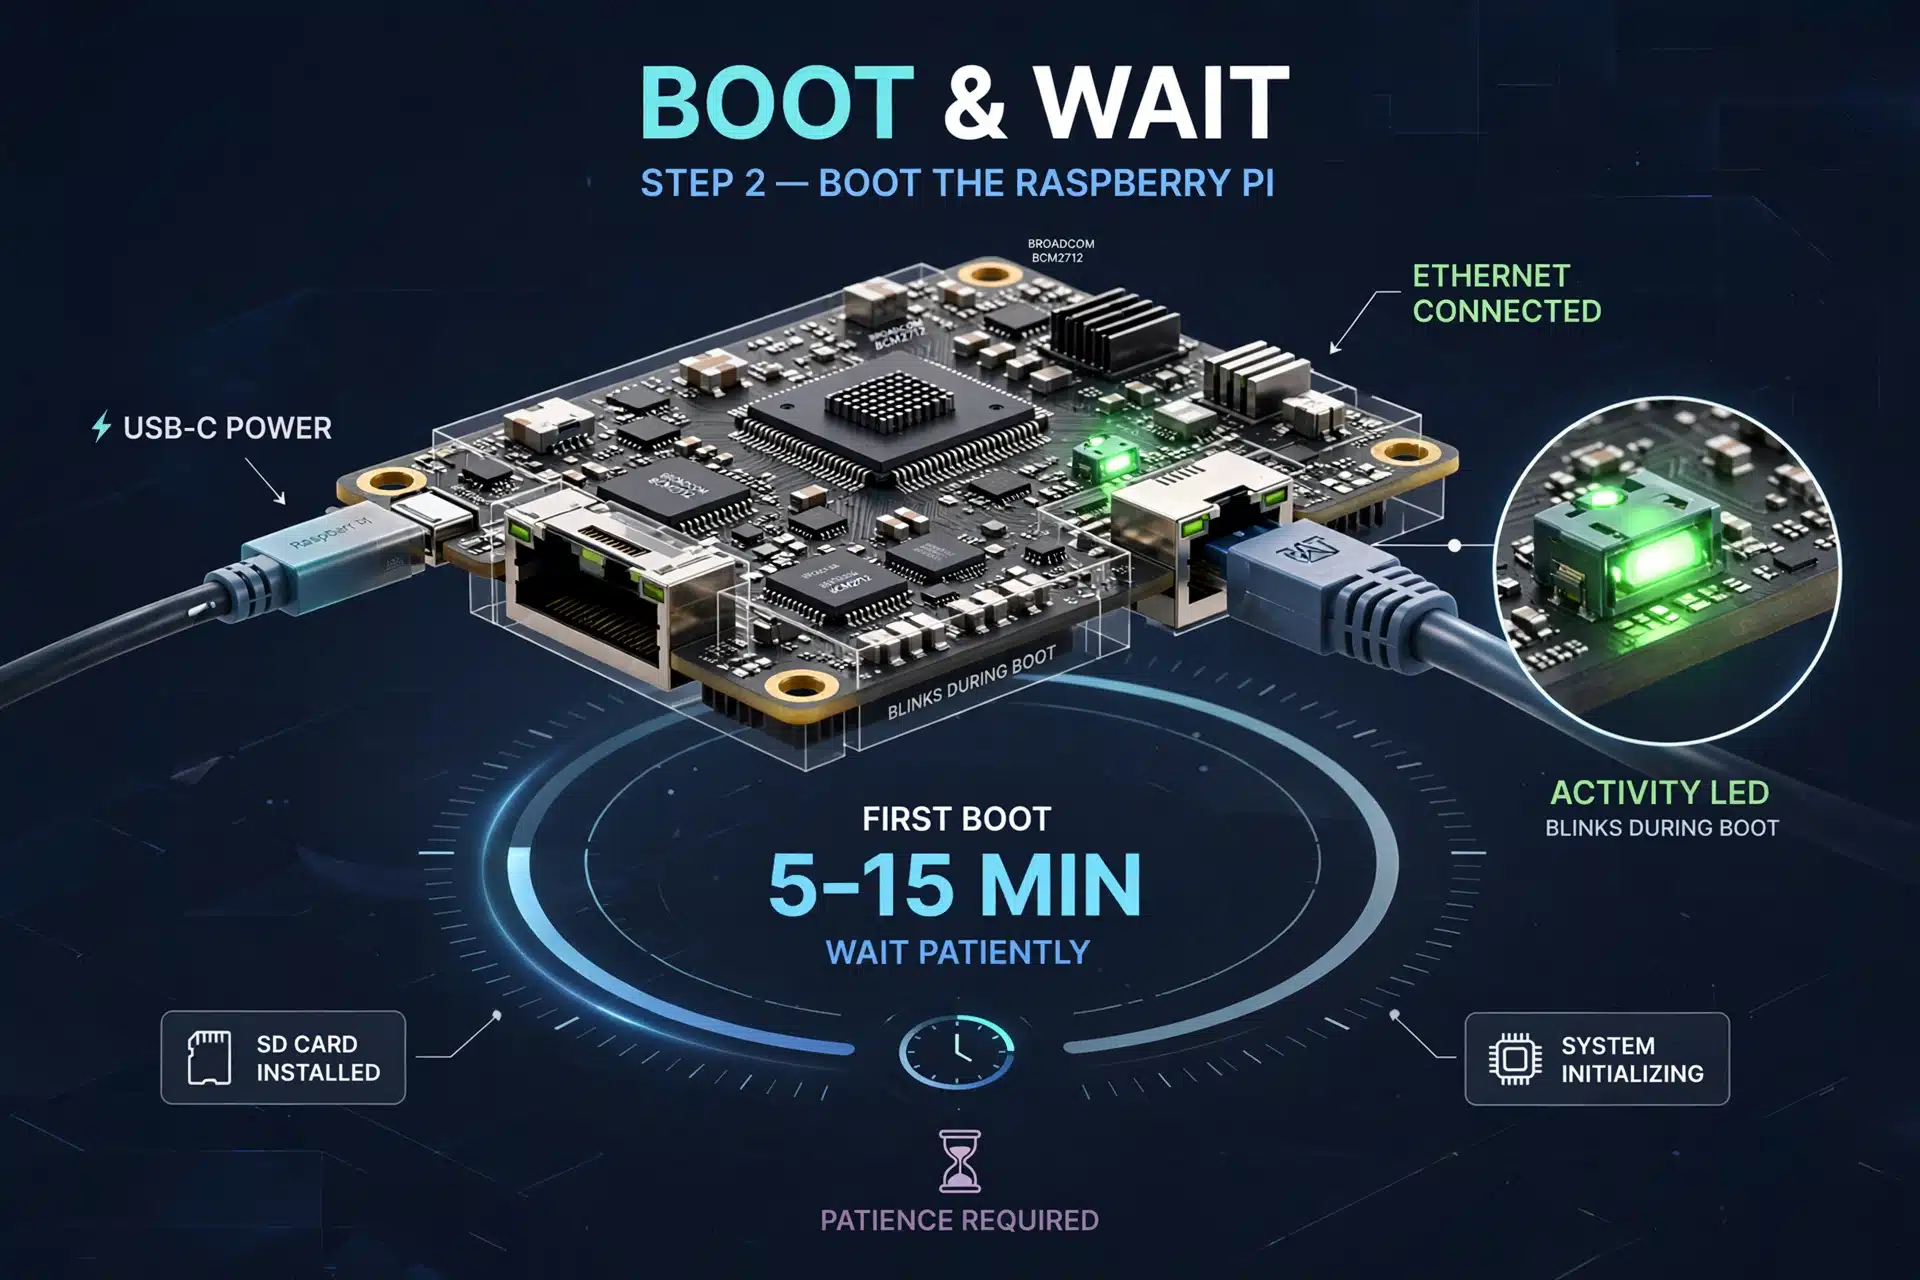
- Push the memory card into the Pi’s card slot. It fits only one way, so don’t force it.
- Connect the Ethernet cable. One end goes into the Pi, the other end into your internet router. Do this before turning on the power.
- Plug in the power supply. The Pi has no on/off button — it starts as soon as it gets power.
Now wait 5 to 15 minutes and do nothing. This is where most beginners make their mistake: they think the Pi is stuck and unplug it. Don’t do that.
Here is what is happening inside. The Pi is downloading the newest version of Home Assistant (about 700MB) from the internet and setting everything up by itself. You will see a small green light blinking, which means it is working. If you unplug it now, the installation will break and you must start again from Step 1. So be patient — go make some tea.
Step 3: Open Home Assistant in Your Browser
After the wait, take your phone, tablet, or computer — any device on the same home network — and open the internet browser. Type this address and press Enter:
http://homeassistant.local
If the page does not open, try these in order:
http://homeassistant.local:8123— older versions used this port number.- The Pi’s IP address — some networks don’t understand
.localnames. Open your router’s settings, find the Pi in the device list, and use its address directly, for examplehttp://192.168.1.50.
You should now see the Home Assistant welcome screen. If nothing appears after 5 minutes, the memory card was probably not written correctly — go back and repeat Step 1. If it fails twice, the card itself may be faulty or fake, so try a different card.
Step 4: Complete the Easy Setup Wizard
The welcome screen will guide you through the rest. It takes only a couple of minutes:
- Create your account. Choose a username and a strong password. This is the main admin account, so use a password you don’t use anywhere else.
- Set your home location. This powers smart features like turning lights on at sunset or knowing when you leave home. Your exact address or just your city — both work fine.
- Share usage data? (Optional). It asks to share anonymous data to help improve Home Assistant. The choice is fully yours — saying no changes nothing.
- Finished! You will see your main dashboard. Go to Settings → Devices & services — Home Assistant may have already found smart devices in your home, ready to set up.
4 Things to Do Right After Installation
Your system is running. Now let’s set it up properly. Do these four things in order.
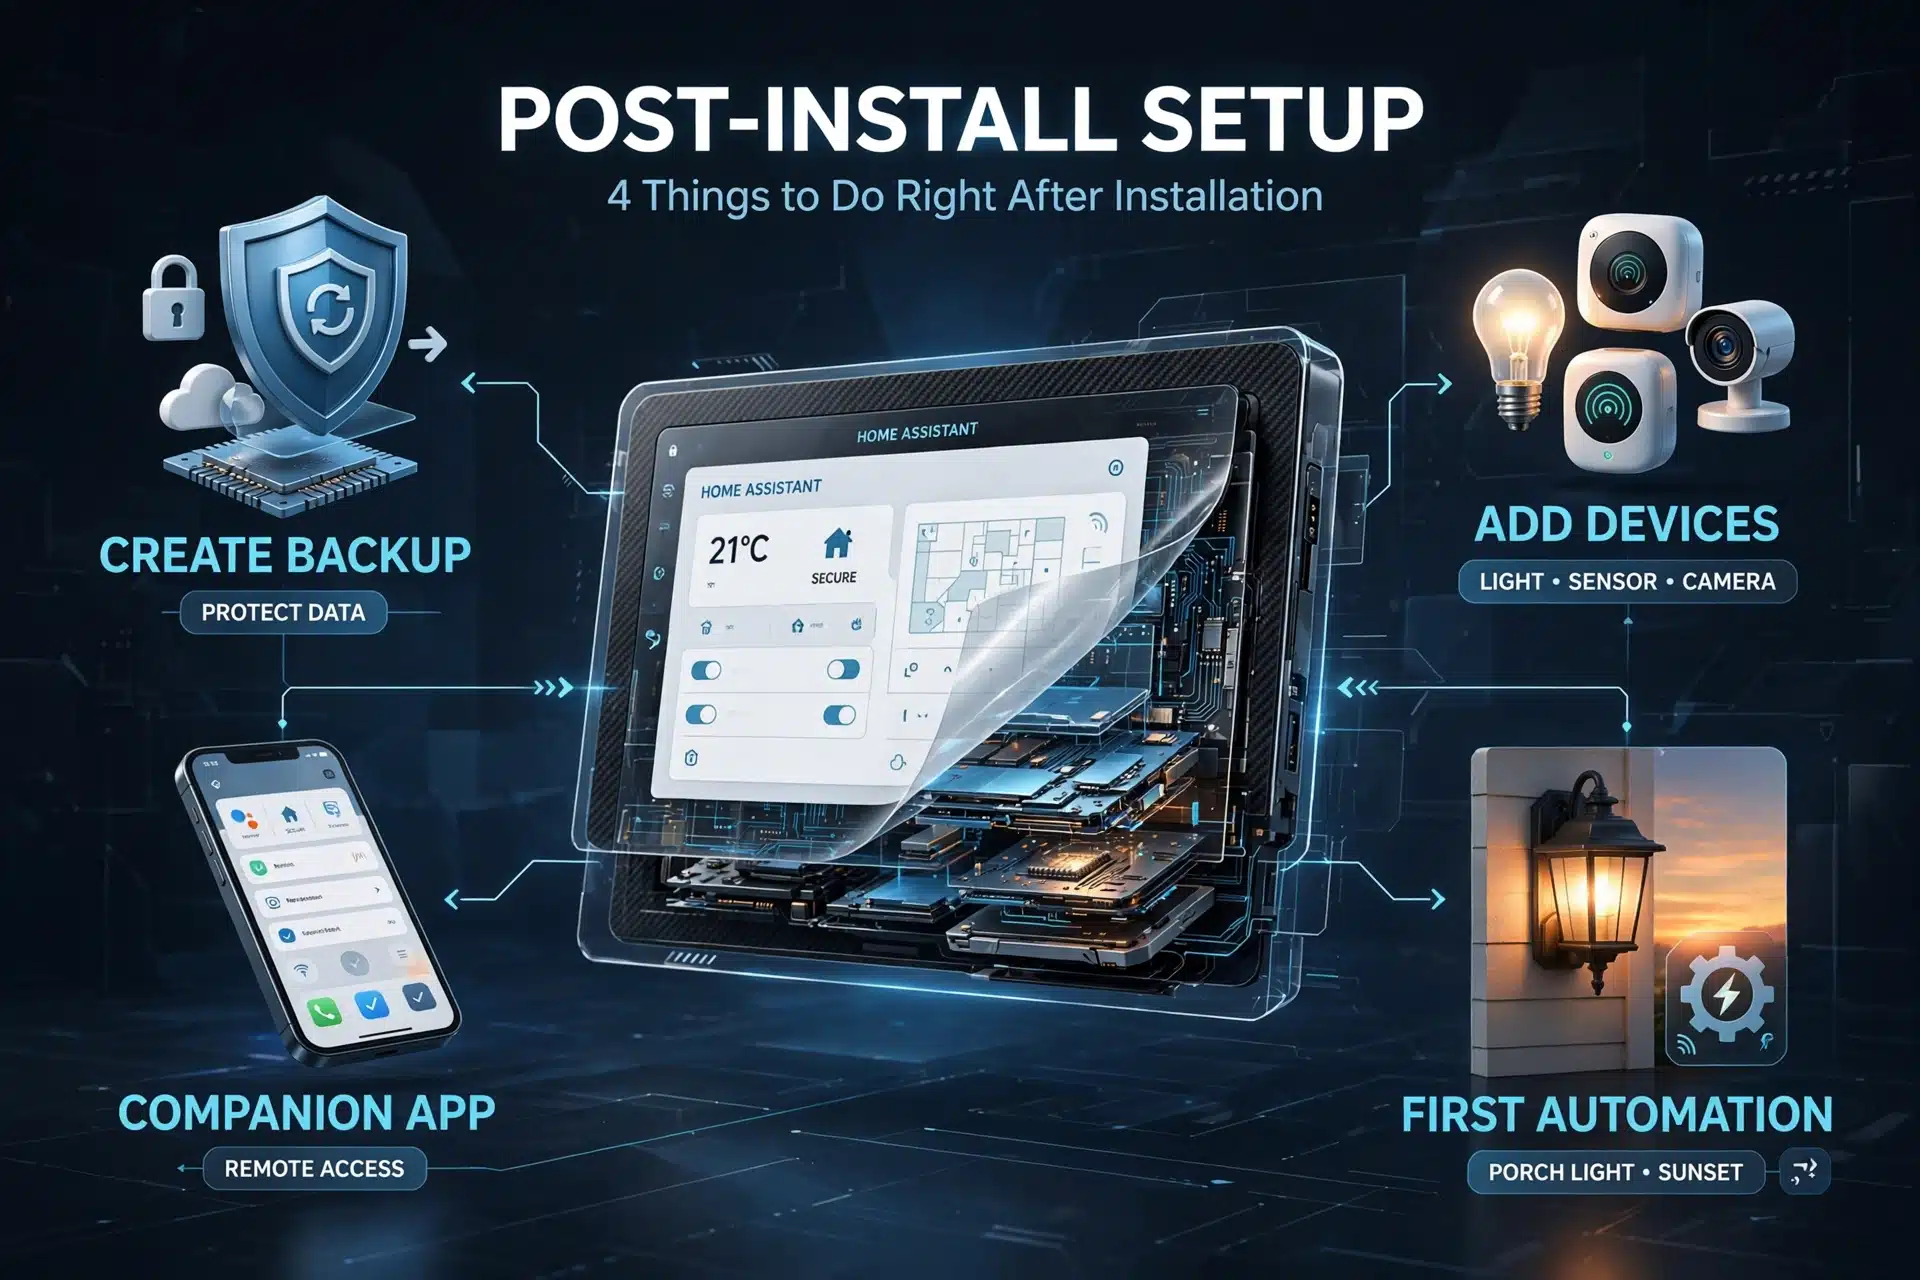
1. Create a backup first — before anything else
Go to Settings → System → Backups and create a full backup. Then download a copy to your computer.
Why bother? Because things go wrong sometimes. An update fails or a setting breaks. With a backup, you can restore everything in 10 minutes. Without one, you start from zero. Make a backup before every big change — this one habit will save you many headaches.
2. Add your first smart device
Go to Settings → Devices & services. Popular devices — Philips Hue, IKEA, Sonoff, TP-Link — are often found automatically. Click Configure and follow the steps. If something is missing, click Add integration and search for the brand name. Zigbee and Z-Wave devices work too, although some need a small USB adapter. Now you control everything from one dashboard instead of five different apps.
3. Create your first automation
Go to Settings → Automations & scenes → Create automation. Try this simple one: porch light on at sunset, off at sunrise. Choose the sun trigger, pick your light, and save. That’s it. It is smarter than a timer plug because it knows the real sunset time every day. Every future automation works the same way: when this happens → do that.
4. Install the phone app
Download the free Home Assistant Companion app on your phone (available for iPhone and Android). Log in with the account you created. The app does more than show your dashboard — it turns your phone into a sensor. It can tell Home Assistant when you leave or arrive home, what your battery level is, and which Wi-Fi network you’re on. This is how automations like “unlock the door when I arrive” become possible.
Common Problems and Quick Fixes
Don’t worry if something doesn’t work on the first try. Here are the problems beginners face most often, with a simple fix for each one.
“homeassistant.local” doesn’t open anything
Why it happens: some routers and older Windows computers don’t understand .local addresses.
Fix: find the Pi’s IP address in your router’s device list (it’s usually under “connected devices” — ask someone to help if needed). Type http:// followed by that address, for example http://192.168.1.50. If that still fails, add :8123 at the end.
Screen is stuck on “Preparing Home Assistant”
Why it happens: the first boot downloads the system from the internet. No internet means no progress.
Fix: push the Ethernet cable in firmly at both ends. Confirm your router lists the Pi as a connected device. On slow internet, wait a full 20 minutes before giving up.
A lightning bolt symbol appears on screen
Why it happens: your power supply is too weak. This is very common with phone chargers.
Fix: switch to the official 27W Raspberry Pi power supply. Also check the cable: thin, cheap USB-C cables cause the same problem.
Raspberry Pi Imager doesn’t show Home Assistant in the list
Why it happens: your Imager version is too old.
Fix: download the newest version from the official Raspberry Pi software page. The operating system list refreshes from the internet every time you open the program.
The Pi turns on, but Home Assistant never loads
Why it happens: the memory card wasn’t written correctly, or the card itself is damaged.
Fix: repeat Step 1 carefully. If it fails twice, try a different card — yours may be faulty or fake.
You tried to use Wi-Fi for the setup
Why it happens: the official installation method needs a cable connection for the first setup.
Fix: connect the Ethernet cable and start again. You can switch to Wi-Fi later in Settings → System → Network.
The login page loops or shows a blank screen
Why it happens: your browser kept old, broken data from an earlier failed attempt.
Fix: clear your browser cache, or open the page in a private/incognito window. This works almost every time.
One Honest Warning: Memory Cards Wear Out Over Time
Here is something you should know before you finish. Home Assistant saves small pieces of data to the memory card constantly — every temperature change, every light switch, every sensor reading. Memory cards can only handle a limited number of writes before they wear out. A good A2 card lasts most people several years, but it is still the weakest part of this setup.
The good news: the Pi 5 also supports a fast SSD (via a small add-on board) that outlasts any memory card — and you can migrate later without starting over. A future guide in this series will show you exactly how.
FAQs About Installing Home Assistant on Raspberry Pi 5
Do I need to connect a screen and keyboard to the Pi?
No. You do everything from your phone or computer through the browser. A screen is only useful if something breaks and you need to read error messages directly.
Is 2GB of RAM really enough?
It is the official minimum, and it does run. But 4GB is the smarter buy — it gives you breathing room for more devices and automations later.
How much total time does this take?
About 30 minutes of your own time, plus 5 to 15 minutes while the Pi works by itself. You can do something else during the wait.
Is Home Assistant really free?
Yes, completely free. It is open-source software with no monthly fee and no subscription for the main features. There is an optional paid service for easy access from outside your home, but you never need it for normal use.
Will my smart home still work if the internet goes down?
Yes — and that is the biggest advantage. After setup, everything runs on your home network. Lights, automations, and dashboards all keep working offline. The internet is only needed for updates and for reaching your home while you’re away.
Can I install other programs on the same Pi?
Not with this method — Home Assistant OS does one job only. Running extra programs (ad-blocking, file storage) needs a more advanced setup. For beginners, a dedicated Pi is the simplest and most reliable choice.
What if I make a mistake during setup?
Almost everything can be fixed. Wrong setting? Change it in the web interface. Broken installation? Write the memory card again and start fresh — it only takes a few minutes. And if you made a backup (step 1 of the after-install list above), you can restore everything in minutes.
Quick Recap
The whole process in four lines:
- Flash Home Assistant OS to the memory card with Raspberry Pi Imager.
- Boot the Pi with the network cable connected, then wait 5–15 minutes.
- Open
http://homeassistant.localin your browser. - Finish the setup wizard — create your account, set your location, done.
And remember the three golden rules: use the official power supply, never unplug the Pi during the first boot, and back up before changing anything. You will end up with a fast, private smart home that keeps working even when the internet doesn’t — one that answers to you, not to some company’s cloud server.
