Here’s what nobody admits in those clean YouTube tutorials: I screwed up my first hardwire install. Tapped the wrong fuse slot, killed my radio for a whole day. My wife still brings it up.
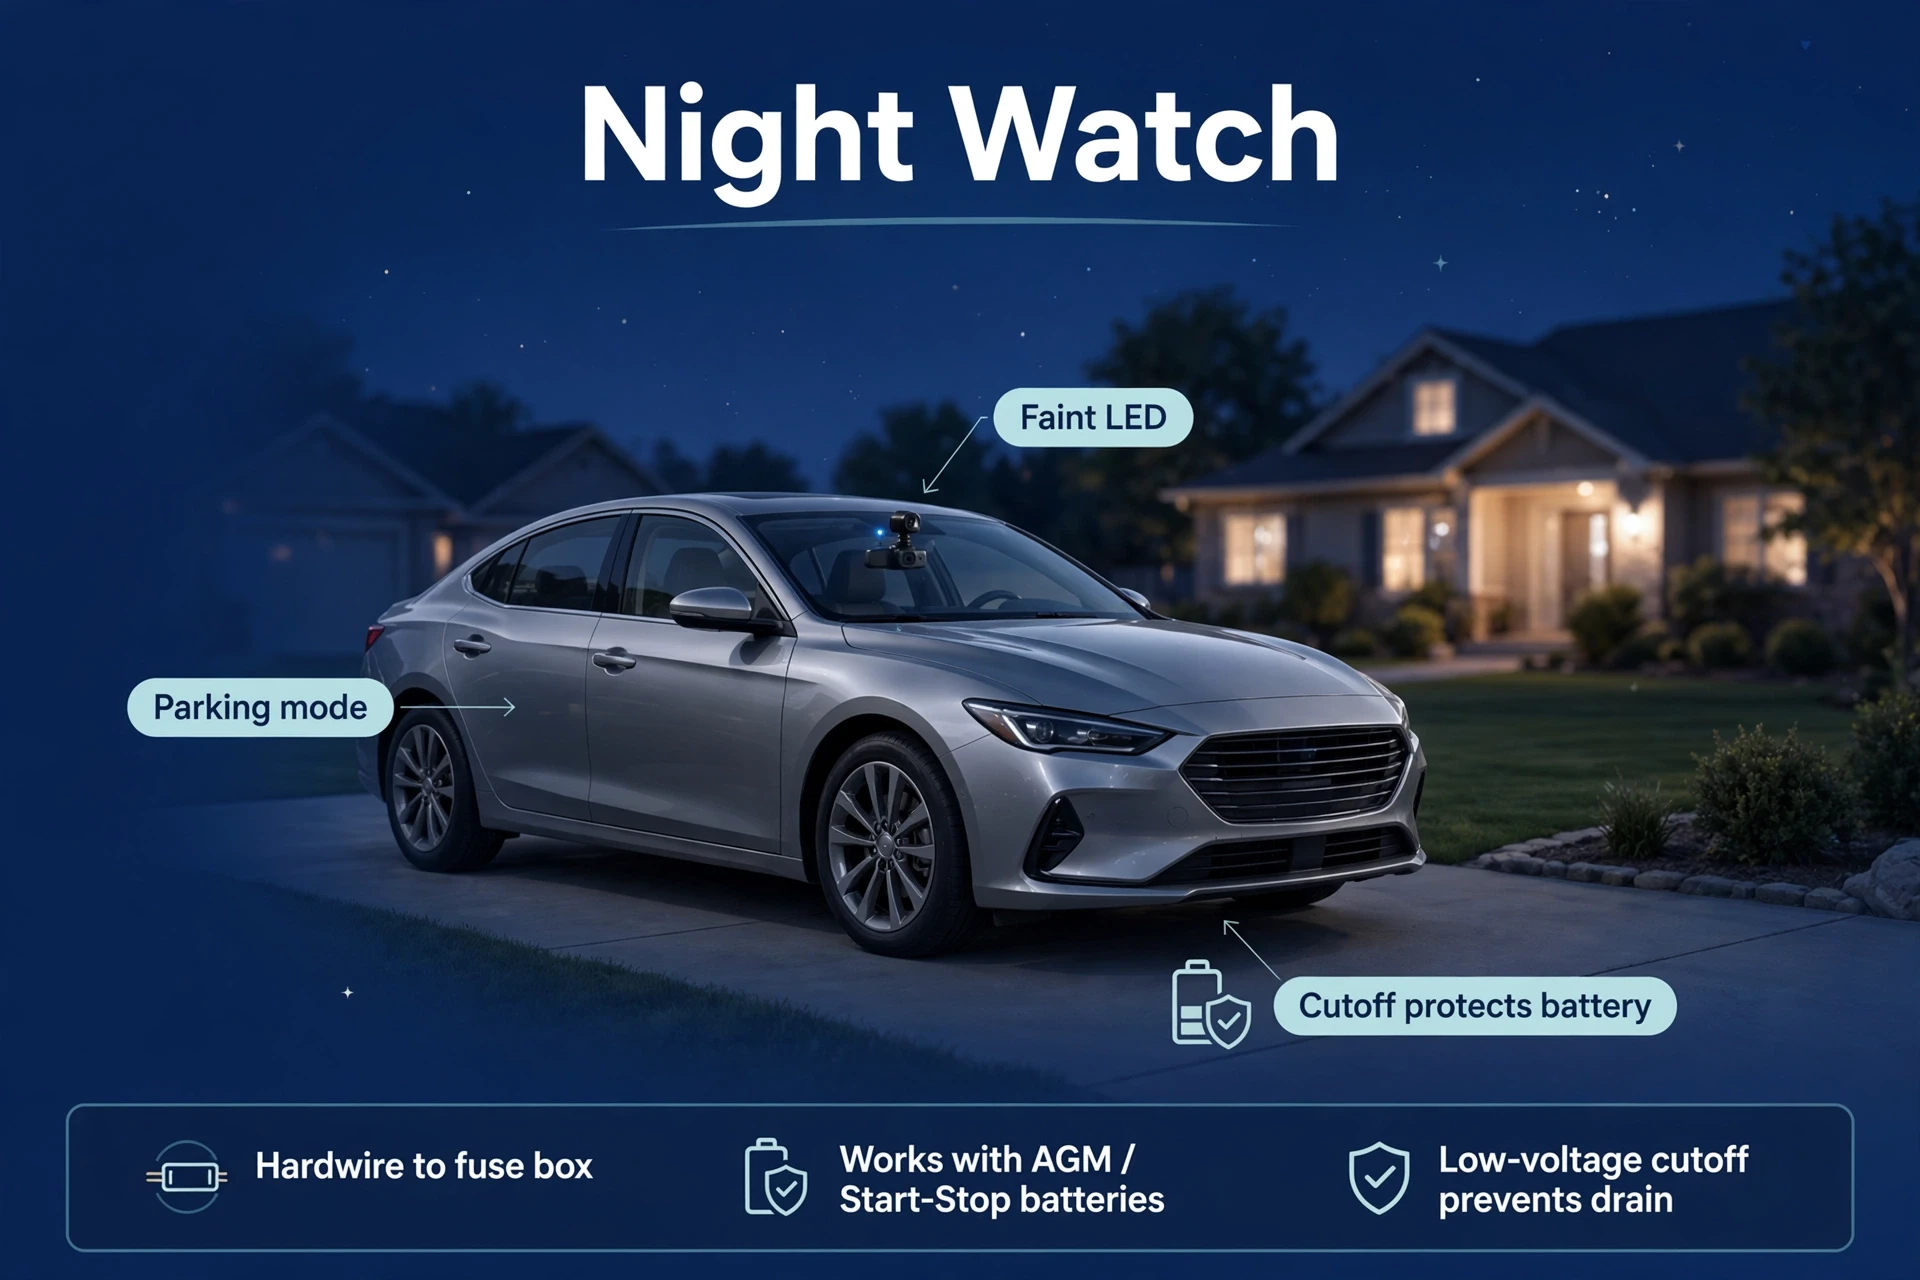
To hardwire a dash cam, you connect it to your car’s fuse box — or the OBD-II port — through a hardwire kit with a voltage cutoff, instead of the cigarette lighter. That’s it. That’s the whole job, and it’s the only proper way to run parking mode: the camera stays powered while parked, and the cutoff keeps your battery from draining overnight. I just did it wrong the first time, and I’m going to make sure you don’t.
This sounds way more intimidating than it is — three YouTube videos and one expensive mistake taught me everything below: both methods, the tools, the voltage settings, the mistakes behind most failed installs. If you can pop trim panels without snapping clips, you’ll be done in about an hour.
Safety note: you’re working with the car’s 12V system. Low-voltage, generally safe — but mistakes can blow fuses. If any of this makes your stomach tighten, a car-audio shop will do the whole job cheaply. I paid a guy sixty bucks to check my second attempt. Best money I spent that month.
How to Hardwire a Dash Cam: What It Actually Means
“Hardwiring” sounds like rewiring the car. It’s not — you’re just giving the dash cam a permanent, well-behaved power supply. I started with the lighter socket like everyone does. Two problems: it usually dies with the ignition (goodbye, parking mode), and it has zero low-voltage protection, so a camera left running can quietly drain your battery. Learned that one from a forum thread at 11 PM.
A hardwire kit fixes both in one move: it taps the fuse box, draws a small constant current, and — critical part — includes a voltage cutoff module. Battery drops to the set voltage, the kit cuts power. Car still starts in the morning. The morning after my first successful install, I checked the voltage three times before work like a new parent. That’s also why every serious dash cam setup is hardwired. Not most. Every.
Not sure what parking mode even does yet? Our what is parking mode on a dash cam guide explains the feature this install unlocks — worth a read before you pick a method below.
Fuse Box vs OBD-II: Which Method Should You Use?
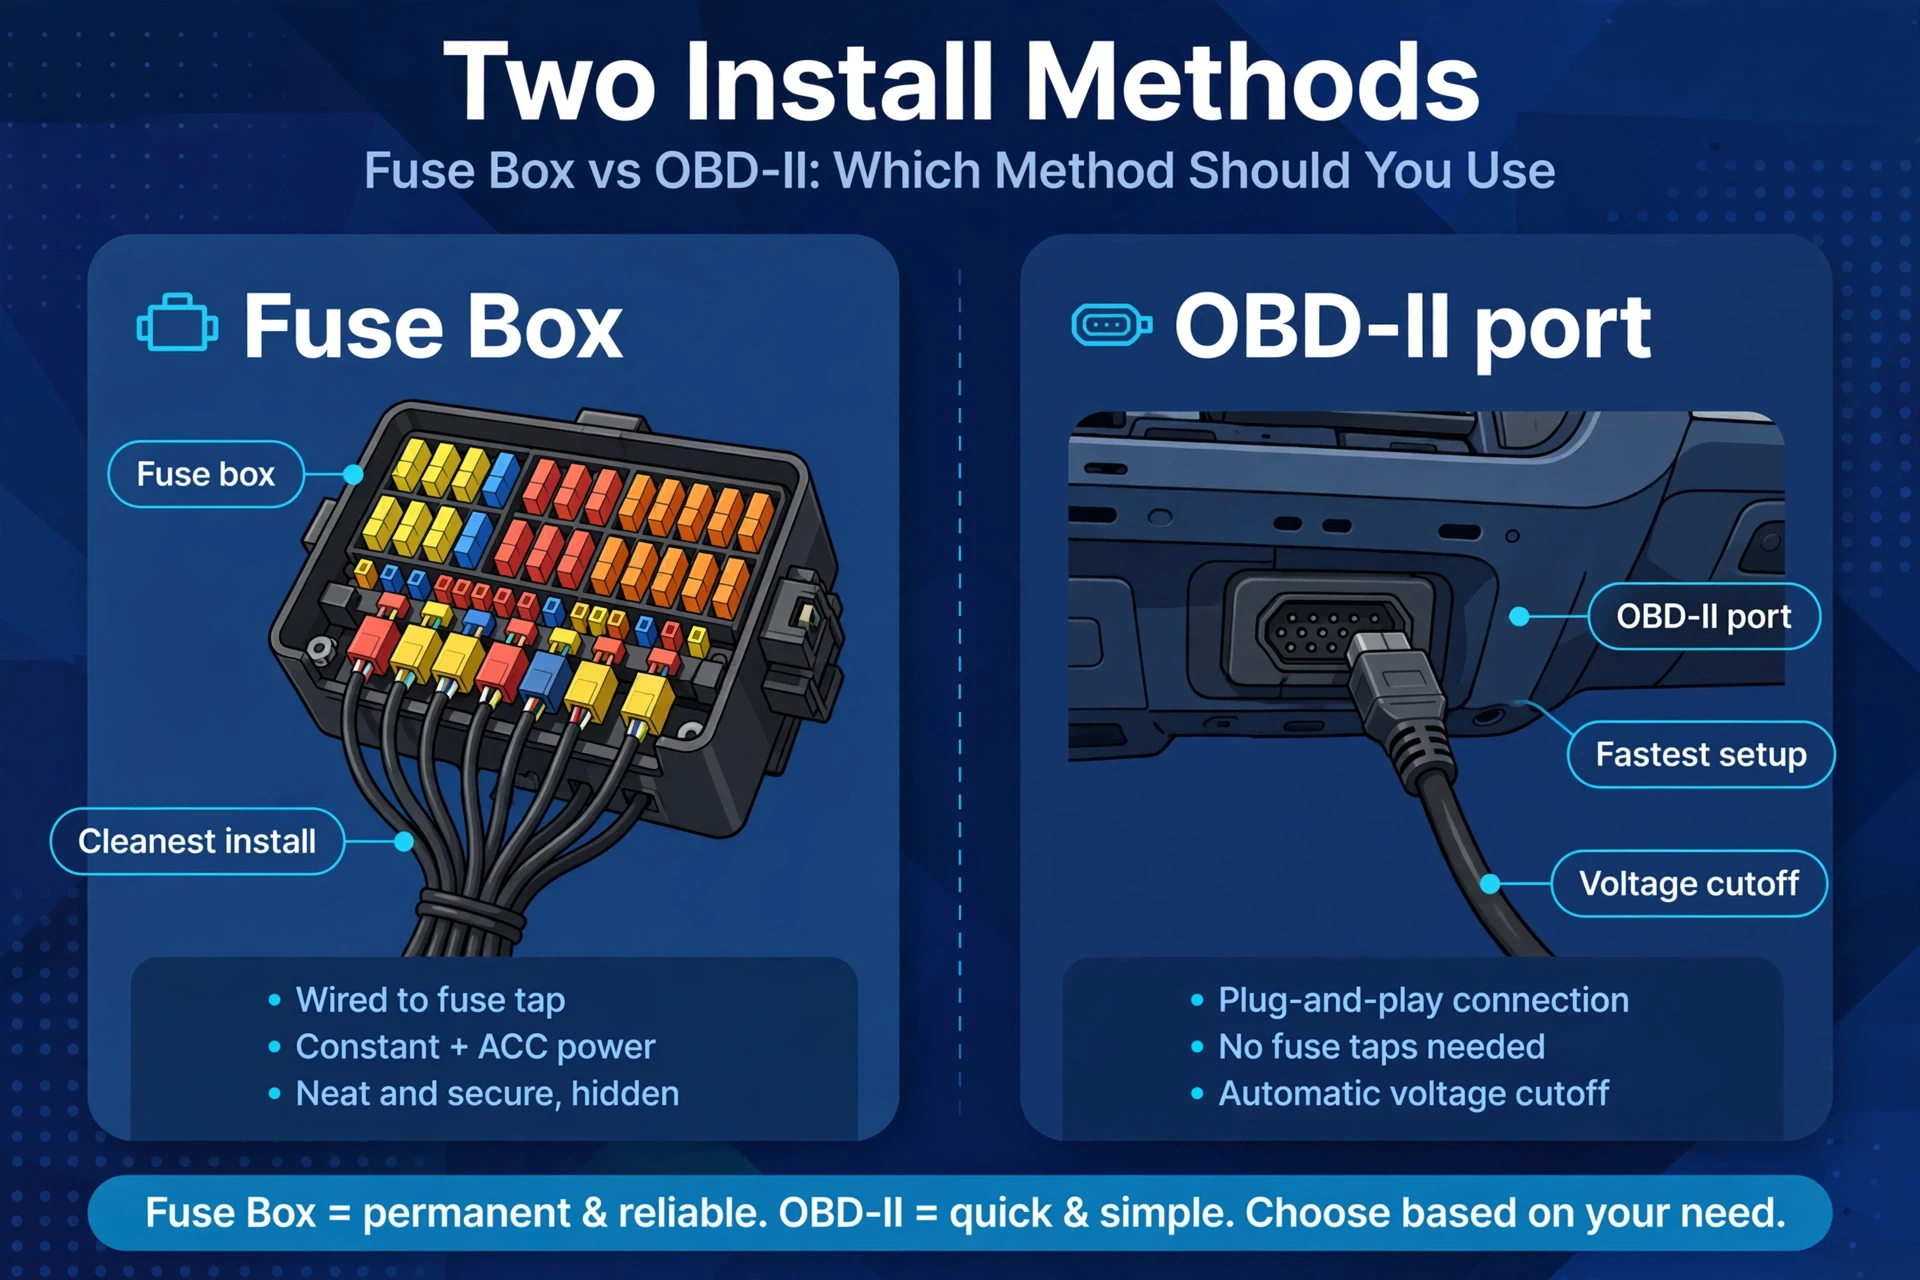
I did the fuse box method — twice, once wrong, once right. My neighbor did OBD-II in twenty minutes holding a beer. We both have parking mode. Neither is universally “better.” They suit different cars and comfort levels.
Caption: Fuse box vs OBD-II hardwiring compared.
| Feature | Fuse box method | OBD-II method |
|---|---|---|
| Difficulty | Moderate — fuse taps, grounding, cable routing | Easy — plug into the OBD-II port |
| Time | 45–90 minutes | 15–30 minutes |
| Voltage cutoff | Set on the kit (adjustable) | Usually built into the cable (may be fixed) |
| Parking mode | Full support | Full support on most kits |
| Reversibility | Fully reversible; no wire cutting with fuse taps | Unplug and it’s gone |
| Best for | Cleanest install, leased cars (no trace) | Beginners, quick installs |
The fuse box route is the classic: invisible, reliable, removable without a trace — which matters if the car is leased. OBD-II trades a slightly visible cable for sheer simplicity. Done right, both power parking mode correctly. Pick the one that matches your patience. Mine matched “invisible and a free Saturday.”
Tools and Parts You’ll Need
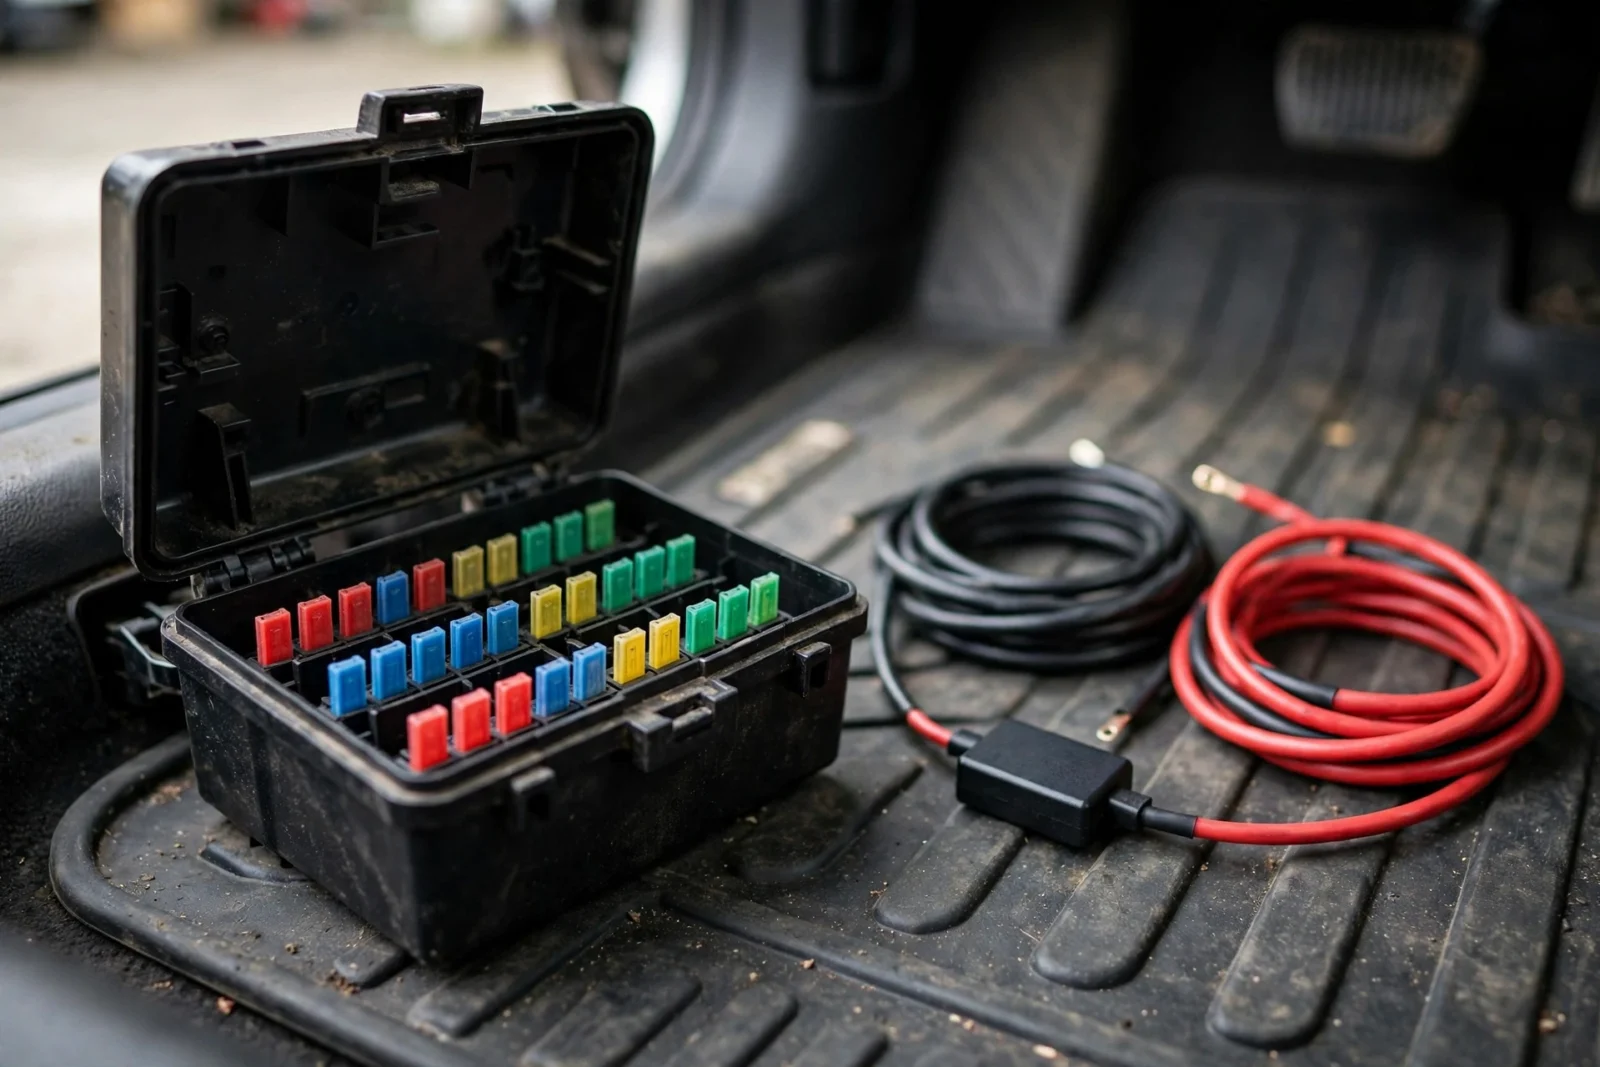
Here’s what I’d buy again. The hardwire kit — grab the one made for your camera brand if it exists; I bought universal first ,and the connector didn’t fit. Lost a week. Then fuse taps (add-a-circuit) — match your car’s fuse size: mini, low-profile mini, or standard ATO. Your owner’s manual tells you which. I guessed once. Don’t guess.
You’ll also want spare fuses matching the circuits you’ll tap, plus a couple extra. A trim removal tool set — plastic pry tools (a flathead works but scratches trim). A multimeter or test light for identifying switched vs .constant fuses — the tool people skip. Zip ties and adhesive cable clips, and a ground point: an unpainted metal bolt near the fuse box.
Method 1: Fuse Box Hardwire (Step by Step)
First, find the interior fuse box — usually under the driver’s-side dashboard, sometimes behind a kick panel. Mine was behind the kick panel, and I spent twenty minutes on the wrong manual page. Actually use the diagram.
Then the multimeter hunt — do not skip this. I skipped it once, tapped the wrong slot, and my radio went silent for a day. You’re looking for one switched fuse (live only with ignition on, like the cigarette lighter circuit) and one constant fuse (always live, like interior lights). The kit needs constant power for parking mode plus a switched line to know when you’ve parked. One hard rule: never tap safety circuits. Airbags. ABS. Hands off.
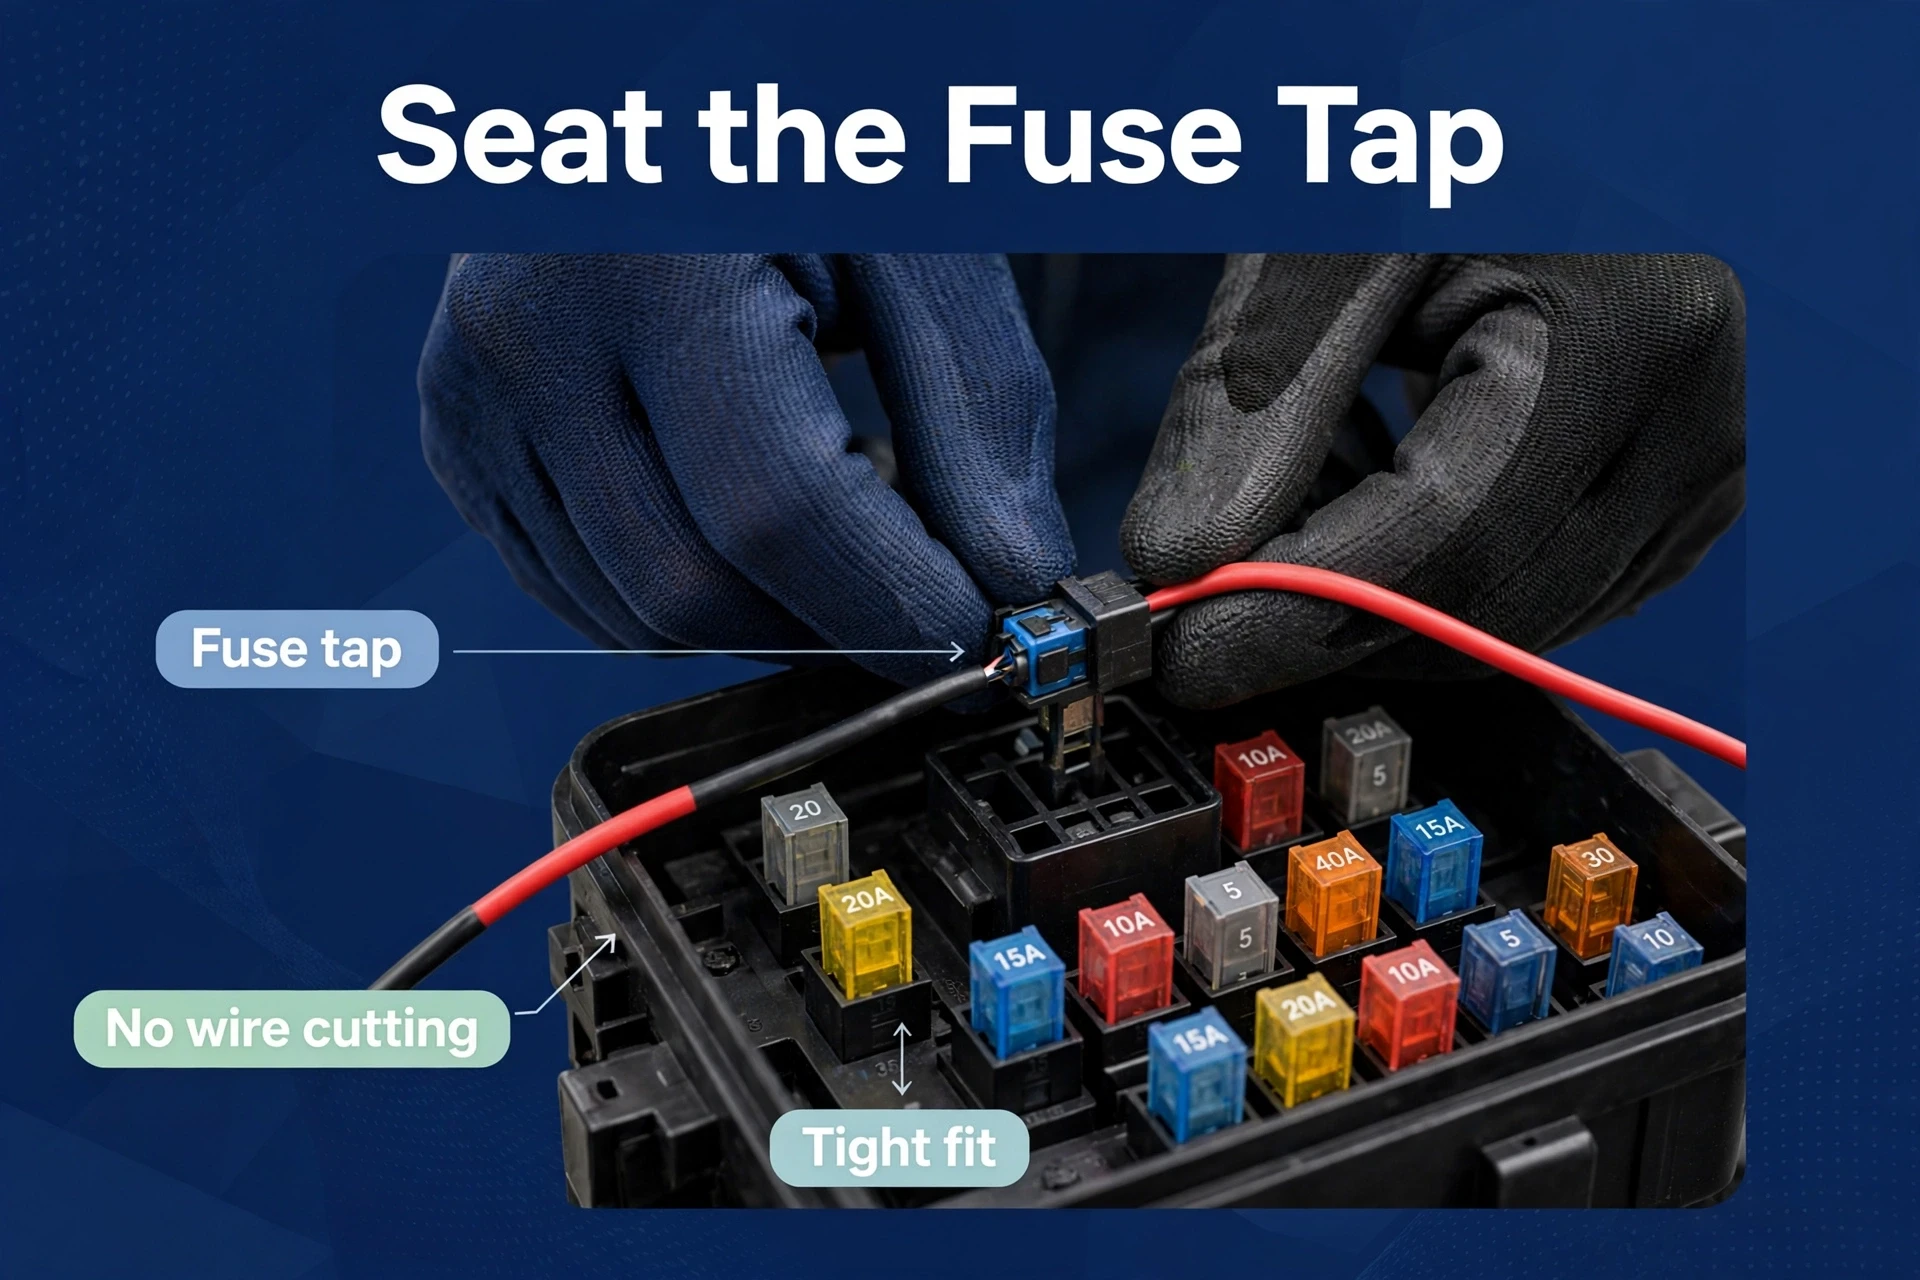
Seating the fuse taps is the satisfying part. Pull each chosen fuse, pop it into the tap’s lower slot, add a fuse for the dash cam circuit in the upper slot, then push the whole tap back in until it clicks. No wire cutting, no splicing, nothing permanent. Then the ground — don’t rush it. I rushed mine once, on a painted surface, and got two weeks of random reboots. Bolt the kit’s ground (black) wire to an unpainted metal bolt or factory ground point. Tight. Metal-to-metal. Paint on the contact surface? Scrape it off.
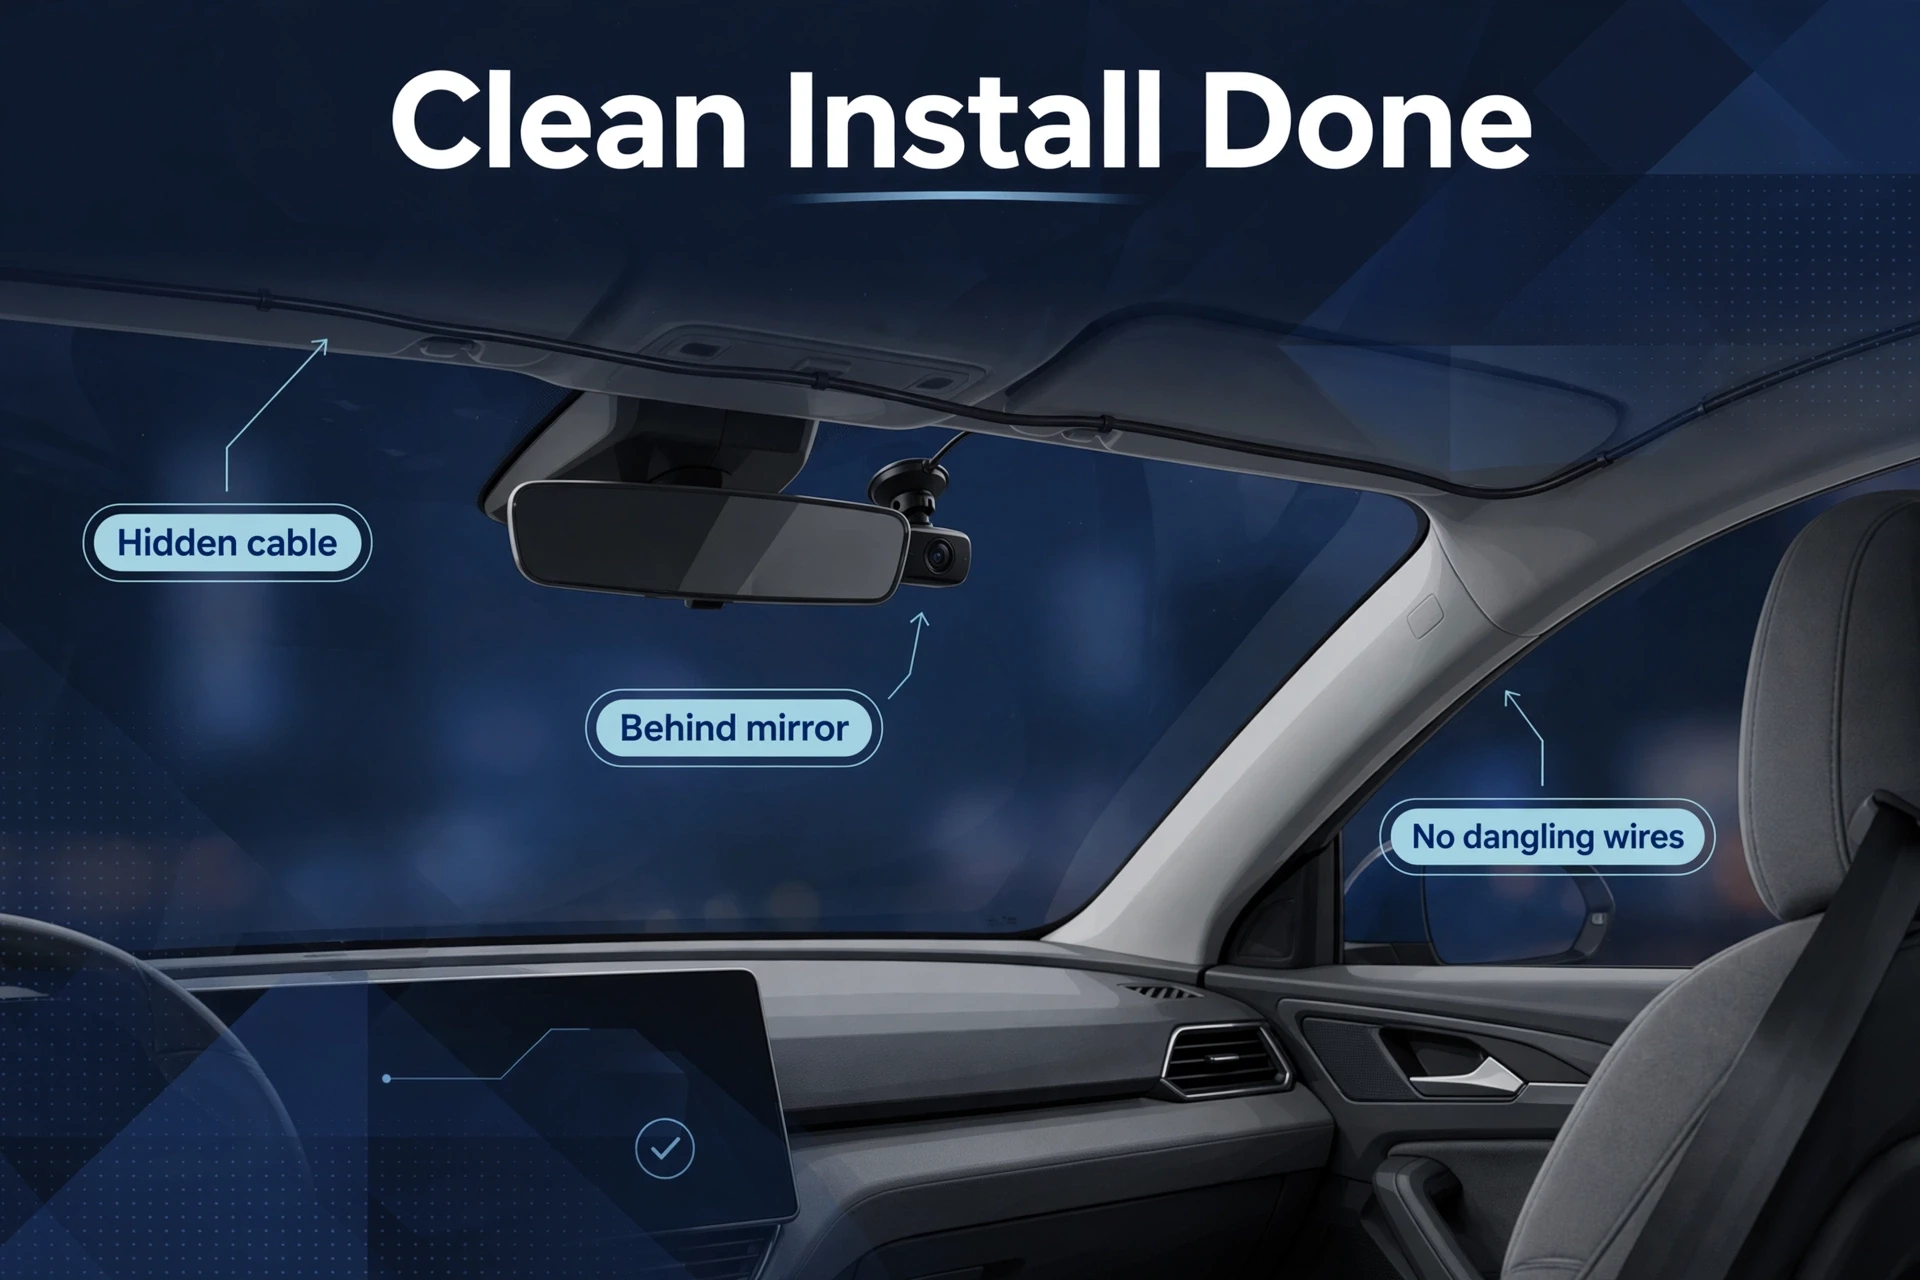
Now route the cable up to the camera. Up the A-pillar — tucked behind the airbag, never in front. In a crash, wiring in front of the airbag becomes a projectile — this one’s about safety, not tidiness. Then across the headliner to the camera mount behind the rearview mirror. Use the trim tools, not brute force. Then the hardwire module: join the kit’s output to the camera’s power input per the manual, usually USB-C or micro-USB, and park the voltage-cutoff module somewhere accessible.
Now dial in the voltage cutoff. Most kits offer steps between about 11.8V and 12.4V — I went with 12.2V on a healthy battery and never thought about it again. 12.4V gives maximum protection. 11.8V? Only if your battery struggles to hold a charge — last resort. Your manual lists the exact options; they vary by brand. Higher cutoff means a safer battery but shorter parking recording. Hot climate? Aging battery? Go higher. Don’t be greedy.
Last move: test everything. Start the car — the camera should power on. Switch off, wait a minute, and parking mode should engage. Then lock up, walk away, and confirm later that it recorded on motion or impact. When all of that works, you’re done.
Method 2: OBD-II Hardwire (Step by Step)
I watched my neighbor do the OBD-II route from his driveway, coffee in hand. Twenty minutes, start to finish. The port is under the dashboard on the driver’s side in virtually every car since the mid-1990s — a trapezoidal 16-pin connector, hard to miss once you know what you’re looking at.
The cable matters more than you’d think: get an OBD-II hardwire cable made for dash cams, not a generic splitter. The good ones include voltage cutoff and a parking-mode timer built in. My neighbor ordered the wrong cable first — a splitter with no cutoff — and had to send it back. Double-check that it matches your camera’s power connector before you plug anything in. Then plug in and route: up to the camera exactly like the fuse box method — behind the A-pillar airbag, across the headliner. Same drill.
Then configure the cutoff and timer — many OBD cables offer a cutoff switch plus a parking-mode time limit (6/12/24 hours is typical), which puts a hard cap on battery drain. Test like the fuse box method: ignition on, normal recording; ignition off, parking mode after the delay. One caution: the port stays powered and the cable dangles near your knees, so route it where nothing snags. And unplug it for service visits — technicians get grumpy about occupied OBD ports.
Voltage Cutoff Settings: The Table That Protects Your Battery
This one little setting is the difference between “parking mode” and “dead car in the morning.” My brother-in-law set his to 11.8V on a five-year-old battery and bought a new battery in February. These are typical starting values — confirm them against your kit’s manual and battery type:
Caption: Typical voltage cutoff starting points by battery type.
| Battery type | Suggested cutoff | Note |
|---|---|---|
| Standard lead-acid | 12.0–12.2V | Higher end is safer; choose 12.2V for older batteries |
| AGM / EFB (start-stop cars) | ~11.8V | AGM tolerates deeper discharge; still don’t go lower |
| External dash cam battery pack | N/A (pack manages itself) | Best option for long parking surveillance |
Still nervous about drain? Our will a dash cam drain your car battery guide covers the math, the myths — and when an external battery pack beats hardwiring outright.
Testing Your Install (Don’t Skip This)
I skipped half the testing on my first attempt and paid for it — the radio thing would’ve been caught in ten minutes. Don’t be me. Ignition test first: turn the key, and the camera should boot and record. If it doesn’t, troubleshoot now, not at midnight in a parking lot.
Then the parking transition: switch off, wait 1–5 minutes — the kit has a built-in delay, so don’t panic. Check for the parking-mode indicator on the LEDs or in the app. Then the trigger test: walk around the car, tap a panel gently, review the footage. Did it capture the event? If not, your parking mode isn’t working, and you need to know that now.
Then the overnight test: leave it one night, and check two things in the morning — the car starts, and the footage exists. The cutoff test is optional and needs patience: monitor battery voltage and confirm the kit cuts at your set point. Most people skip it; the overnight test is the practical version.
Common Mistakes
Every single one of these, I either did or almost did. The most common one? Tapping the wrong fuse type. Constant where the kit expects switched — or vice versa — and the parking-mode logic falls apart. That’s how my radio died for a day — I sat in the driveway convinced I’d fried something expensive. Wrong tap, wrong slot. The multimeter step exists to prevent exactly this.
Then the bad ground. Painted metal or a loose bolt means random reboots, corrupted files, hours of confused troubleshooting — I lost two weeks to a ground I rushed. Scrape to bare metal, tighten it properly. Future you says thanks.
The serious one is cable placement at the A-pillar. Run it in front of the airbag and in a crash that airbag turns your wiring into a projectile — or severs it. Always route behind. No exceptions. This one’s about safety, not tidiness.
Don’t chase longer parking recording with a low cutoff. That’s how you buy a new battery at the worst time. When in doubt, go higher.
Last one, for dual-channel installs: route the rear camera cable first while the trim’s open. I did it second, which meant reopening everything I’d just closed. Reopening everything twice just for that cable? Miserable. Ask me how I know.
Drive rideshare? A hardwired setup with 24/7 parking surveillance is especially valuable when your car is your income. See our best dash cam for Uber drivers guide for camera picks with cabin coverage.
Leased Cars and EVs: Special Cases
Leased cars: good news — a fuse-tap install is fully reversible. When the lease ends, pull the taps, reinsert the original fuses, and there’s no trace it was ever there. Pro tip: photograph the fuse layout before you start. I wish I’d done this — reassembly would’ve taken minutes.
Now, some lease agreements restrict electrical modifications on paper — but in practice, a reversible tap that touches nothing permanently is the lowest-risk modification you can make to a car. Still, read your agreement before you argue about it at turn-in.
Electric vehicles: EVs complicate exactly one thing — the 12V system. Most still run accessories off a small 12V battery, and hardwire kits work the same way. But EV 12V batteries run smaller, and some EVs aggressively shut down 12V accessories to protect range — so use a conservative (higher) cutoff. And if your EV has a sentry-style USB power mode, read the manual before assuming its 12V behaves like a gas car’s.
Cars with start-stop systems: these use AGM or EFB batteries, so use the ~11.8V starting cutoff from the table — not the lead-acid value. The start-stop system doesn’t conflict with a dash cam; the battery chemistry just wants its own numbers.
Frequently Asked Questions
Can I hardwire a dash cam myself?
Yes — I did, after messing it up once. If you’re comfortable with trim panels and following instructions, most installs take under 90 minutes with fuse taps, and no wire cutting is involved. But if your fuse box is buried somewhere awful, a car-audio shop does it affordably. Know your limits.
Will hardwiring void my car warranty?
Fuse-tap installs are non-invasive and fully reversible, so they rarely cause warranty trouble. That said, warranty law varies by country — and dealers vary by mood, let’s be honest. Keep the install clean and reversible, and pull it before warranty service if you’re concerned.
Fuse box or OBD-II — which is better?
Fuse box for the cleanest, most invisible install — the leased-car choice, and what I went with. OBD-II for speed and simplicity. With a proper kit, both support parking mode correctly, so you’re not compromising on the thing that matters.
How long will parking mode record before the cutoff kicks in?
Depends on battery health, the cutoff setting, temperature, and how often motion triggers a recording. Several hours to a couple of days is typical — an external battery pack extends that dramatically.
Do I need a special SD card for a hardwired dash cam?
Yes. Parking mode means far more writing hours, so use a high-endurance microSD card. Standard cards wear out fast under 24/7 duty — and they always seem to fail exactly when you need the footage. I killed a regular card in four months. The high-endurance one’s been going over a year.
Can I hardwire if my car has start-stop / AGM battery?
Yes — just use the AGM-appropriate cutoff (around 11.8V as a starting point) and confirm it in your kit’s manual. Start-stop cars are actually good candidates: their batteries and charging systems are built for cycling, so a dash cam barely registers.