

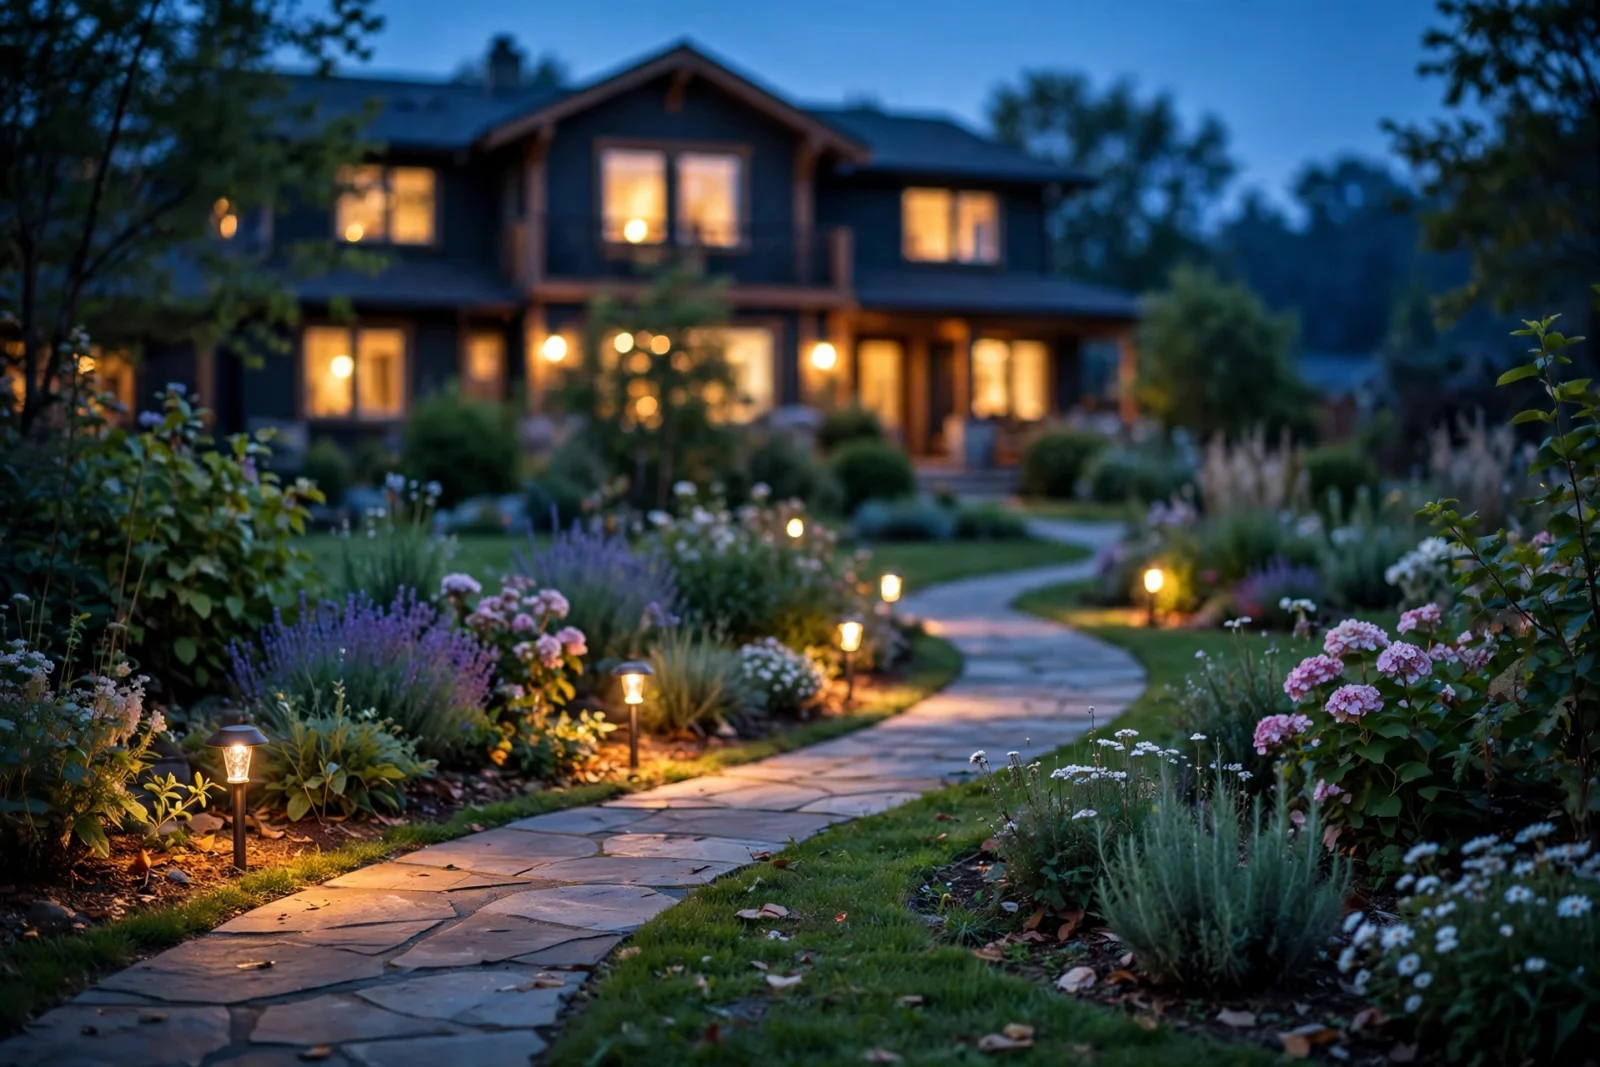
The short answer: a low voltage landscape lighting install is a low-voltage project you can finish in a weekend. However, you mount a 12V transformer near an outdoor outlet, lay two-conductor low-voltage cable along the areas you want to light, stake the fixtures in the ground, and connect everything with waterproof twist connectors. For example, no trenches to code depth, no hardwiring into your electrical panel — 12 volts is safe enough to touch.
Low-voltage lighting is the standard way to light pathways, trees, garden beds, and house facades without calling an electrician. In addition, it looks expensive, but a basic setup of six to ten LED fixtures costs very little — a 6-pack of LED path lights with a transformer lists for about $40 at Home Depot (price checked 2026-10-02). In addition, a decent standalone 200W plug-in transformer runs roughly $85–$100.
This guide walks you through the whole install: materials, safety rules, layout planning, transformer sizing, wiring, testing, and burying. A first-timer can finish in about 4–8 hours over a weekend.
Low Voltage Landscape Lighting Install: What You Need
Gather everything before you start. Most of this is sold in the landscape lighting aisle of any home center, or bundled into starter kits.
Materials
- Low-voltage transformer — converts your home’s 120V outlet power to safe 12V. Get one with a built-in timer and photocell (dusk-to-dawn sensor).
- Low-voltage cable (direct burial rated) — typically 12/2 or 14/2, two-conductor stranded copper with a UV-resistant jacket. Most beginners should buy 12-gauge; it handles longer runs with less voltage drop.
- Fixtures — path lights, spotlights (uplights), well lights, or deck lights. LED fixtures are the only sensible choice in 2026: they use a fraction of the watts, stay cool, and last years.
- Waterproof wire connectors — grease-filled twist connectors or clamp-style direct-burial connectors. Never use indoor wire nuts.
- Cable stakes or wire clips — to hold the cable in place before you bury it.
- A GFCI-protected outdoor outlet — the transformer plugs into this. More on this in the safety section.
Tools
- Shovel or flat spade (for a shallow cable trench)
- Wire cutters and strippers
- Screwdriver (for fixture connections)
- Multimeter or simple voltage tester (optional but handy for troubleshooting)
- Marker flags or a garden hose (for laying out the design before you buy anything)
Safety Rules Before You Touch Anything
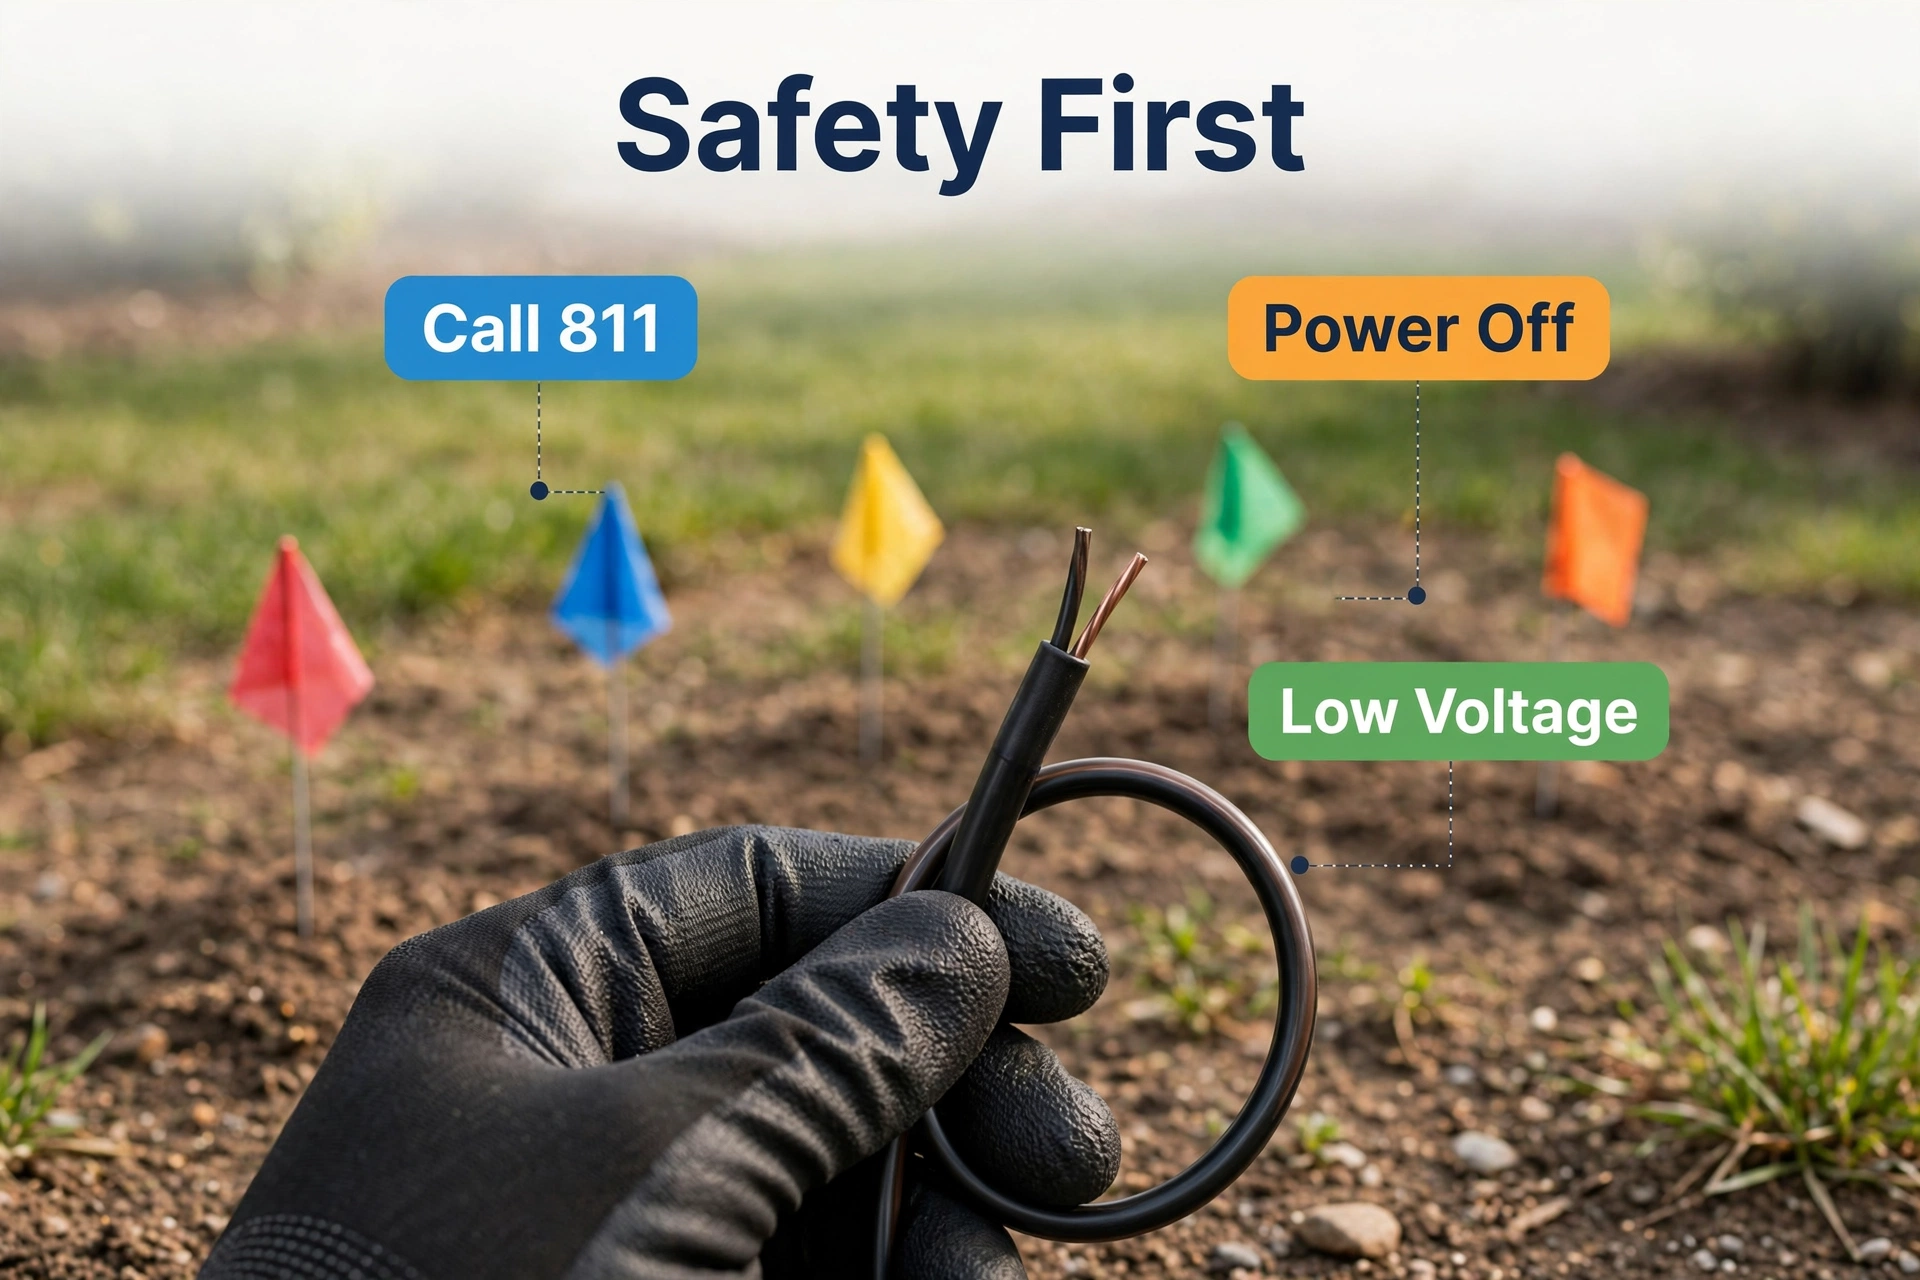
Low voltage is forgiving, but “safe to touch” is not the same as “no rules.” Read this section fully before you dig or plug in anything.
- Call 811 before you dig — every time. This is free, and in most US states it is required by law. Call 811 or submit a request online at least a few business days before you dig, and your local utilities will mark buried gas, electric, water, and telecom lines with paint and flags. Your cable only goes a few inches deep, but hand-digging over a gas line can still end badly.
- Low voltage is 12V — line voltage is 120V. Never mix them. Your landscape system runs at 12 volts, which is why you can handle the cable with bare hands. It must never connect to household 120V wiring, and low-voltage cable should never run inside the same conduit as 120V line-voltage cable.
- Use waterproof, direct-burial connectors only. Underground connections sit in wet soil. Grease-filled twist connectors or clamp-style direct-burial connectors are made for this. Standard indoor wire nuts will corrode, wick moisture into the cable, and fail — usually at night, months later.
- Place the transformer correctly. It must plug into a GFCI-protected outdoor outlet, mount above ground (on a stake or wall bracket, not lying in the grass), and have airflow around it for ventilation. If you don’t have an outdoor GFCI outlet, stop here and read rule 6.
- Keep low-voltage cable away from line-voltage lines. Run your 12V cable at least 6 inches from any buried 120V lines, and never attach it to the outside of line-voltage conduit.
- Call a licensed electrician when the job goes beyond plug-in territory. That means: no outdoor GFCI outlet within reach, any work inside the electrical panel, installing a new outdoor outlet or circuit, or anything you’re unsure about. A transformer plugs into an existing outlet — that’s the entire electrical scope of a standard DIY install. Anything more is electrician work.
Step 1: Plan the Layout
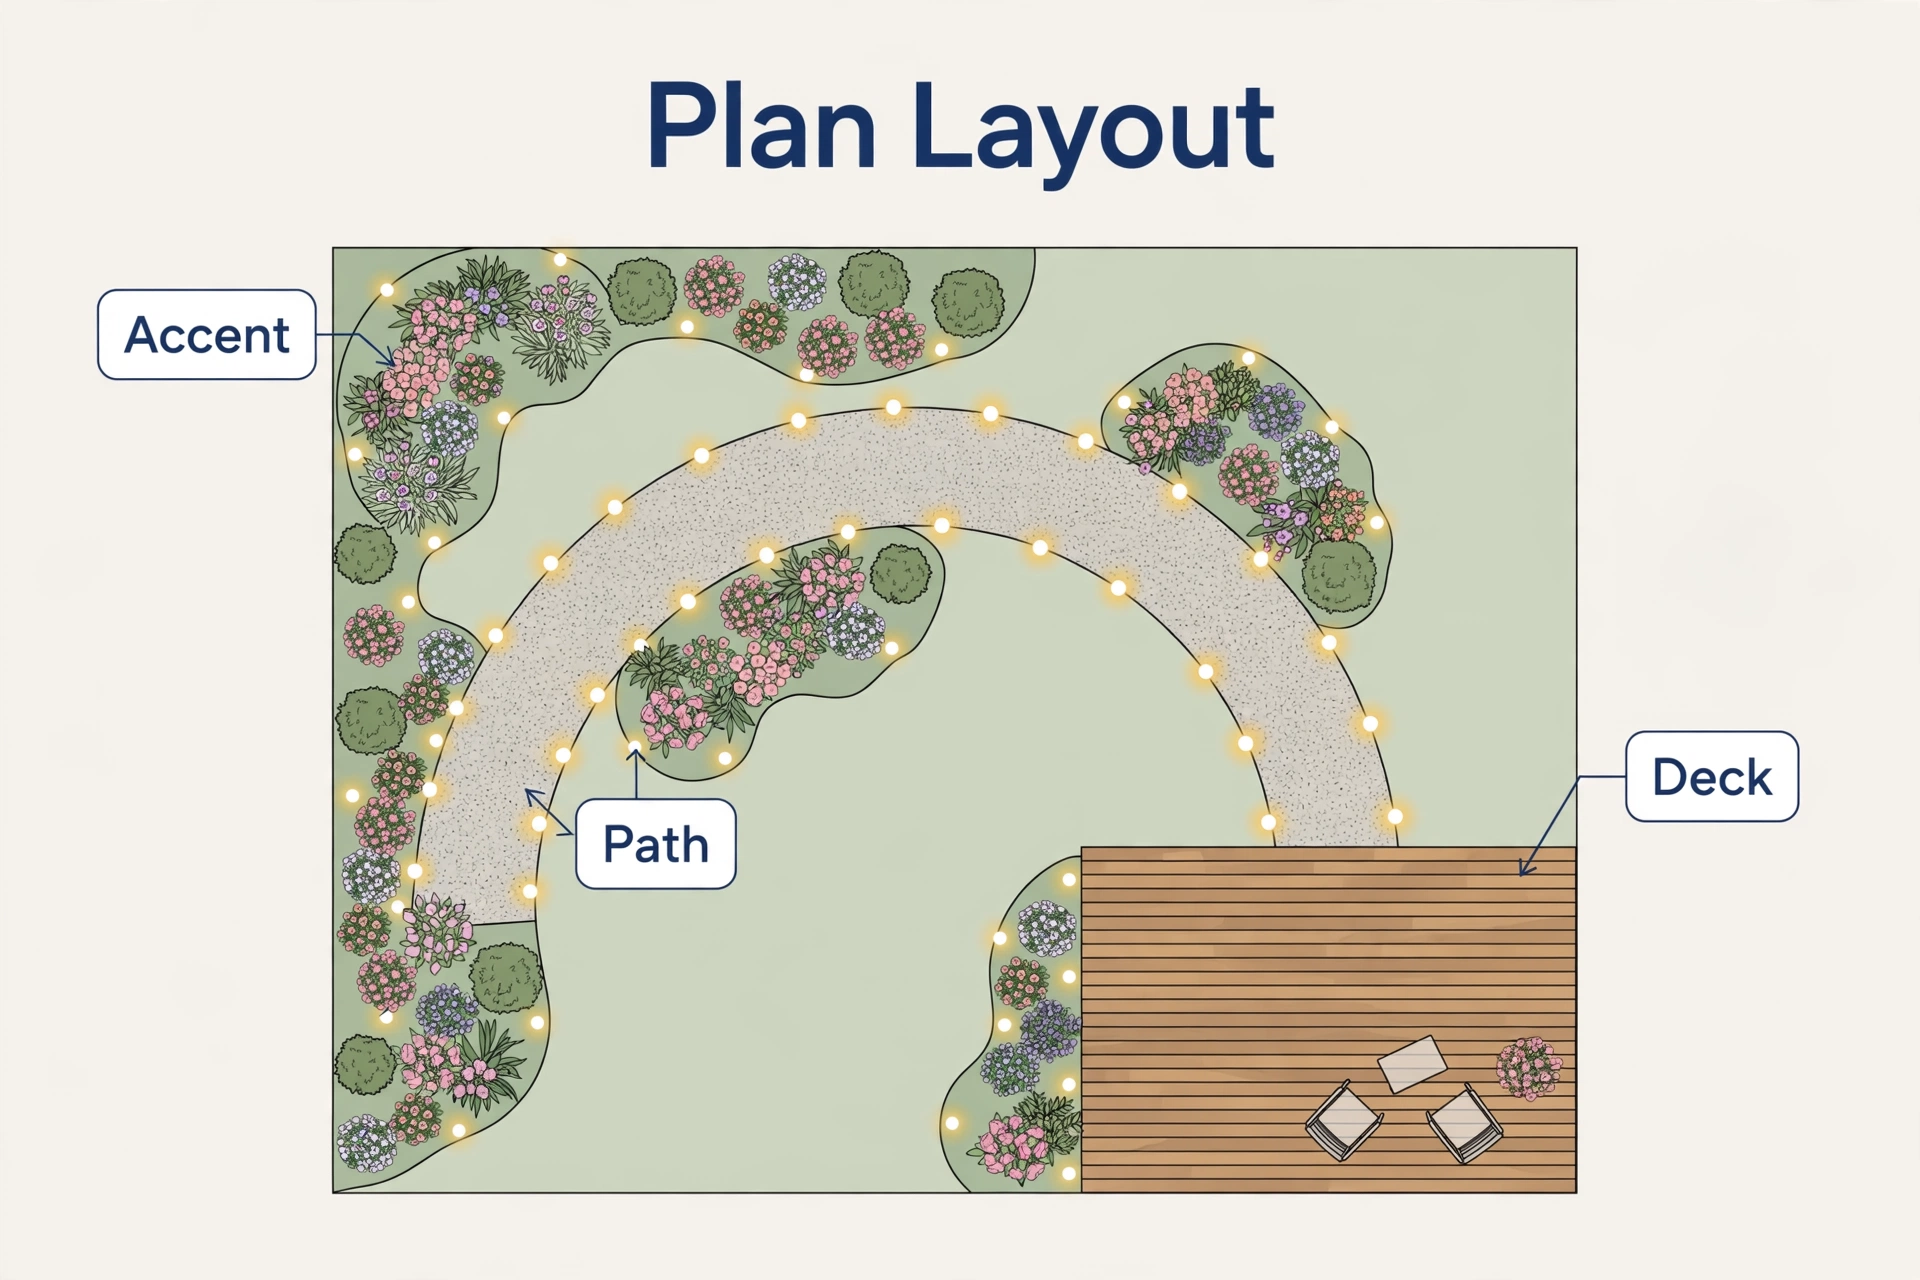
For example, good lighting is 80% planning and 20% wiring. Furthermore, before buying a single fixture, walk your yard at night with a flashlight or string lights and decide what actually deserves light. The three jobs of landscape lighting are utility (paths, steps, driveways — places people walk), security (dark corners near doors and windows), and aesthetics (trees, architecture, garden beds).
Lay a garden hose or rope along the paths where you plan to run cable — it gives you a realistic sense of total cable length before you shop. Mark each planned fixture location with a small flag. A few placement rules that make the difference between “wow” and “runway”:
- Space path lights 6–8 feet apart, alternating sides for a natural look.
- Uplight trees from in front of the tree, so the canopy glows instead of one bright spot on the trunk.
- Wash house facades from below at a wide angle for an even glow, not a hotspot.
- Keep fixtures a foot back from walkway edges and out of mower paths.
- Stick with warm white (2700K–3000K) for most landscape lighting. Cool-white LEDs make a garden look like a parking lot. If you care about color temperature for indoor lighting too, our guide to adaptive lighting in Home Assistant explains how warm-to-cool shifts affect comfort.
If you’re also adding outdoor security cameras, plan both layouts together — lit areas make camera footage far more useful, and you only want to call 811 once.
Step 2: Size the Transformer
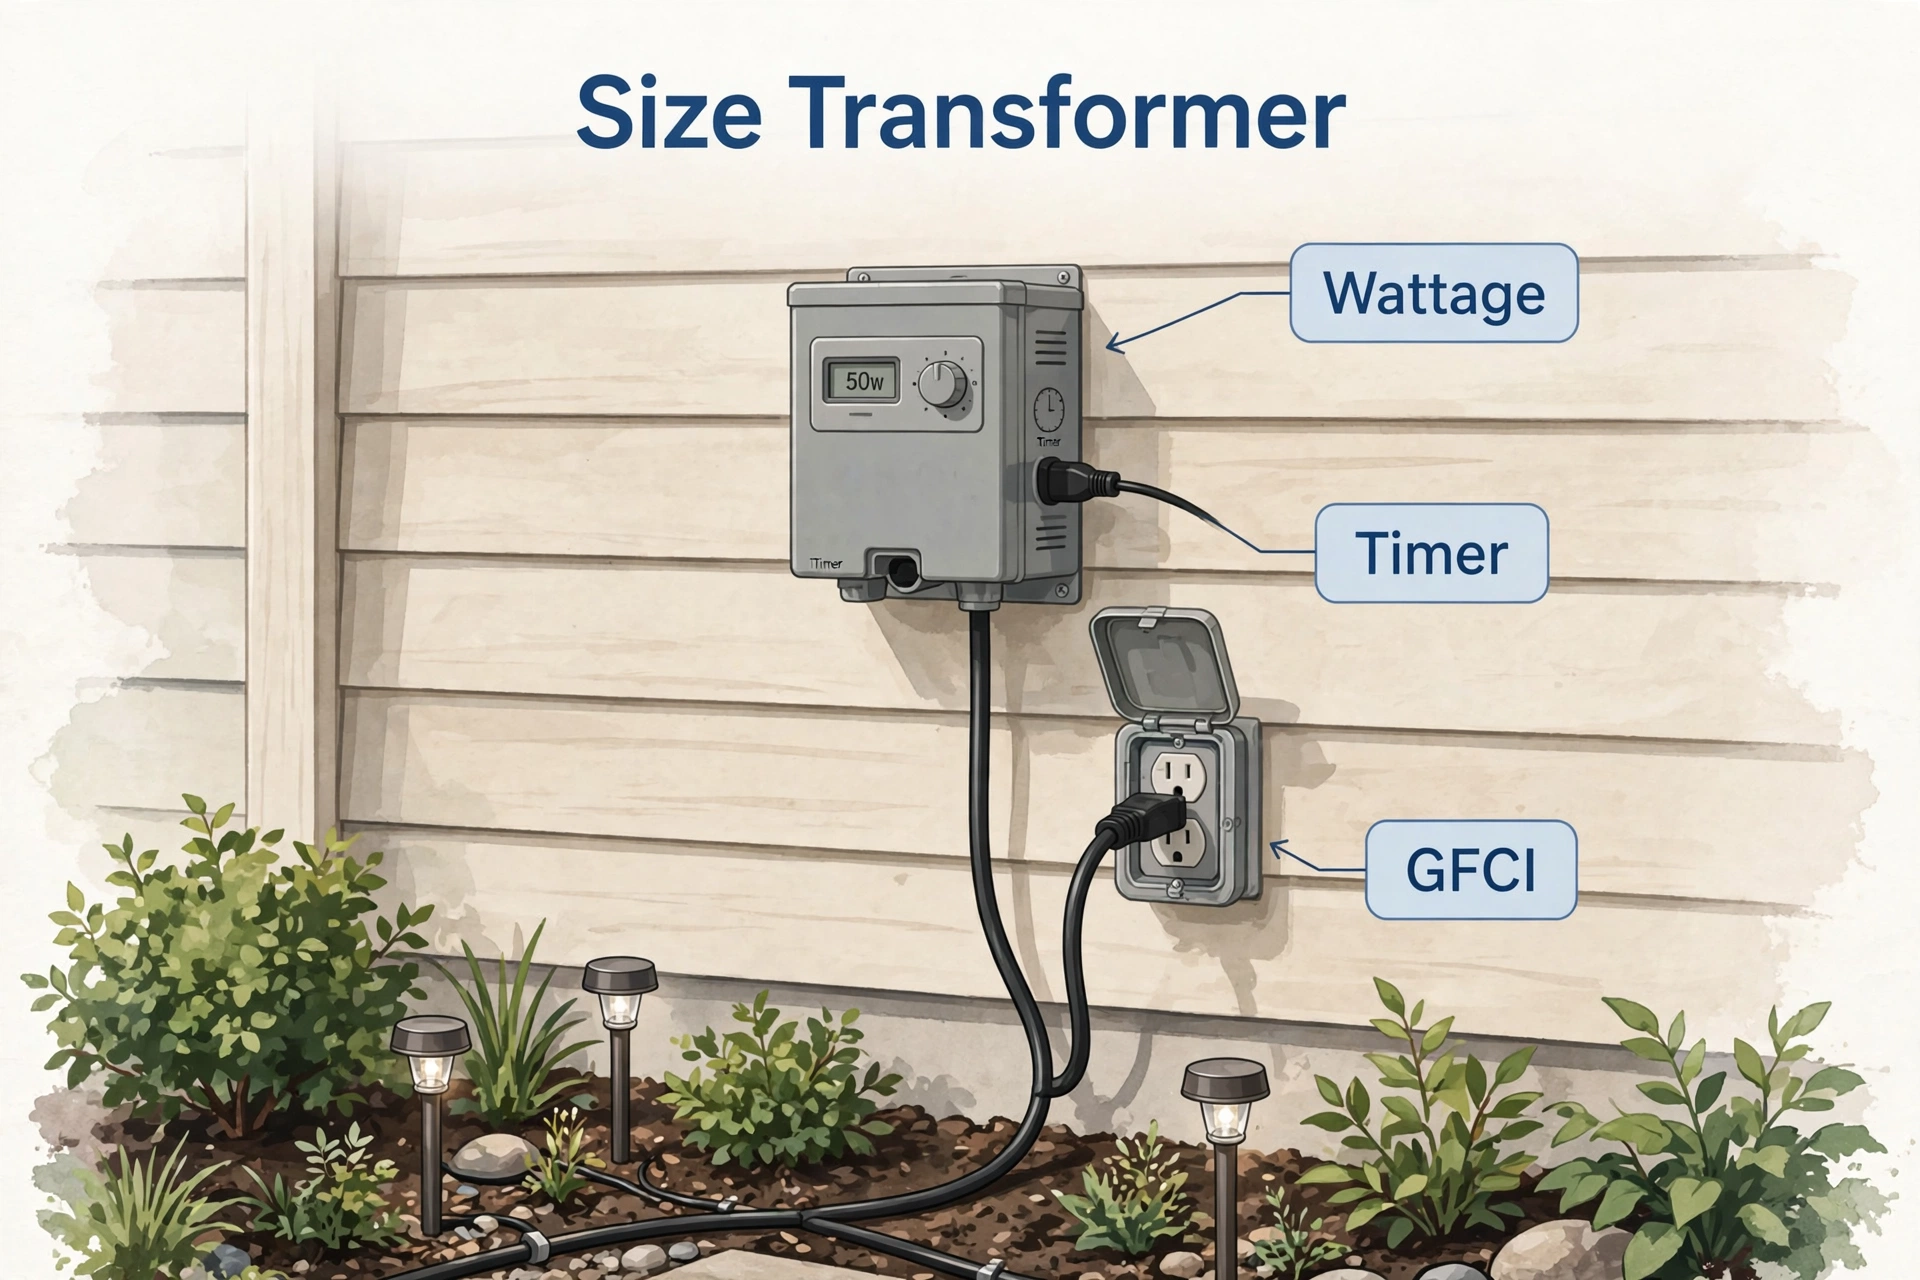
The transformer must handle the total wattage of every fixture connected to it, with headroom. The math is simple:
- Add up the wattage of all fixtures. With LEDs, each path light is typically 3–7W, and spotlights 5–12W. Ten path lights at 5W each = 50W.
- Add 25–30% headroom. For 50W of fixtures, that’s about 65W — so a 100W or 150W transformer is comfortable. A 200W unit leaves room to expand the system later.
- Never exceed the transformer’s rated wattage. Overloading causes dimming, overheating, and tripped protection.
Step 3: Run the Cable
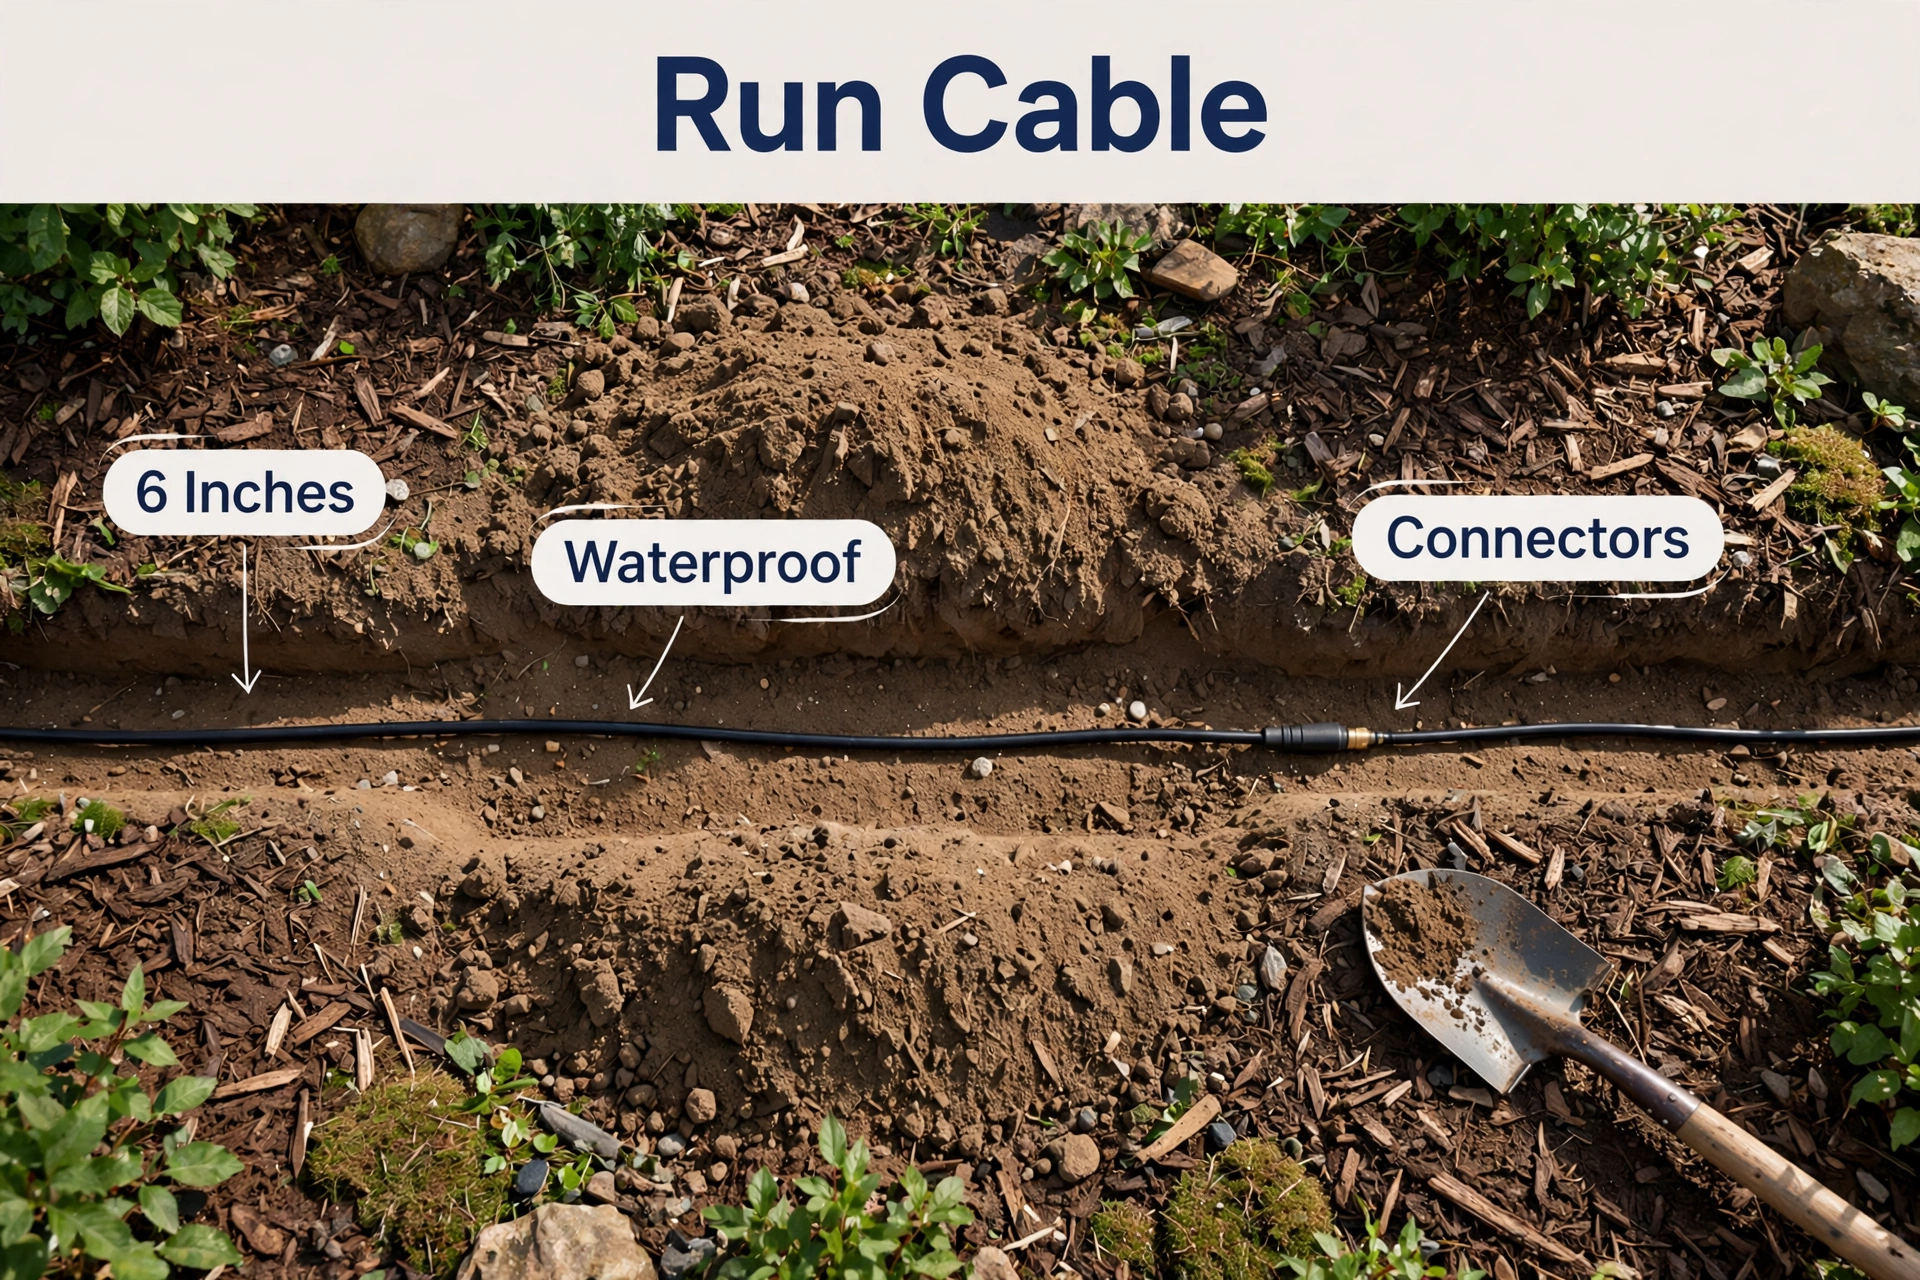
There are two wiring layouts. For most DIY projects, the daisy-chain layout is best: one main cable run leaves the transformer and each fixture taps into it in sequence, like lights on a Christmas tree. The hub (T) layout — a short home-run cable to a central hub, with equal-length wires to each fixture — gives more even brightness on long runs but takes more cable and more connectors.
Why wire gauge matters: thin cable has more resistance, so fixtures at the far end of a long thin run get less than 12V and look dimmer. This is called voltage drop. The fix is thicker cable (lower gauge number) or shorter runs. The practical rules below are estimates — always check your fixture and transformer manuals, which publish exact charts:
| Wire Gauge | Best For | Max Practical Run | Notes |
|---|---|---|---|
| 16 AWG | Short runs of a few low-wattage path lights | Up to ~50 ft (estimate) | Cheapest; not ideal for full-yard runs |
| 14 AWG | Medium runs, typical flower beds and walkways | Up to ~100 ft (estimate) | Good all-rounder for LED systems |
| 12 AWG | Long runs, heavy loads, future expansion | Up to ~150 ft (estimate) | Recommended for most DIY projects |
To run the cable: start at the transformer and walk the route you marked, laying the cable on the surface with 2–3 feet of slack at each fixture location — you will need it when adjusting positions. Stake the cable down loosely. Do not bury it yet; you test the whole system first.
Step 4: Install the Fixtures
- Assemble each fixture per its instructions — most path lights just need the stake screwed onto the base and the head attached.
- Stake the fixtures into the ground at your flagged locations. Push stakes straight down; in hard soil, pre-poke the hole with a screwdriver or a piece of rebar. Never hammer the fixture head — hammer the stake separately if you must, then attach the light.
- Connect each fixture to the main cable with a waterproof connector. The two common methods are:
- Piercing clamp connectors: clamp over the main cable — teeth pierce the insulation and make contact. No cutting, no stripping. Fast and beginner-friendly.
- Grease-filled twist connectors: strip a short section of the main cable at the fixture location and twist the fixture leads on with a waterproof twist connector.
- Keep connections above ground for now. Coil the extra slack neatly under each fixture. If a connection fails during testing, you want it accessible.
- Angle and aim as you go. Uplights should lean slightly toward their target; path light heads should sit 12–18 inches above the ground so they throw light across the path, not into your eyes.
Step 5: Connect Everything and Test
This is the satisfying part. Before you touch a shovel, power up and check your work.
- Mount the transformer on its stake or wall bracket near the GFCI outlet — above ground, out of standing water, with a few inches of clearance on all sides for airflow.
- Connect the main cable(s) to the transformer’s output terminals. Polarity doesn’t matter for AC low-voltage systems, but keep it consistent. Tighten terminals firmly.
- Plug in the transformer and set the timer to ON (or override mode) for testing.
- Walk the whole system at dusk and check every fixture. Dim or flickering lights at the far end mean voltage drop — consider shortening that run, using thicker cable, or moving some fixtures to a second run on a multi-tap transformer.
- Check brightness with a multimeter if you want to be precise — each fixture should see roughly 10.8–12V. Well under 10.5V at the last fixture means the run is too long for that gauge.
- Adjust aim in the dark. What looks fine at noon looks wrong at night. Aim everything after sunset, then program the timer or photocell for normal operation.
Many transformers now include app control, timers, and dusk-to-dawn modes built in. If yours doesn’t, a simple outdoor smart plug between the outlet and the transformer gives you scheduling and voice control — you can even fold it into your Home Assistant setup so the yard lights follow your automations.
Step 6: Bury the Cable and Finish
Only after everything works perfectly does the cable go underground. Dig a shallow trench 3–6 inches deep along the cable route (deeper if you have aggressive garden tools or curious dogs). Lay the cable in, cover it, and tamp the soil down. There’s no code-mandated depth for low-voltage landscape cable like there is for 120V lines — that’s one of the reasons this project is DIY-friendly.
Final tidy-up:
- Bury connections along with the cable — this is why they must be waterproof, direct-burial rated.
- Leave a small loop of slack cable buried near each fixture so you can reposition lights later without rewiring.
- Note where the cable runs on a sketch of your yard. Future-you, digging in a new flower bed, will be grateful.
- Clean soil off fixture lenses and re-aim anything that shifted during burial.
Troubleshooting Common Problems
Most landscape lighting problems are connection problems, not fixture problems.
- All lights dead: check the outlet (test it with another device), the GFCI reset button, the timer setting, and the transformer’s circuit breaker or fuse. Then check the cable connections at the transformer terminals.
- One fixture dead: almost always its connector. Dig it up, clean it, reconnect with a fresh waterproof connector.
- Fixtures get dimmer toward the end of a run: voltage drop. Split the run in two, move the far fixtures to a separate run, or upgrade that cable to 12-gauge.
- Lights flicker: loose connection or a corroded connector letting moisture in. Replace with a new grease-filled connector.
- LEDs strobing or partially lighting: check the transformer type — some old magnetic transformers designed for halogen bulbs don’t play well with LEDs. An LED-compatible transformer (most new ones are) fixes it.
Low Voltage Landscape Lighting Install FAQs
Do I need an electrician for a low voltage landscape lighting install?
Usually no. A standard low voltage landscape lighting install plugs into an existing outdoor GFCI outlet — there is no panel work, no hardwiring, and the 12V side is safe to handle. You need an electrician if you don’t have a usable outdoor GFCI outlet, or if the job requires a new circuit or outlet.
How deep should I bury low-voltage landscape cable?
A shallow 3–6 inches is standard. Unlike 120V line-voltage wiring, low-voltage landscape cable has no strict code burial depth — but it must be direct-burial rated, and you still need to call 811 before digging, because other utilities’ lines are down there.
Can I mix halogen and LED fixtures on the same transformer?
Technically yes on a compatible transformer, but it defeats the purpose. Halogens draw far more wattage (20–50W each vs. 3–7W for LED), which burns through your transformer capacity fast and creates bigger voltage-drop problems. In 2026, there is no good reason to install new halogens.
How many lights can one transformer run?
As many as fit within its wattage rating minus 20–30% headroom. A 200W transformer comfortably runs 15–25 LED path lights (at 5–6W each). Wattage is the limit, not fixture count — ten bright spotlights can max out a transformer faster than twenty path lights.
Will rain or snow damage the system?
No — if everything is rated for it. Fixtures, cable, and connectors should all be outdoor/wet-location rated, and buried connectors must be direct-burial type. The transformer itself mounts above ground and is weather-resistant, but it should never sit in standing water or a flooded low spot.
Is low-voltage lighting cheaper to run than solar path lights?
Solar lights cost nothing to run but give weak, unreliable light — they dim by midnight and struggle in winter. Low-voltage LED is brighter, consistent, and controllable. Running cost is tiny: a 60W system running 8 hours nightly uses roughly $20–$25 of electricity per year (estimate at typical US rates). For guidance on efficient outdoor fixtures, the Department of Energy’s exterior lighting guide is a solid reference.
The Bottom Line
A low voltage landscape lighting install is one of the highest-impact, lowest-risk DIY upgrades you can make to a home’s exterior: plan the layout at night, size the transformer with headroom, use 12-gauge direct-burial cable, waterproof every connection, test before you bury — and call 811 before you dig. If you want a more permanent, built-into-the-architecture look later, compare this approach with permanent outdoor lights once your first low-voltage project is up and running.
