

If you want a smart garage door opener Home Assistant can control locally in 2026, the best option is ratgdo — an open-source ESP32 board that wires into your Chamberlain or LiftMaster opener and exposes it to Home Assistant via ESPHome or MQTT, with no cloud involved. If you prefer a simpler path, a Meross controller works through HomeKit. Cloud-based myQ integrations still exist but are fragile by nature — local hardware is the reliable answer.
The Honest State of myQ + Home Assistant in 2026
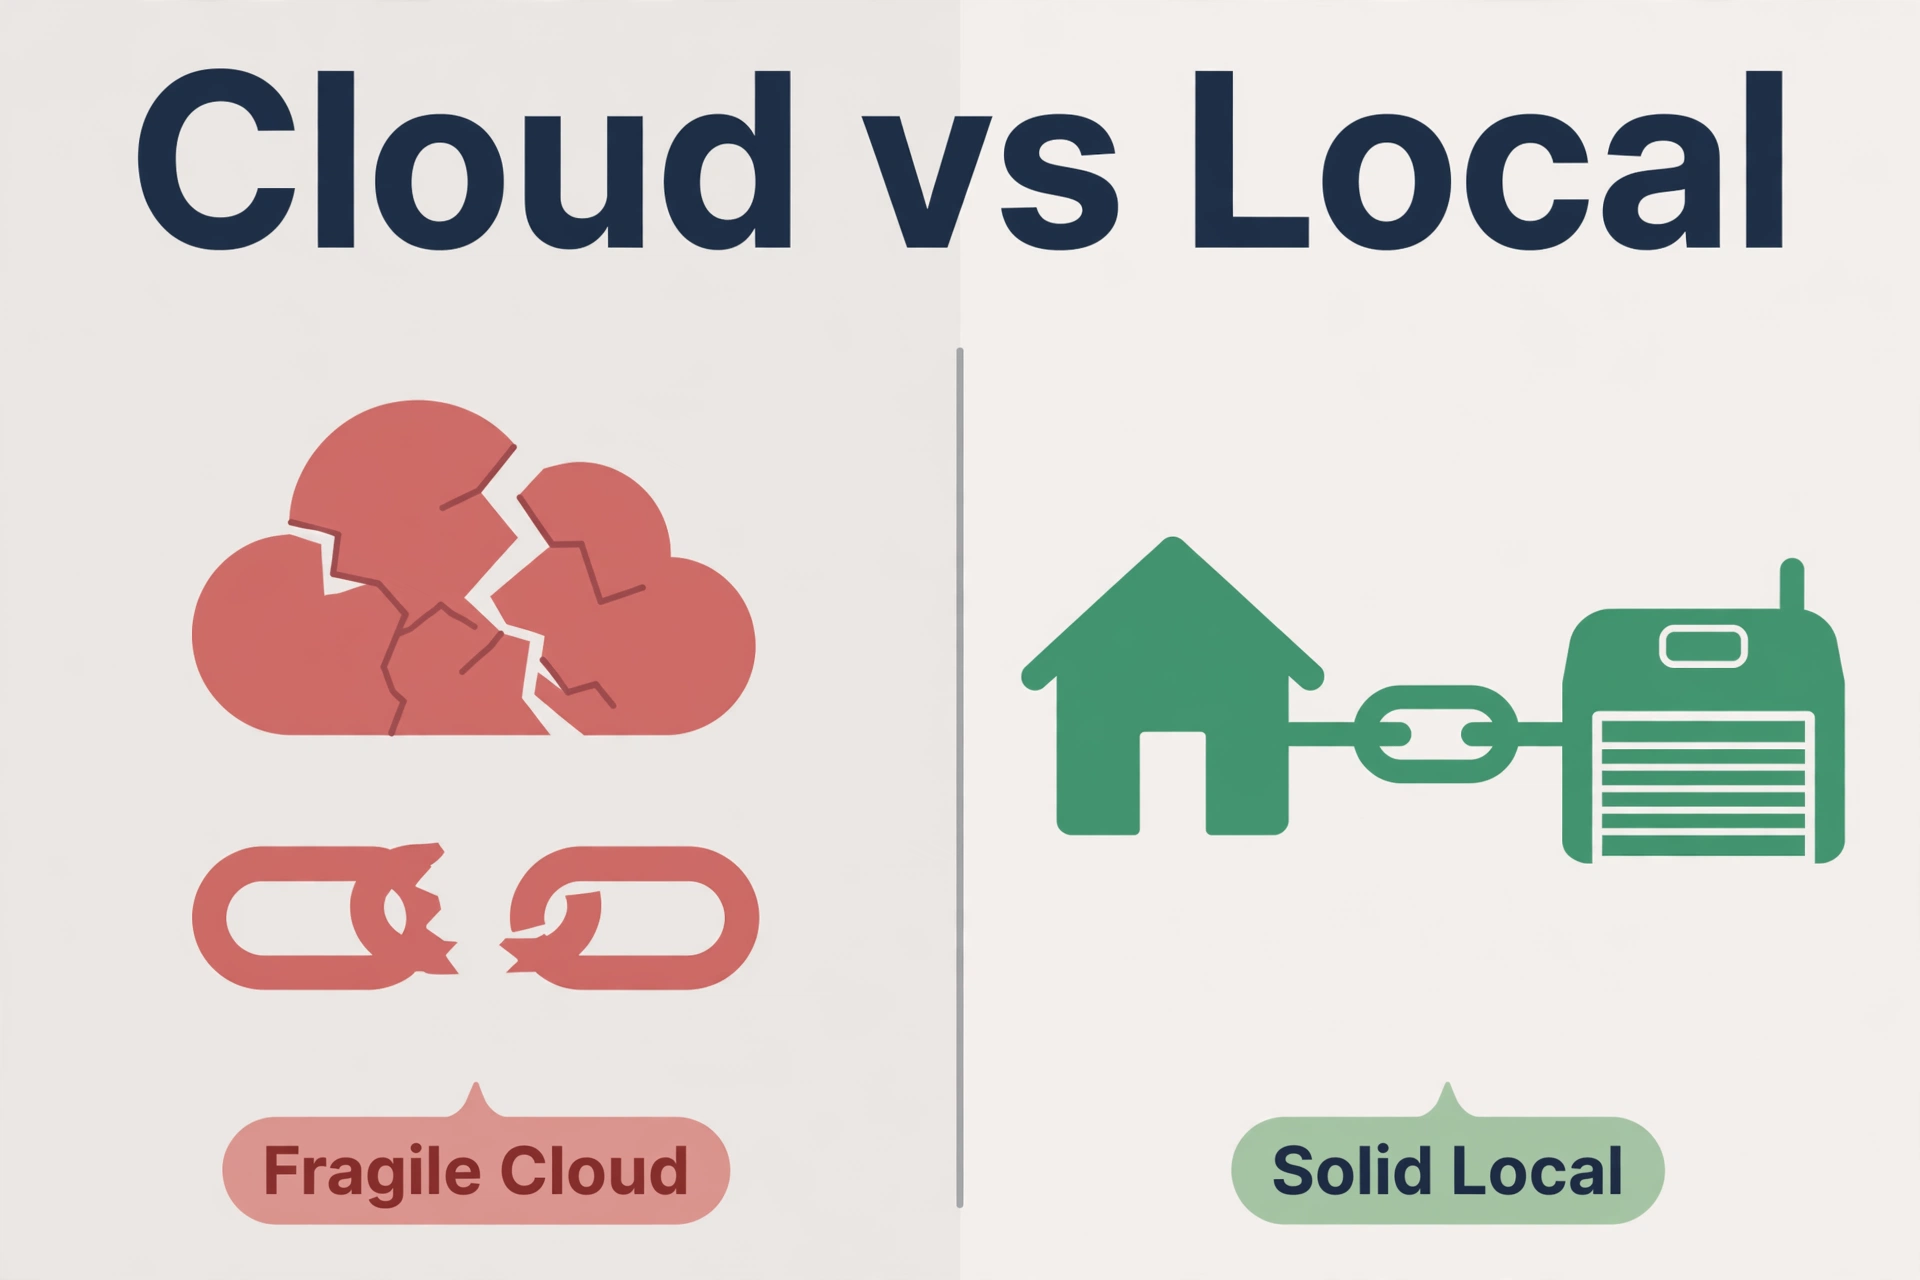
Let us be direct: Chamberlain cut off third-party myQ API access in late 2023, and it never came back. The old days of adding your myQ account to Home Assistant and getting a working garage door entity are over. Community developers have built workarounds since — HACS custom integrations, local MQTT bridges — and some of them work, but they all fight the same battle: they depend on Chamberlain’s cloud continuing to tolerate them.
That is why this guide recommends hardware, not hacks. A small local device that speaks your opener’s native protocol does not care what Chamberlain does with its API next year. It is the difference between renting access and owning it.
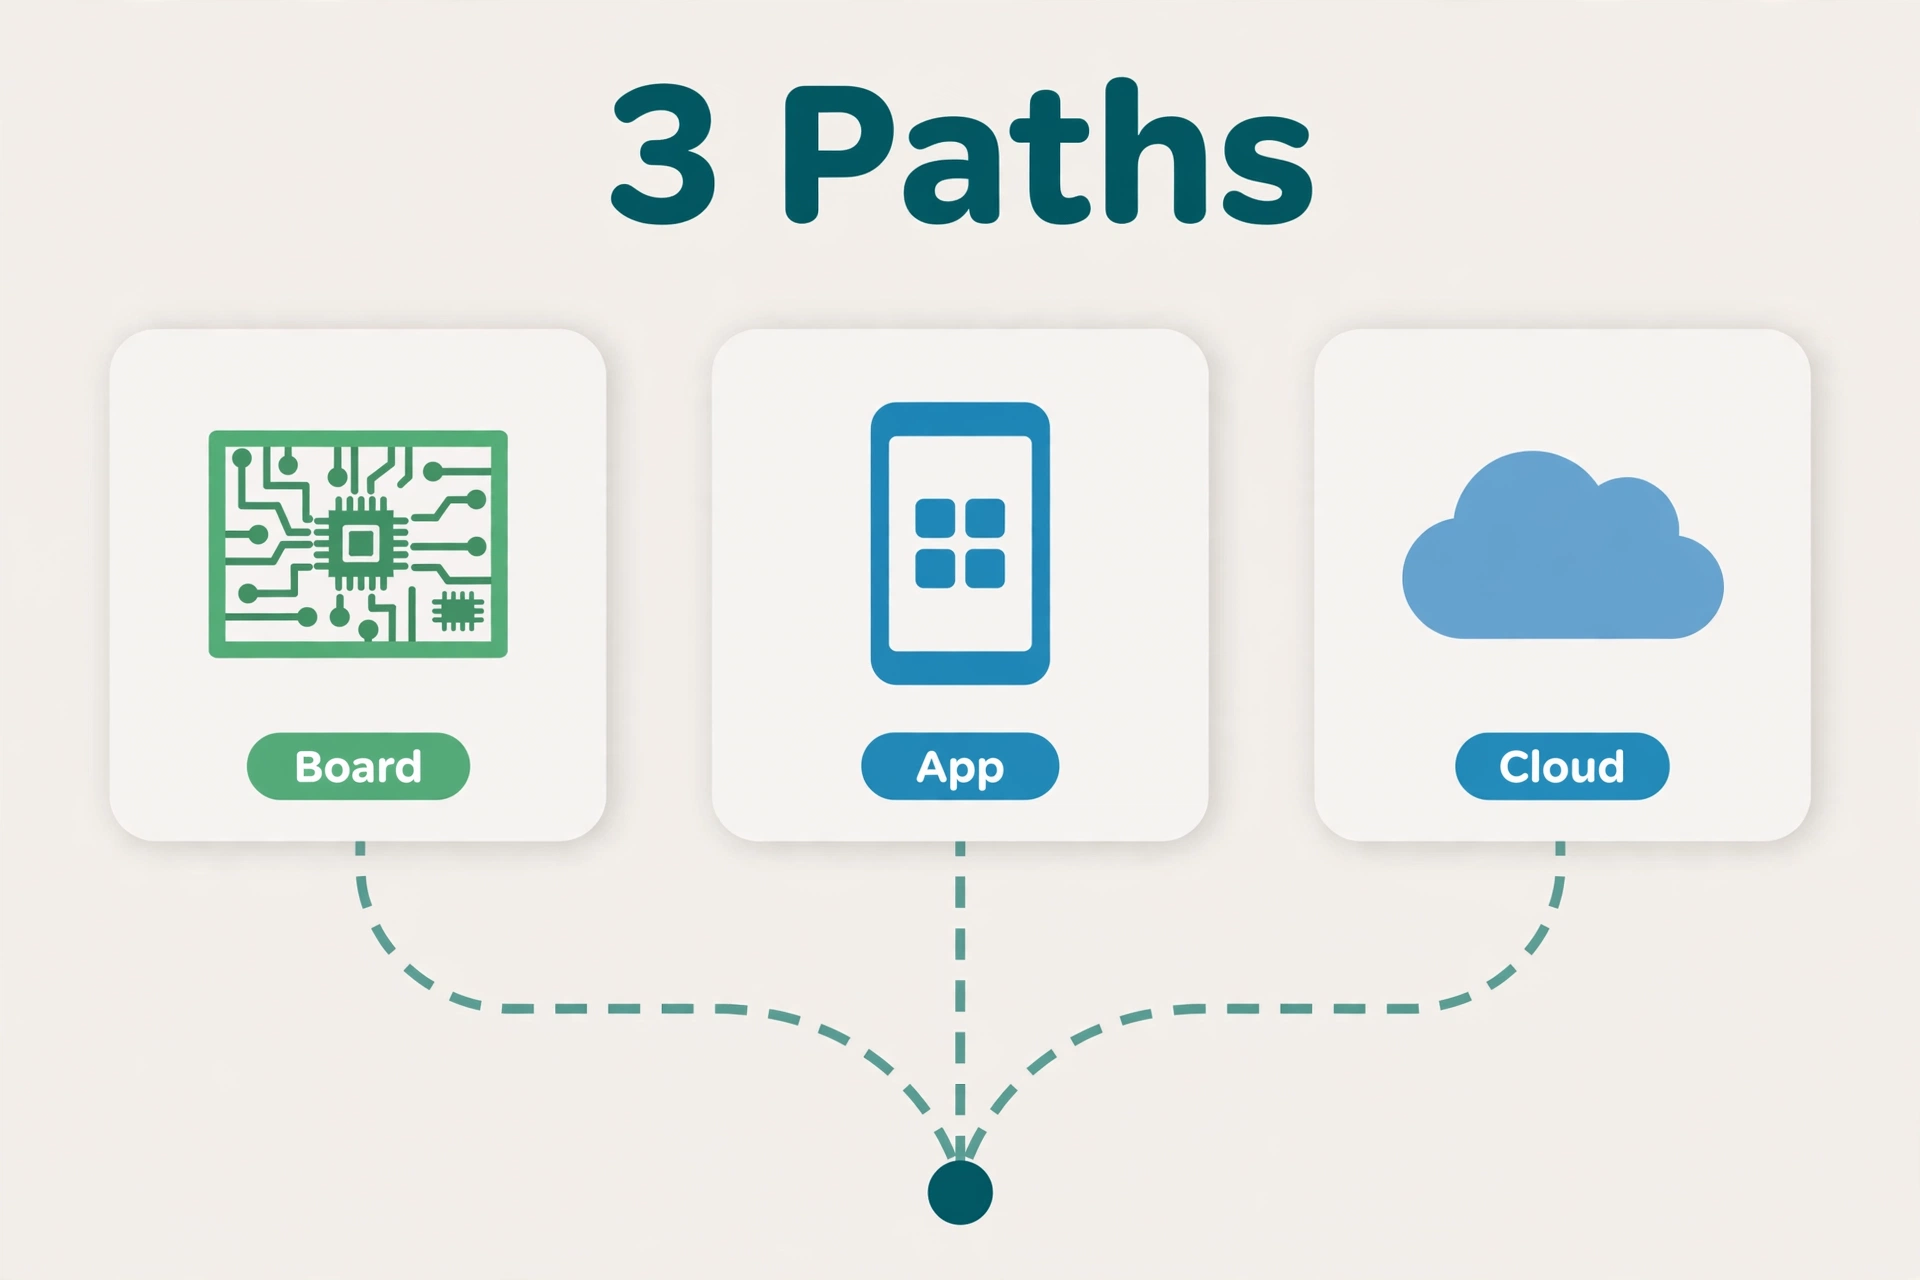
Smart Garage Door Opener Home Assistant: Your 3 Paths
Path 1: ratgdo — The Best Option
ratgdo is an open-source ESP32 control board that connects to your opener’s logic board and communicates over the native Security+ protocol — the same language the opener already speaks. Flash it with ESPHome firmware and Home Assistant discovers it as a proper cover entity with full state: open, closed, opening, closing, plus light control, motion sensing, and obstruction status. No cloud, no polling delay, no subscription.
The current ratgdo32 board costs around $62 from the official ratgdo store (see ratcloud.llc for the current board and compatibility details). It works with Security+ 2.0 (yellow learn button), Security+ 1.0, and dry-contact openers. Installation means wiring a few leads to the opener’s terminals and flashing firmware from a computer — a genuine DIY project, well documented by the community, but a project nonetheless.
If you already run Zigbee devices in Home Assistant, the pattern will feel familiar: a local coordinator-style device that just works. Our best Zigbee coordinator guide covers the same local-first philosophy for sensors and switches.
Best for: Home Assistant users who want the deepest, most reliable integration.
Watch out for: Requires wiring and firmware flashing; community support, not a help desk.
Path 2: Meross via HomeKit
The Meross Smart WiFi Garage Door Controller wires into 200+ opener brands and exposes itself to Apple HomeKit natively. Home Assistant can then pick it up through the HomeKit Controller integration — a supported, local path that does not depend on Meross’s cloud for day-to-day operation once paired.
This route is dramatically simpler than ratgdo: mount the sensor, wire two leads, join WiFi, pair to HomeKit, adopt into Home Assistant. Total time is well under an hour with no firmware flashing. The trade-off is depth — you get open/close control and door state, but not the rich obstruction, light, and partial-position data ratgdo provides. And the initial pairing still goes through Meross’s app and cloud.
Best for: The simplest reliable path, especially if you already use Apple Home.
Watch out for: 2.4 GHz WiFi only; shallower entity data than ratgdo.
Path 3: Cloud and Community Integrations
Several community projects keep myQ working in Home Assistant through the cloud: HACS custom integrations that log into your myQ account, and local MQTT bridges that intercept the opener’s own WiFi traffic. Some users report these working well.
The honest caveat: every one of them is one API change away from breaking, because Chamberlain has already shown it will cut access without warning. If you go this route, treat it as convenient, not load-bearing — do not build your only “did I leave the garage open?” alert on an integration that can die overnight. For anything you depend on, use Path 1 or 2.
Best for: Trying Home Assistant control with zero new hardware.
Watch out for: Fragile by design; can break without notice.
Table: Home Assistant garage door paths compared
| Feature | ratgdo | Meross via HomeKit | Cloud/community integrations |
|---|---|---|---|
| Local control | Fully local | Local after pairing | No (cloud-dependent) |
| Setup difficulty | DIY (wiring + flashing) | Easy (under 1 hour) | Easy (software only) |
| Entity richness | Full (position, light, obstruction) | Basic (open/close, state) | Varies |
| Reliability | Excellent | Good | Fragile |
| Cost | Around $62 | Well under $100 | Free |
| Best for | HA enthusiasts | Simple + Apple homes | Zero-hardware trial |
What to Check Before You Buy Anything
Compatibility lives and dies on your opener’s details. Check these before ordering hardware:
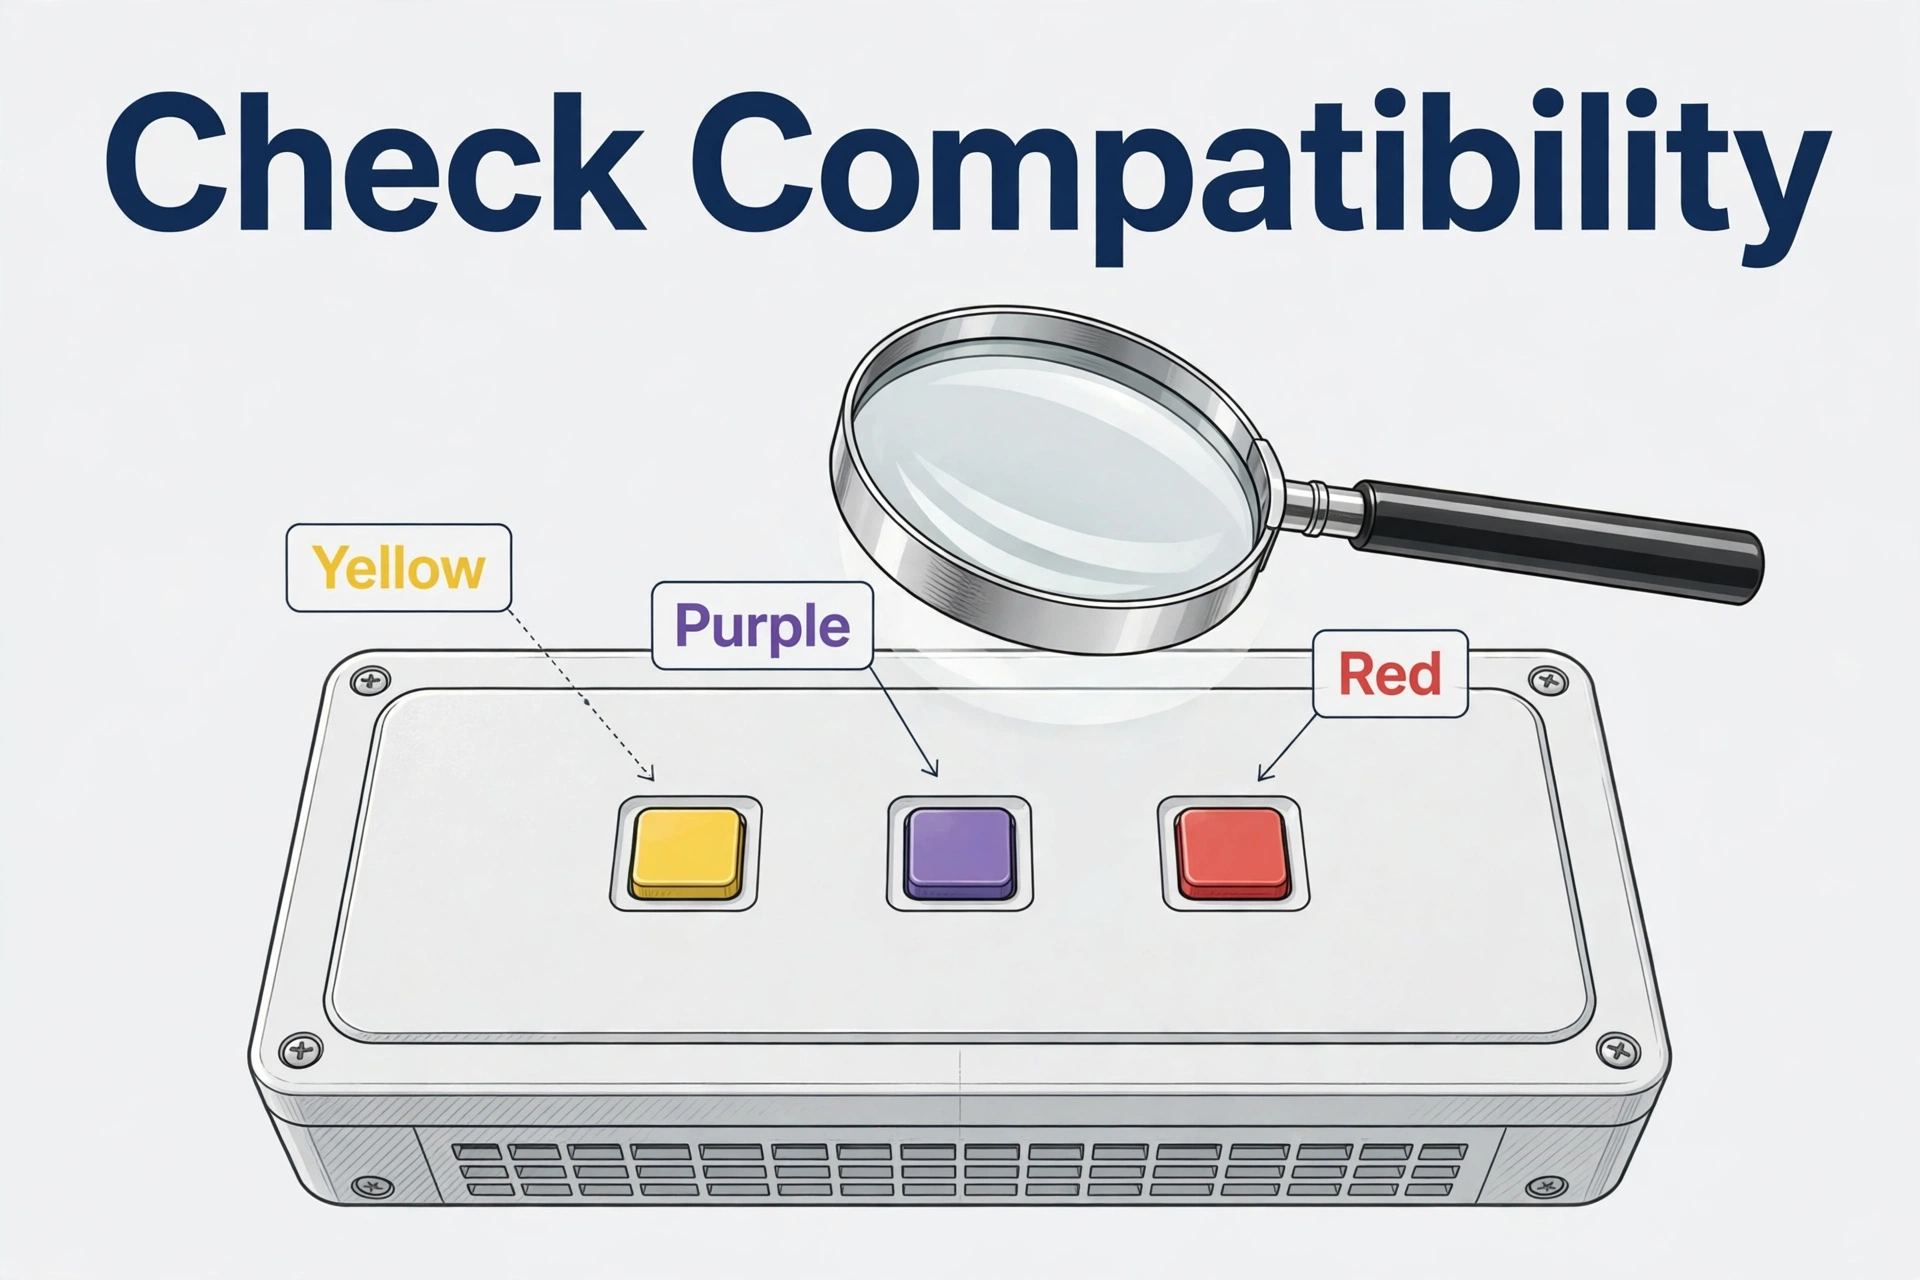
- Find the learn button. Look at the back of your opener motor unit for the learn button and note its color: yellow means Security+ 2.0, purple or red means Security+ 1.0. ratgdo supports the common ones, but verify your exact model on the compatibility list first.
- Confirm the opener’s age. Retrofit controllers generally support openers made after 1993. Anything older may predate the standard wiring these devices expect.
- Check WiFi strength in the garage. Walk out there with your phone and run a speed test. Even local devices need a solid network — a weak garage signal causes exactly the flakiness people blame on the hardware.
- Decide how deep you want to go. If you only want “close the door at 10 PM,” Meross is plenty. If you want automations based on door position, obstruction state, or light control, ratgdo is worth the extra effort.
The Learn Button Decoder
The learn button color is the fastest compatibility check in this whole project, so it deserves its own moment. Pop the light cover off your opener’s motor unit (it usually hinges or slides off) and look for a small square button near the antenna wire:
- Yellow: Security+ 2.0 — the most common on openers from roughly 2011 onward. Fully supported by ratgdo and the Konnected GDO blaQ.
- Purple: Security+ 1.0 (315 MHz era). Supported by ratgdo.
- Red or orange: Older Security+ 1.0 variants. Generally supported — verify your exact model.
- Round white: Security+ 3.0 — the newest protocol. Currently NOT supported by ratgdo-style boards. If you have this, your local options are much thinner; a Meross-style dry-contact controller is the fallback.
If you see that round white button, pause before ordering anything and research current compatibility — the Security+ 3.0 situation is the one place where “check before you buy” is not a suggestion.
Keeping It Reliable Long-Term
Local hardware does not mean zero maintenance. A few habits keep your garage automations boring in the best way:
- Give the controller a static IP or DHCP reservation. Nothing breaks a “working” setup faster than the device getting a new address after a router reboot.
- Update ESPHome thoughtfully. Do not auto-update the firmware on a device that controls a 200-pound door. Update deliberately, test open/close cycles after, and keep a known-good backup.
- Monitor the door sensor. Add a template sensor or automation that alerts you if the door state becomes “unknown” — that is your early warning that the controller lost contact.
- Keep a non-smart fallback. Wall button, remote in the car, keypad outside. If Home Assistant is down for maintenance, the family still needs to get the car out.
- Document your wiring. One photo of the terminal connections today saves an hour of head-scratching two years from now.
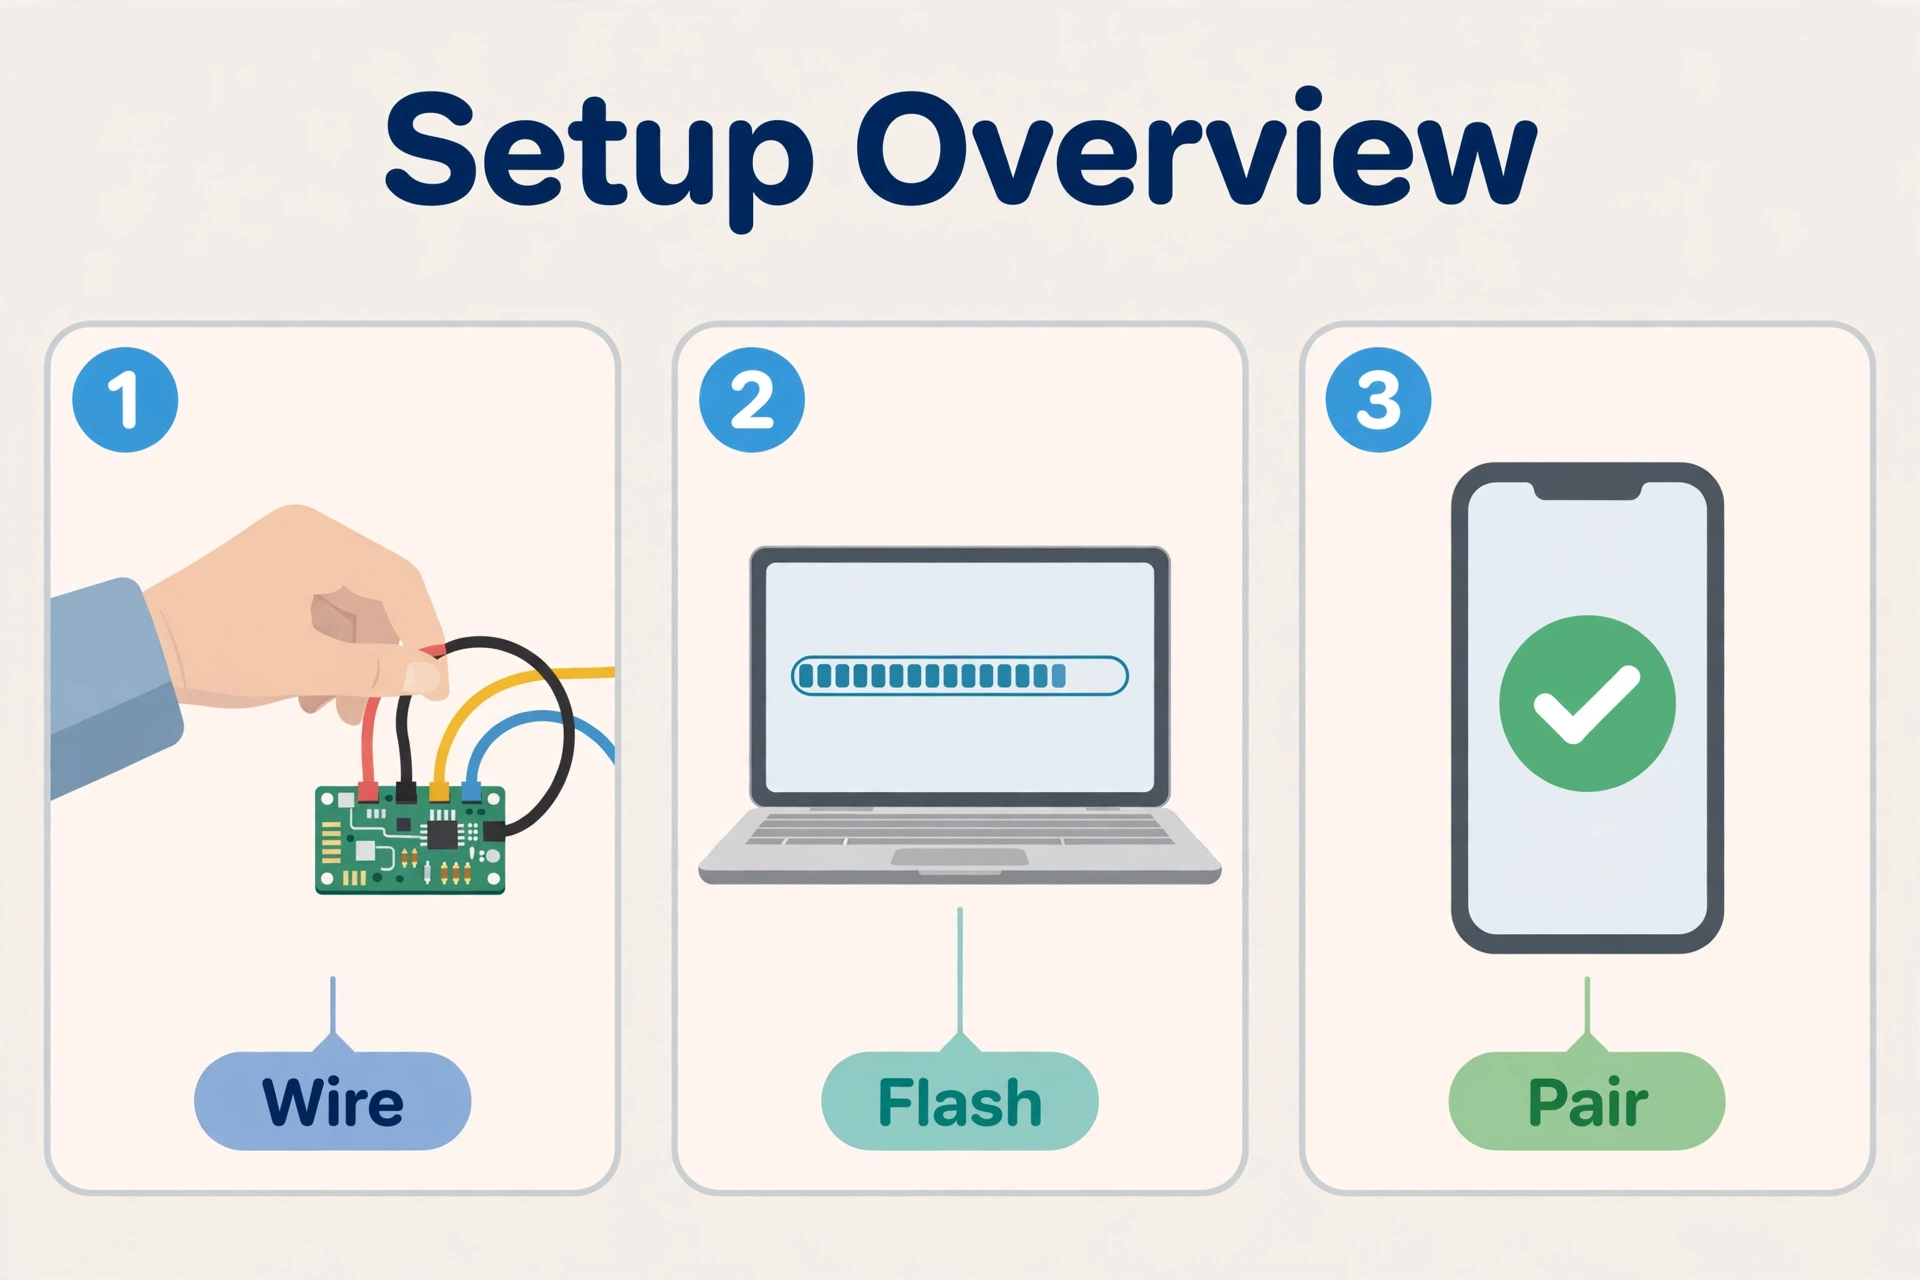
Setting Up ratgdo with Home Assistant: The Overview
This is not a full flashing tutorial — the community docs cover that better than any article can — but here is the shape of the project so you know what you are signing up for:
- Wire the board. Connect ratgdo’s leads to the opener’s control terminals (the same terminals your wall button uses). Power it via USB.
- Flash ESPHome firmware. Connect the board to your computer, flash the ratgdo ESPHome firmware, and join it to your WiFi.
- Adopt in Home Assistant. With the ESPHome integration, the device appears automatically. Add it, and you get a cover entity plus sensors.
- Test everything. Open, close, check state reporting, and test the obstruction sensor before building automations on top.
Budget an evening for the first one. The second door takes twenty minutes.
One more setup tip that saves headaches: do the flashing and WiFi joining at your desk before you climb the ladder. Power the ratgdo from USB, flash it, connect it to your WiFi, and confirm Home Assistant sees it — all while the board sits comfortably on your workbench. Only then wire it to the opener. Separating the software step from the ladder step turns one stressful job into two easy ones, and if something does not work, you will know immediately whether it is a network problem or a wiring problem.
Automation Ideas Worth Building
Once the door is a proper Home Assistant entity, the fun starts:
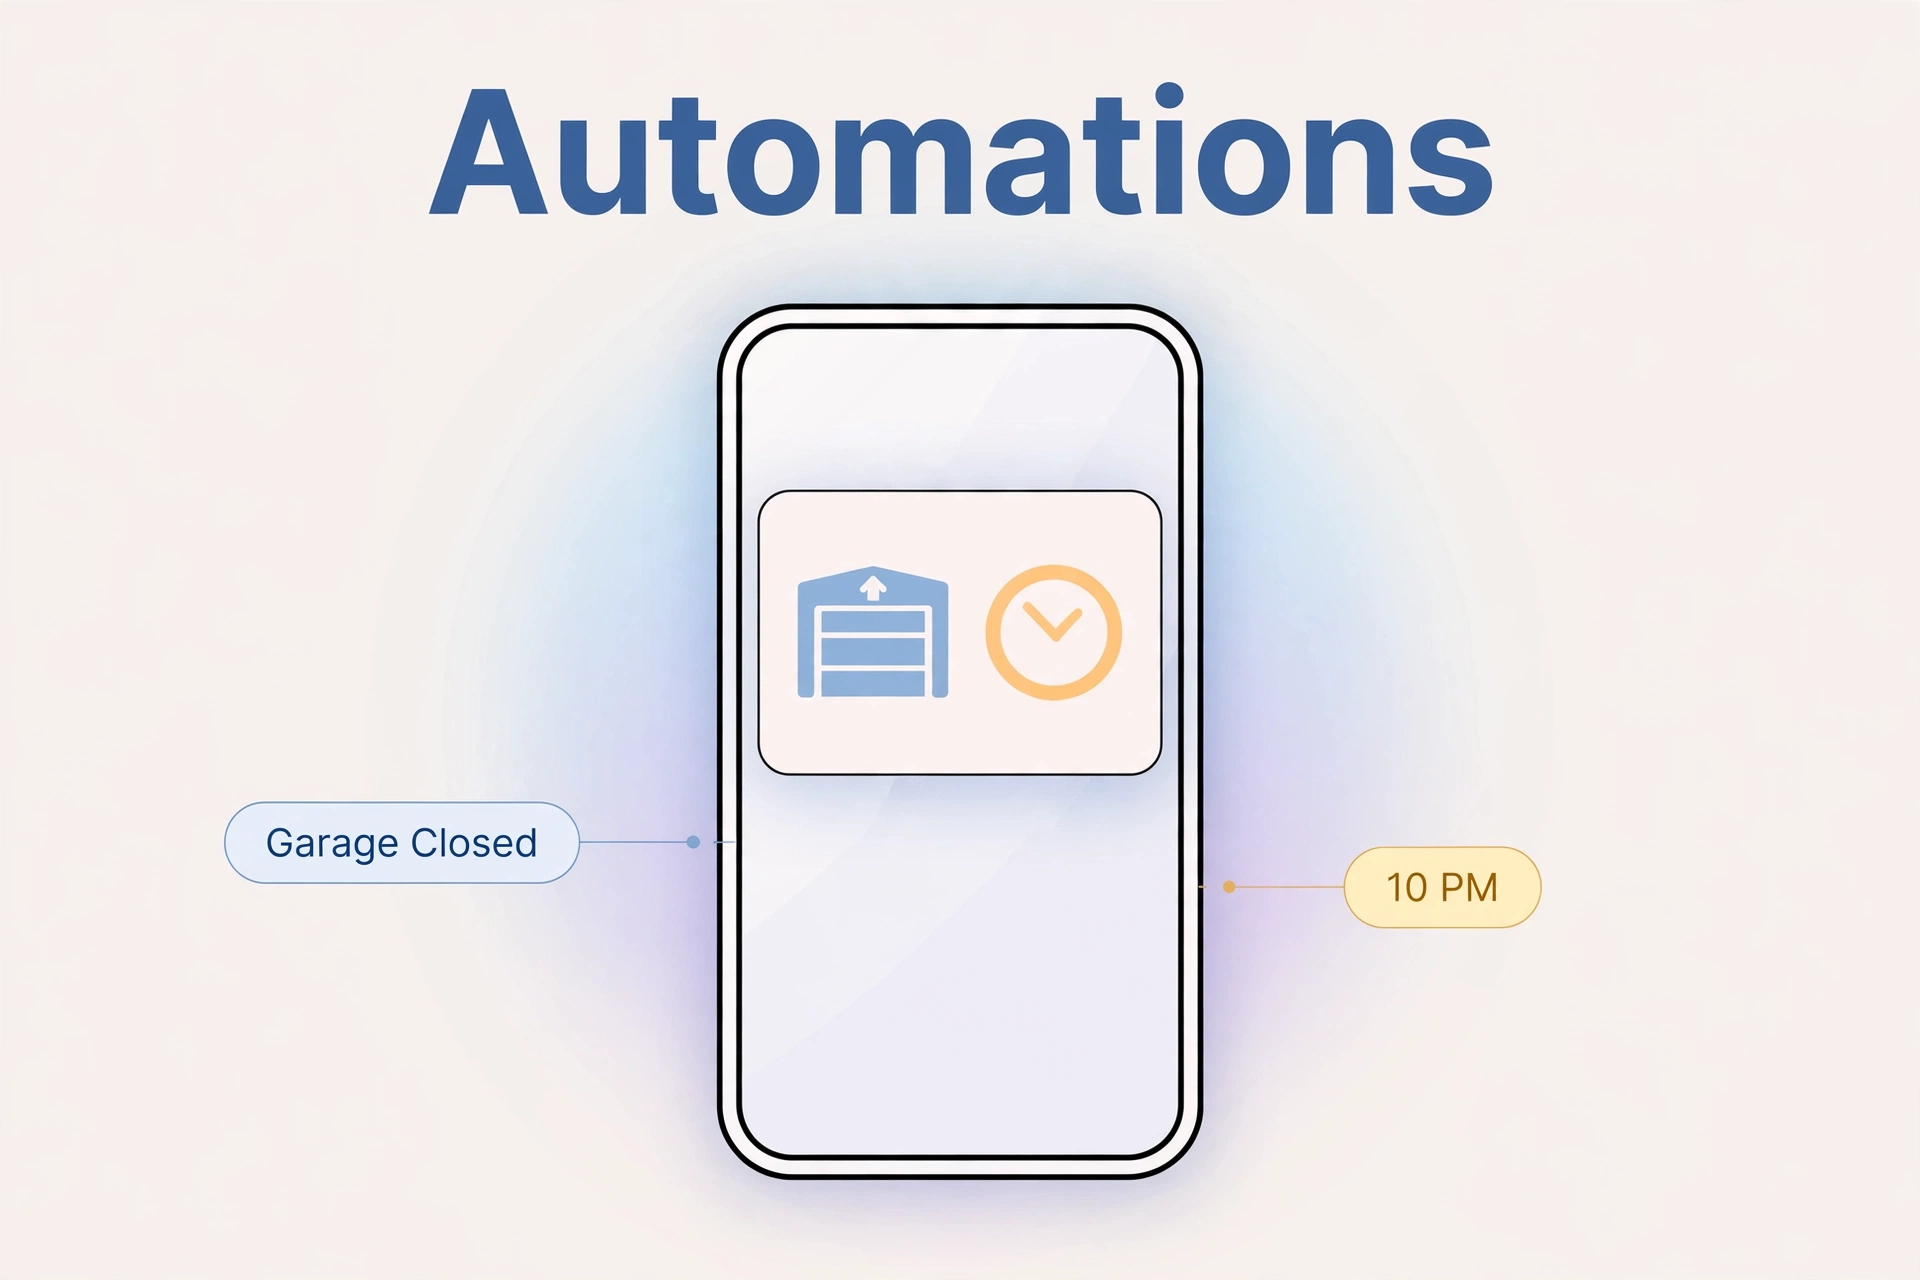
- Nightly auto-close: Close the door at 10 PM if open — the single most useful garage automation.
- Arrival opening: Open as your phone’s zone changes to home (use with care; require confirmation for security).
- Left-open alerts: Notify all household phones if the door stays open longer than 15 minutes.
- Vacation mode: Alert immediately on any opening while the house is in away mode.
- Camera tie-in: Snap a camera still whenever the door opens unexpectedly.
If you have not chosen an opener yet, start with our best smart garage door opener roundup to pick hardware worth automating.
And if you are weighing escape routes from myQ entirely, our myQ alternative guide covers every local-control option in depth.
Frequently Asked Questions
Does the official myQ integration still work in Home Assistant?
There is no official myQ integration in Home Assistant’s core. Community integrations that log into the myQ cloud exist through HACS, but they are unofficial and can break whenever Chamberlain changes its API — which it has done before. Local hardware like ratgdo is the reliable path.
Will ratgdo work with my LiftMaster opener?
Yes, if it is a supported Security+ model — LiftMaster and Chamberlain share the same protocols as sister brands. Check the learn button color (yellow, purple, or red are the common supported ones) and verify your exact model against the compatibility list before ordering.
Do I need to keep the myQ app after installing ratgdo?
No — and that is the point. ratgdo replaces the cloud path entirely. Your wall button, remotes, and keypad keep working normally; only the myQ app becomes redundant. Some people keep it as a backup, but nothing requires it.
Can Home Assistant tell if the door is partially open?
With ratgdo, yes — it reports granular position states including partially open, plus obstruction sensor status. Simpler controllers like Meross typically report only open or closed. If partial-position matters to your automations, that alone justifies ratgdo.
Is it safe to automate the garage door opening on arrival?
It can be done safely with conditions: require your phone to be connected to home WiFi (not just GPS), add a confirmation notification, and never auto-open when the house is in vacation mode. Auto-close on a schedule is the safer automation to start with.
What if I rent and cannot wire anything?
Renters should skip hardwired options. A Meross-style controller still needs wiring to the opener terminals, so check with your landlord first. Otherwise, stick with the myQ app or a landlord-approved setup — no automation is worth a lease dispute.
Conclusion
Home Assistant and the garage door are a natural pair — once the door is a real entity, nightly auto-close and left-open alerts become trivial. In 2026 the reliable paths are ratgdo for enthusiasts who want it all local, Meross via HomeKit for everyone else, and cloud integrations only for experiments. Whichever path you take, start simple: get open/close and reliable state reporting working first, live with it for a week, then layer on the fancier automations. A garage door you can trust beats a garage door that does party tricks. Pick your path, check compatibility first, and enjoy a garage that finally listens to your automations.
